Have you ever had a craving for a sweet, icy treat, while daydreaming about how to bring that image to life on paper? Drawing a popsicle can be not only a delightful artistic challenge but also a way to indulge your creative impulses. Regardless of your skill level, whether you’re just starting or have honed your talents over time, capturing the essence of a popsicle is a fun and refreshing idea that can spark joy on the page.
In this step-by-step guide, we will explore how to create a mouthwatering popsicle drawing that looks good enough to eat! You’ll discover the necessary materials and learn techniques that will help you render a colorful and vibrant popsicle, complete with enticing details of melted drips and the texture of the frozen treat. So, gather your drawing supplies, unleash your creativity, and let your imagination run wild as we embark on this artistic adventure together!
Materials Required:
- Drawing paper
- Pencil
- Eraser
- Colored pencils or markers (optional)
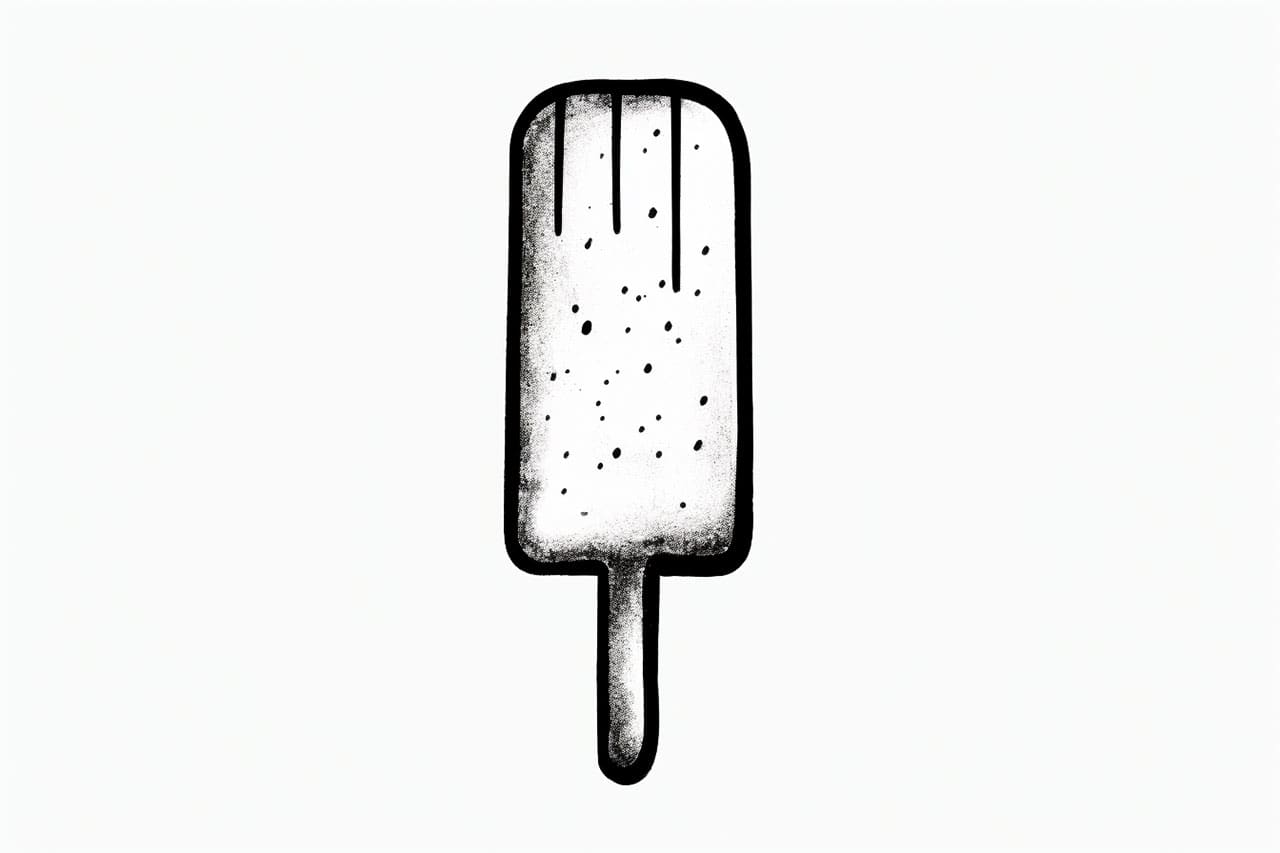
Step 1: Sketch the Outline
To begin, let’s first sketch the outline of the popsicle. Start by drawing a long, vertical rectangle shape on your paper. This will serve as the main body of the popsicle. Make sure to leave enough space at the top for the popsicle stick.
Step 2: Add the Stick
Now, it’s time to add the popsicle stick. Draw a small rectangle shape coming out from the top of the popsicle body. Make sure the stick is centered and slightly tilted to give it a more realistic appearance.
Step 3: Draw the Details
Next, we’ll add some details to make our popsicle drawing more exciting. Start by adding a curved line in the middle of the popsicle body to give it a three-dimensional look. Then, draw a few diagonal lines across the body to represent the drips of melting ice cream.
Step 4: Add Color (Optional)
At this point, your basic popsicle drawing is complete. However, if you want to make it more vibrant and realistic, you can add color using colored pencils or markers. Choose your desired colors for the popsicle body and the stick. You can also experiment with different shades and patterns to make your popsicle truly unique.
Step 5: Shade and Highlight
To give your popsicle drawing more depth, let’s add some shading and highlighting. Identify which direction the light source is coming from, and then darken the side of the popsicle that is opposite to the light source. Use your pencil or colored pencils to carefully shade this side, gradually getting lighter towards the center. Add a bit of white or a lighter shade to the side that is directly facing the light source to create a highlight.
Step 6: Final Touches
Now that your popsicle drawing is nearly complete, take a step back and assess the overall composition. Are there any areas that need to be refined or adjusted? If so, make any necessary changes using your eraser or pencil. Pay attention to the proportions and details to ensure your popsicle looks as realistic as possible.
Conclusion
Congratulations! You’ve successfully learned how to draw a popsicle from start to finish. Drawing a popsicle can be a great way to practice your sketching skills and create a beautiful piece of art. Remember to be patient and take your time with each step. So the next time you’re feeling inspired, grab your drawing materials and start creating your own mouth-watering popsicle masterpiece!
Fun Facts About Popsicles
- Popsicles were accidentally invented by an 11-year-old boy named Frank Epperson in 1905 when he left a cup of powdered soda mix and water with a stirring stick outside on a cold night.
- The original name for popsicles was “Epsicle,” combining Epperson’s last name with “icicle.”
- Popsicles were originally enjoyed in seven different flavors, including the classic cherry, which remains a favorite today.
- During the Great Depression, two popsicles were sold for a nickel, making them an affordable treat for many families.
- Each year, more than 2 billion popsicles are sold around the world, with grape being one of the most popular flavors.
- In 1923, the concept of twin popsicles emerged, allowing two children to share one frozen treat, each getting a stick.
- Today, popsicles are available in a wide array of flavors, from tropical fruit blends to creamy yogurt-based varieties.
- There are even gourmet popsicles that include exotic ingredients like herbs, spices, and even edible flowers!
- The largest popsicle ever created weighed over 20,000 pounds and was made in New York City in 2005.
- Some people enjoy making homemade popsicles with fresh fruit and juice, experimenting with combinations and shapes.
Suggestions for Scenes and Settings for Popsicle Drawings
- Summer Beach Party: Illustrate a vibrant beach scene filled with people enjoying popsicles under colorful umbrellas, with seagulls trying to sneak a taste.
- Popsicle Village: Create a village made entirely of popsicles, with rainbow hues and stick fences, inhabited by tiny popsicle people going about their day.
- Tropical Paradise: Draw popsicles in a tropical setting, perched on palm trees or floating on toy rafts in a crystal-clear lagoon.
- Frozen Fairytale Forest: Imagine a magical forest where popsicle trees grow, dripping with colorful syrup as magical creatures enjoy the sweet treats.
- Popsicle Concert: Picture an outdoor concert where popsicles play instruments under the stars, with cheerful notes floating in the night sky.
- Popsicle Dragon: Design a whimsical dragon made of popsicles, soaring over hills made of whipped cream and candy.
- Market Day Snack Stand: Illustrate a bustling marketplace with a popsicle stand, where people of all ages are excitedly trying different flavors.
- Winter Wonderland Popsicles: Depict a snowy landscape where popsicles are sculpted into snowmen and castles, glistening under the winter sun.
- Space Popsicle Adventure: Draw popsicles rocketing through space, with planets made of ice cream and popsicle-shaped comets whizzing by.
- Popsicle Garden Jungle: Show a lush garden where giant popsicles grow on trees, attracting colorful birds and insects looking for a sweet nectar treat.