Welcome to this step-by-step guide on how to draw sushi! In this tutorial, I will walk you through the process of creating a realistic and delicious-looking sushi drawing. Whether you are an aspiring artist or simply looking for a fun and creative activity, drawing sushi can be a great way to showcase your artistic skills. So grab your pencil and let’s get started!
Materials Required
To begin drawing sushi, you will need a few basic materials:
- Pencil: A graphite pencil of medium hardness (HB) will work well for sketching the initial outlines.
- Eraser: A soft eraser is essential for removing any mistakes or unwanted lines.
- Paper: Use a clean, white sheet of paper that is of appropriate size for your drawing.
- Colored Pencils: Optional, but if you want to add color to your drawing, colored pencils will be handy.
Now that you have your materials ready, let’s dive into the step-by-step process of drawing sushi!
Step 1: Outline the Shape
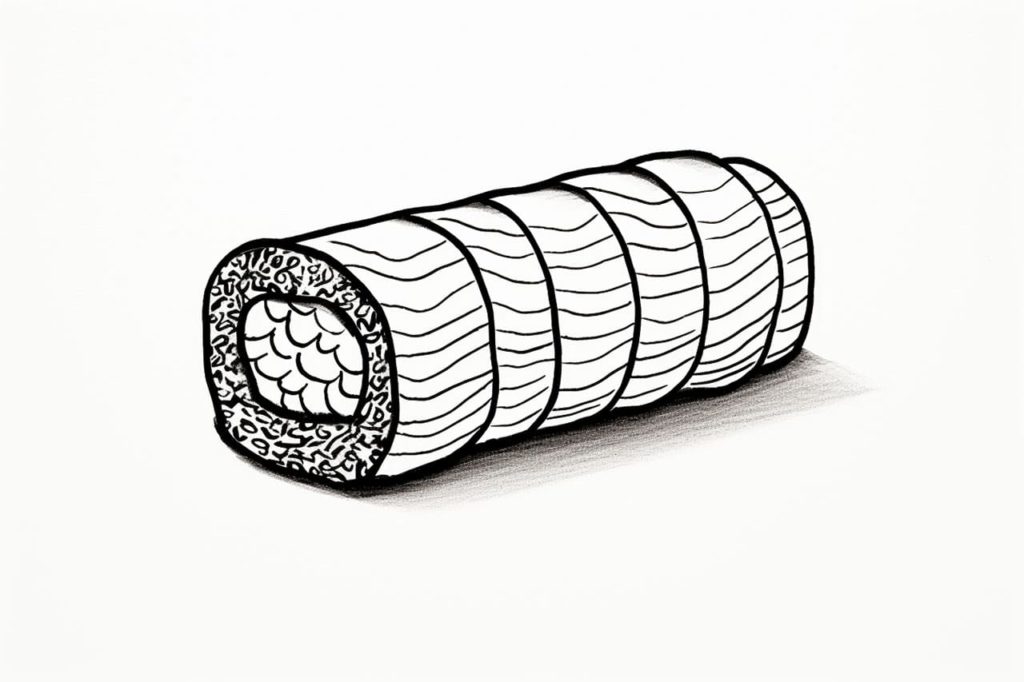
Begin by lightly sketching the outline of the sushi roll on your paper. Sushi rolls are typically cylindrical in shape, so start by drawing a slightly curved vertical line to represent the roll’s body. Then, sketch two circles on both ends of the line to represent the cross-sections of the roll.
Step 2: Add Detail to the Roll
Now it’s time to add more detail to the sushi roll. Draw a series of curved lines on the body of the roll to represent the layers of rice and filling. These lines should follow the curve of the initial outline you drew in the previous step. Leave some space between the lines to differentiate the layers.
Step 3: Draw the Seaweed Wrap
Sushi rolls are usually wrapped in a sheet of seaweed called nori. To draw the seaweed wrap, sketch a wavy line around the edges of the cylinder shape you created earlier. This wavy line will add texture and make your roll look more realistic.
Step 4: Add Texture to the Rice
Sushi rice has a unique texture that can be represented by drawing small, irregular shapes on the rice layers. These shapes can be dots, lines, or small circles. Place them randomly over the rice layers to create a realistic texture.
Step 5: Detail the Filling
Sushi rolls can have a variety of fillings, such as fish, vegetables, or even tofu. Choose a filling for your roll and add details accordingly. If you decide to draw fish, use curved lines to represent the slices of fish on top of the rice. For vegetables, draw small, irregular shapes to resemble chopped vegetables.
Step 6: Enhance the Seaweed Wrap
To make the seaweed wrap look more realistic, add shading and texture. Shade the areas where the seaweed overlaps or curves, as these areas will be slightly darker. Use short, horizontal lines to mimic the texture of the nori.
Step 7: Add Color (Optional)
If you want to add color to your sushi drawing, now is the time to do so. Use colored pencils or any other coloring medium of your choice to bring your drawing to life. Select appropriate colors for the rice, filling, and seaweed wrap. Remember to blend the colors smoothly for a more realistic appearance.
Conclusion
Congratulations! You have successfully learned how to draw sushi. By following the step-by-step instructions in this tutorial, you were able to create a mouth-watering sushi drawing. Remember, practice makes perfect, so keep honing your drawing skills and experimenting with different fillings and variations of sushi. Enjoy the process of creating art and have fun!
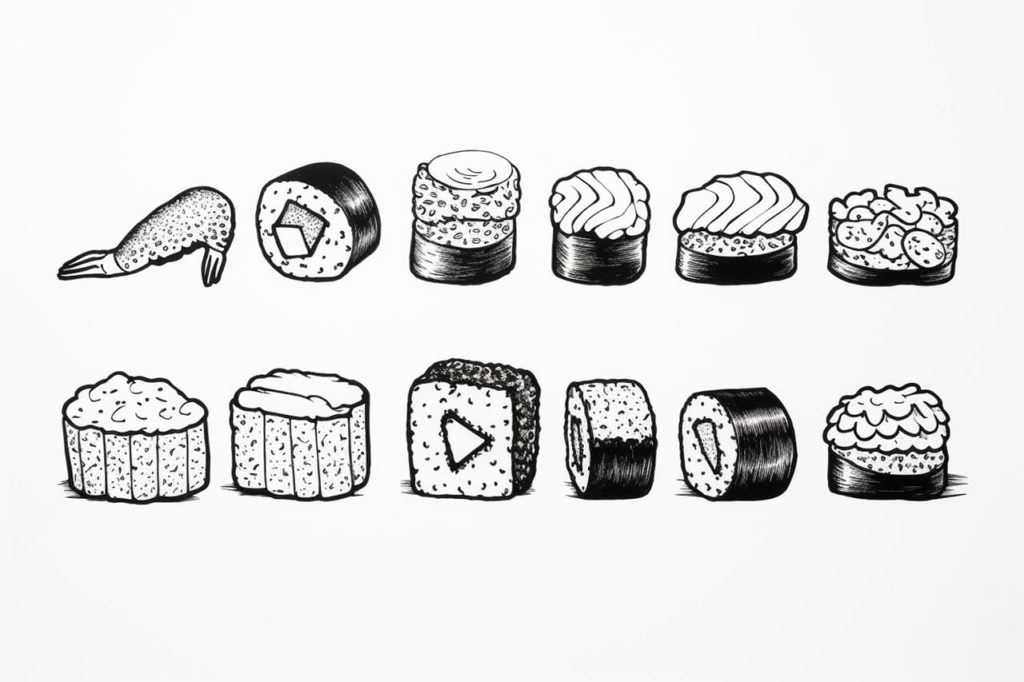
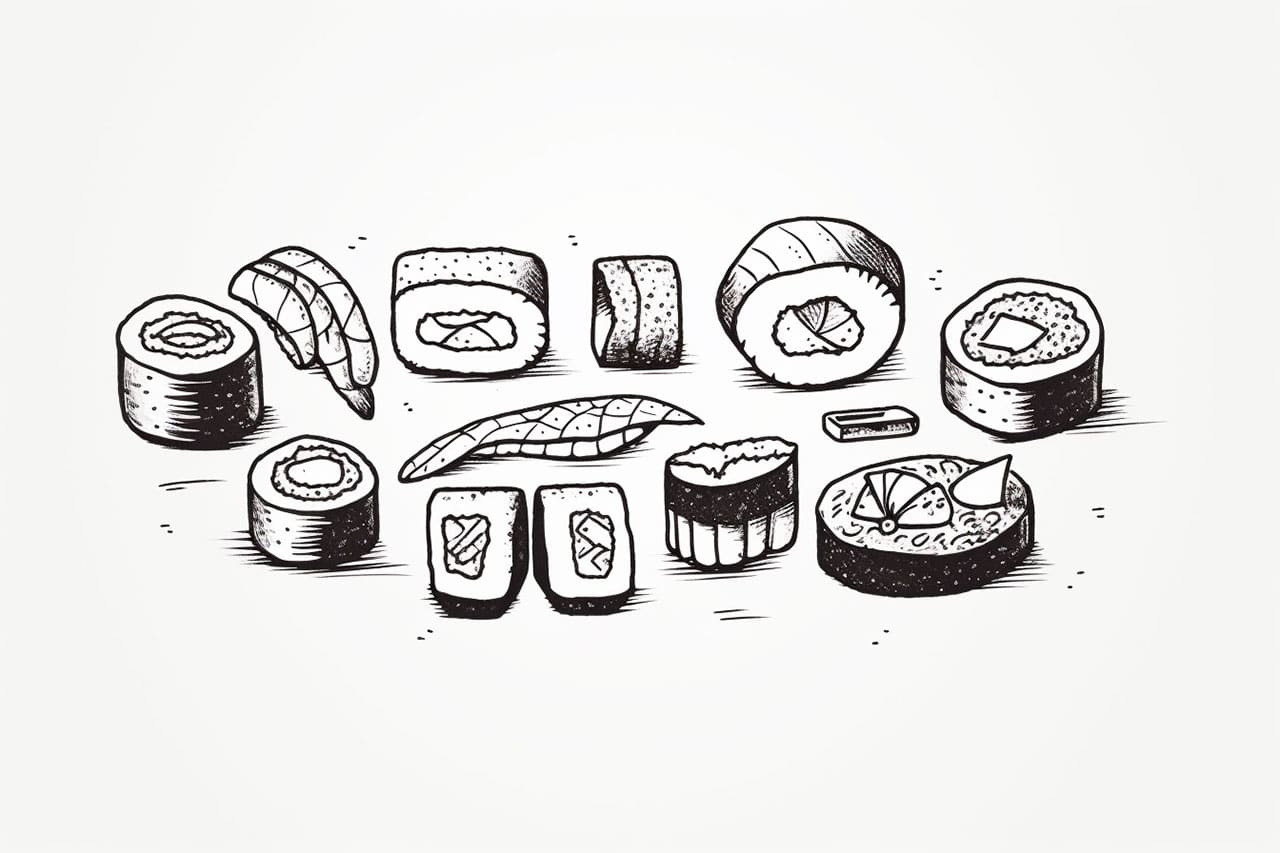
Gallery of Sushi Drawings