Drawing lavender can be a relaxing and rewarding experience. This beautiful flower is known for its delicate petals and calming fragrance. Whether you are an aspiring artist or simply looking for a creative outlet, this step-by-step guide will help you capture the essence of lavender in your artwork.
Materials Required
Before we begin, let’s gather the materials you will need:
- Pencil: Choose a medium-soft graphite pencil for sketching and light shading.
- Paper: Opt for smooth, heavyweight paper that is suitable for drawing.
- Eraser: Have a soft eraser handy for making corrections and adjusting the sketch.
- Fine-Tip Pens or Markers: These will be used for outlining and adding details.
- Colored Pencils or Watercolors: Select colors that resemble lavender, such as varying shades of purple and green.
Now that you have your materials ready, let’s dive into the step-by-step process of drawing lavender.
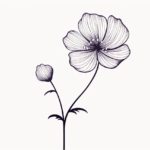
Step 1: Sketch the Basic Shape
Start by lightly sketching the basic shape of the lavender plant. Begin with a vertical line that represents the stem. Then, draw a slightly diagonal line extending from the top of the stem to indicate the main branch. Add a few more branches on either side, making sure they taper and branch out in a natural way.
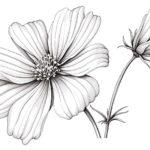
Step 2: Outline the Flowers
Next, focus on outlining the flowers. Lavender flowers are composed of small, interconnected petals that form a spike-like shape. Begin by drawing the central spike of the flowers, keeping it slightly curved. Then, add smaller spikes on each side, gradually decreasing in size as you move towards the top.
Step 3: Add Detail to the Flowers
To add more realism to your drawing, it’s important to capture the fine details of the flowers. Start by sketching small oval shapes at the tip of each spike to represent the individual flower buds. Then, lightly draw curved lines from the base of each bud to create the petals. Remember that the petals should be longer near the bottom and gradually shorten towards the top.
Step 4: Outline the Leaves
Lavender leaves are narrow and elongated. Begin by drawing a few leaves attached to the main stem. Each leaf should be slightly curved with pointed tips. Add smaller leaves on the branches, ensuring they are unevenly spaced and facing different directions. This will give a natural and organic look to your drawing.
Step 5: Add Detail to the Leaves
To bring the leaves to life, it’s essential to add detail. Start by drawing small vein lines running through each leaf. These lines should curve gently following the shape of the leaf. Then, add texture by lightly drawing short, horizontal lines across the surface of the leaves.
Step 6: Refine Your Sketch
Take a step back and assess your drawing so far. This is the stage where you can make any necessary adjustments and refine the overall composition. Erase any unwanted lines or smudges and make sure the proportions and shapes look balanced. Pay attention to the flow and movement of the flowers and leaves.
Step 7: Ink the Final Lines
Once you are satisfied with your sketch, it’s time to ink the final lines. Use fine-tip pens or markers to carefully trace over the outlines of the flowers, leaves, and stem. Make sure to vary the thickness of the lines to add depth and dimension to your artwork. Take your time and work slowly, ensuring steady and confident strokes.
Step 8: Color your Drawing
The final step is to add color to your lavender drawing. If using colored pencils, start by layering different shades of purple to create depth and variation in the flowers. Use light, circular strokes to blend the colors smoothly. For the leaves, use varying shades of green, adding highlights and shadows to enhance their three-dimensional appearance.
If you prefer watercolors, wet the areas you want to color with a clean brush and apply diluted purple and green tones. Let the colors blend and flow naturally. Wait for the paint to dry before adding any details with colored pencils or fine-tip pens.
Conclusion
Drawing lavender requires attention to detail and patience, but the end result is worth it. By following these step-by-step instructions, you can capture the beauty and essence of this lovely flower in your artwork. Remember to enjoy the process and allow your creativity to flourish. So pick up your pencil, gather your materials, and start creating your own stunning lavender drawing.
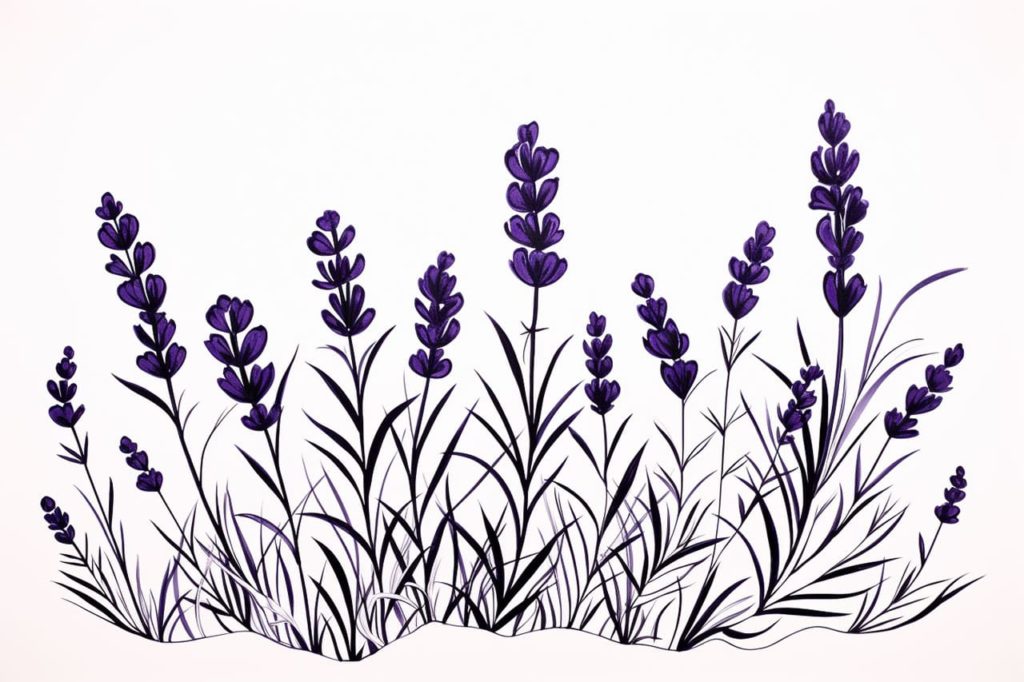
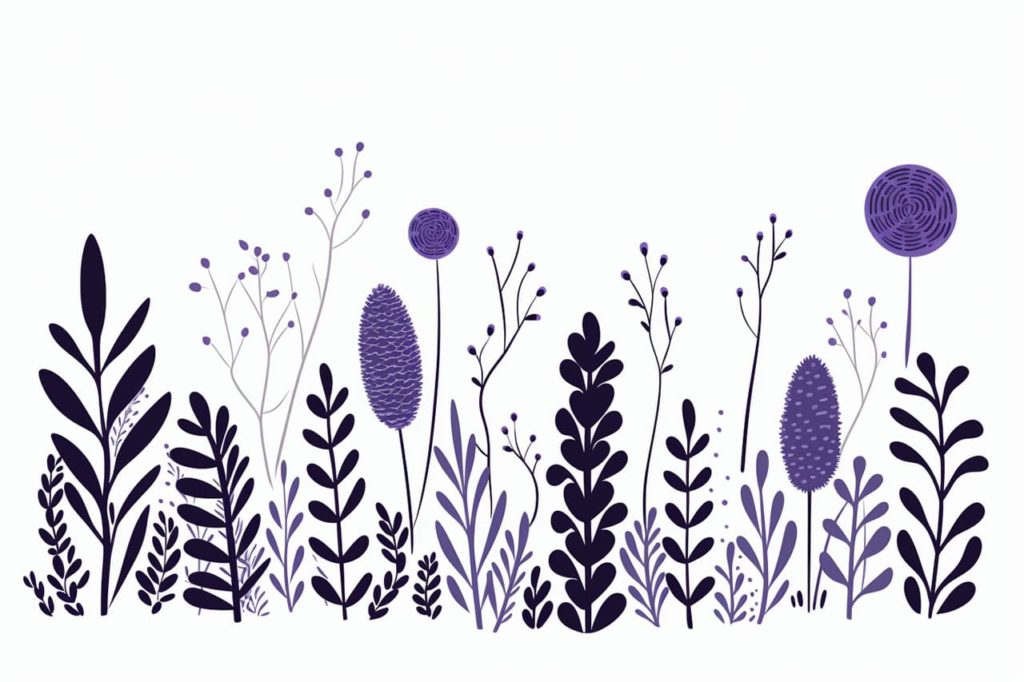
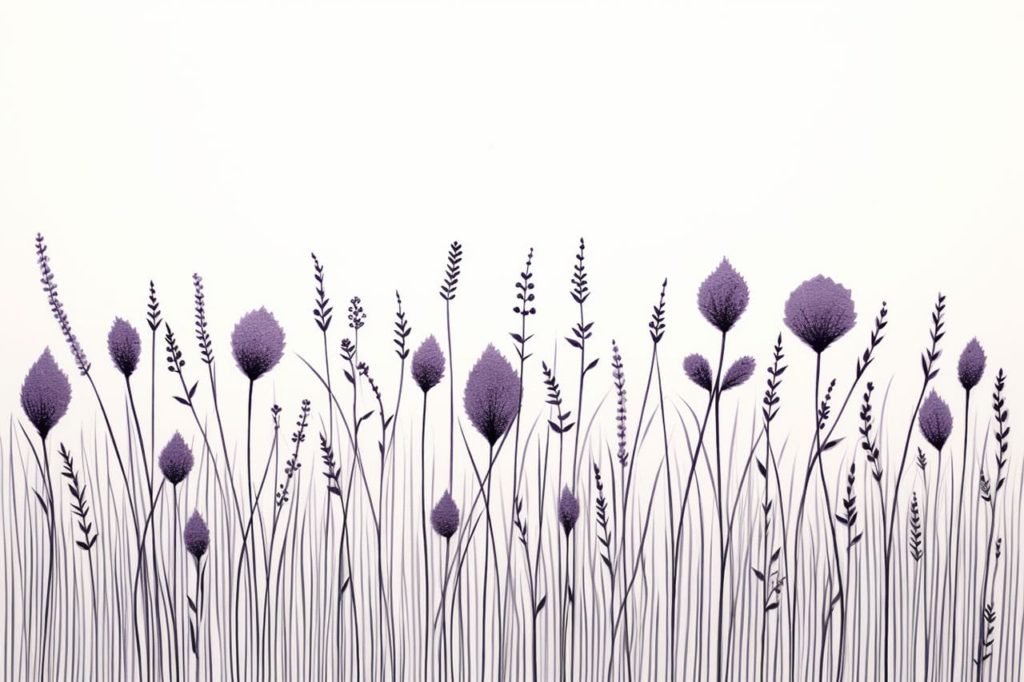
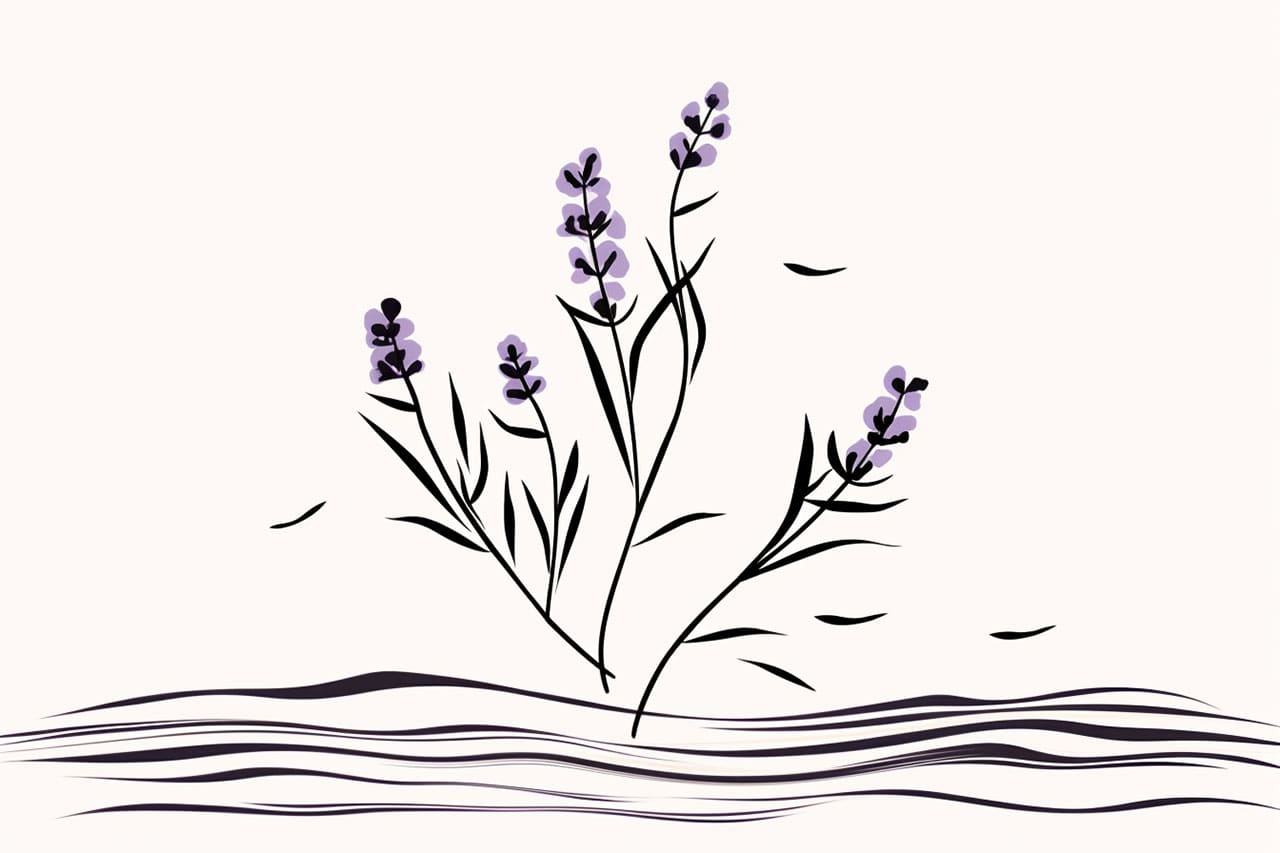
Gallery of Lavender Drawings