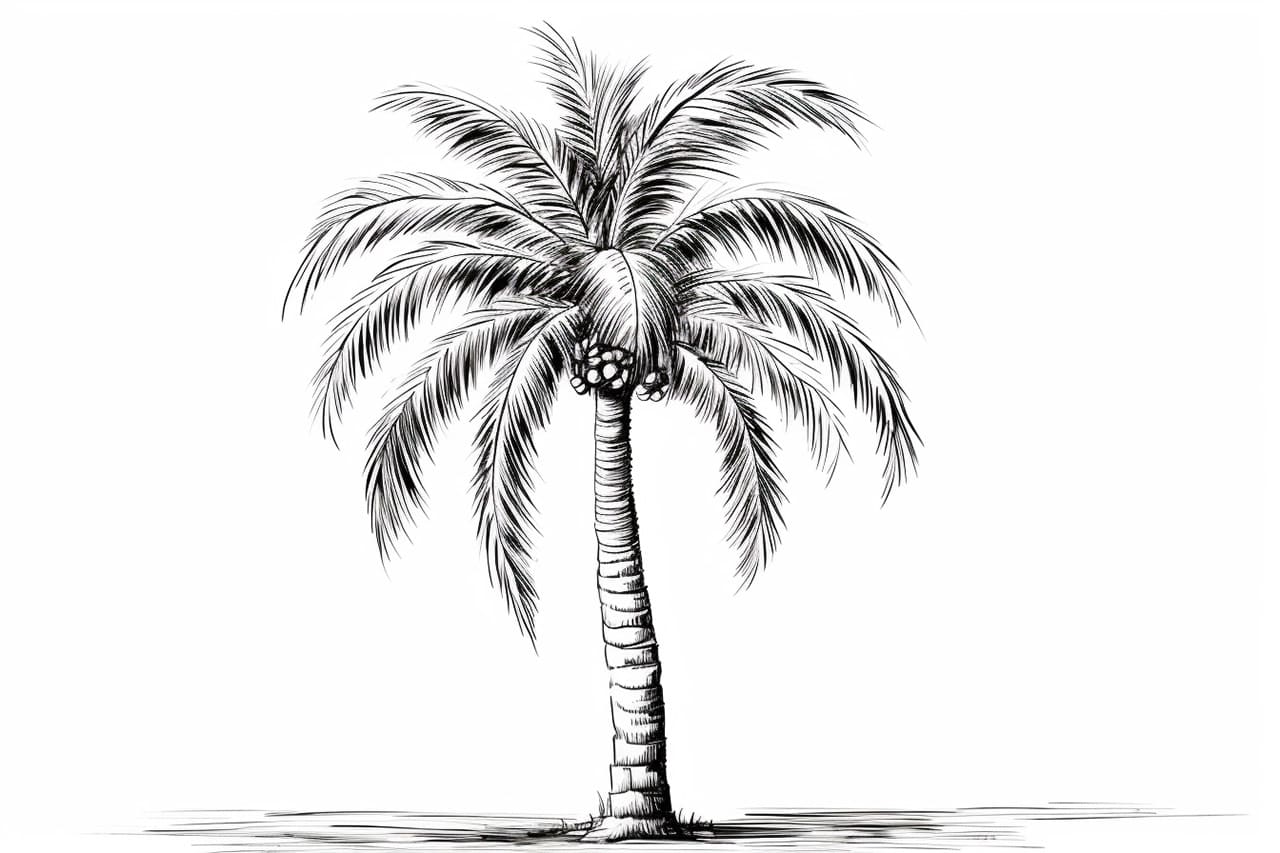
Are you interested in learning how to draw a palm tree? Palm trees are not only iconic symbols of tropical paradise but also make great additions to landscapes and beach scenes in artwork. In this step-by-step guide, I’ll walk you through the process of drawing a realistic palm tree. Let’s get started!
Materials Required
Before we begin, let’s gather the materials you’ll need for this drawing tutorial:
- Drawing paper or sketchbook
- Pencil (preferably an HB or 2B)
- Eraser
- Fine-tipped black pen or marker
- Colored pencils or markers (optional for coloring)
Now that we have our materials ready, let’s dive into the steps for drawing a palm tree.
Step 1: Sketch the Trunk
Start by lightly sketching the basic shape of the tree trunk. Use your pencil to draw two parallel lines, slightly curved, to form the trunk’s outline. Keep in mind that palm tree trunks can have varying shapes and sizes, so feel free to experiment with different shapes.
Step 2: Add Details to the Trunk
Next, let’s add some details to the trunk to make it look more realistic. Draw small vertical lines along the trunk to represent the texture of the bark. Remember to keep these lines slightly curved to match the shape of the trunk. Don’t worry about making them perfect – the natural irregularities of the lines will add character to the tree.
Step 3: Sketch the Fronds (Leaves)
Now it’s time to draw the fronds of the palm tree. Starting from the top of the trunk, draw several long, curved lines extending outward in different directions. These lines will serve as the guidelines for the fronds. Remember that palm tree fronds are generally wider at the top and taper down towards the bottom.
Step 4: Outline the Fronds
Using the guidelines as references, outline the shape of each frond. Start by drawing a slightly curved line from the top of the trunk to the tip of the frond. Then, add smaller curved lines on each side to create the leaflets. The number of leaflets can vary, but a palm tree usually has around 7-12 leaflets per frond. Repeat this process for each frond, following the guidelines you initially sketched.
Step 5: Add Texture to the Fronds
To make the fronds look more realistic, let’s add some texture to them. Draw small, curved lines along the length of each frond to represent the veins. These lines should start from the center of the frond and extend outward towards the leaflet tips. Remember to keep the lines subtle and not too overpowering.
Step 6: Refine the Trunk
Now that the fronds are complete, let’s refine the trunk. Use your pencil to add more texture and detail by drawing additional lines or patterns on the trunk. You can also add some irregularities or knots to give the trunk a more natural look. Take your time with this step, as the trunk serves as the foundation of the palm tree.
Step 7: Ink the Drawing
Once you’re satisfied with your pencil sketch, it’s time to ink your drawing. Use a fine-tipped black pen or marker to carefully go over the pencil lines. Take it slow and steady to ensure clean and confident lines. After inking, allow the ink to dry before erasing any remaining pencil marks.
Step 8: Color your Palm Tree (Optional)
If you want to add some color to your drawing, now is the time to do so. Use colored pencils or markers to bring your palm tree to life. Typically, palm tree trunks are shades of brown or gray, while the fronds can range from various shades of green. Consider adding some highlights or shading to create depth and dimension.
Conclusion
Congratulations! You have successfully learned how to draw a palm tree. By following these step-by-step instructions and using your creativity, you can create stunning palm tree drawings to enhance your artwork or simply enjoy as a standalone piece. Remember to practice regularly and experiment with different techniques to improve your skills. Happy drawing!


