Drawing a sponge can be a simple and enjoyable experience. With some easy steps and practice, you can create a realistic sponge drawing that adds a touch of realism to your artwork. In this tutorial, we’ll break down the process of how to draw a sponge into easy-to-follow steps. So, grab your pencil, eraser, and drawing paper, and let’s get started with how to draw a sponge!
Materials Required
Before we begin, gather the following materials:
- Pencil: A standard graphite pencil is perfect for sketching and adding details.
- Eraser: A good eraser will help you make corrections and refine your drawing.
- Drawing paper: Use a smooth and sturdy drawing paper to achieve the best results.
- Reference picture of a sponge: Having a reference picture will help you understand the details and textures of a real sponge.
Step 1: Observe and Sketch the Basic Shape
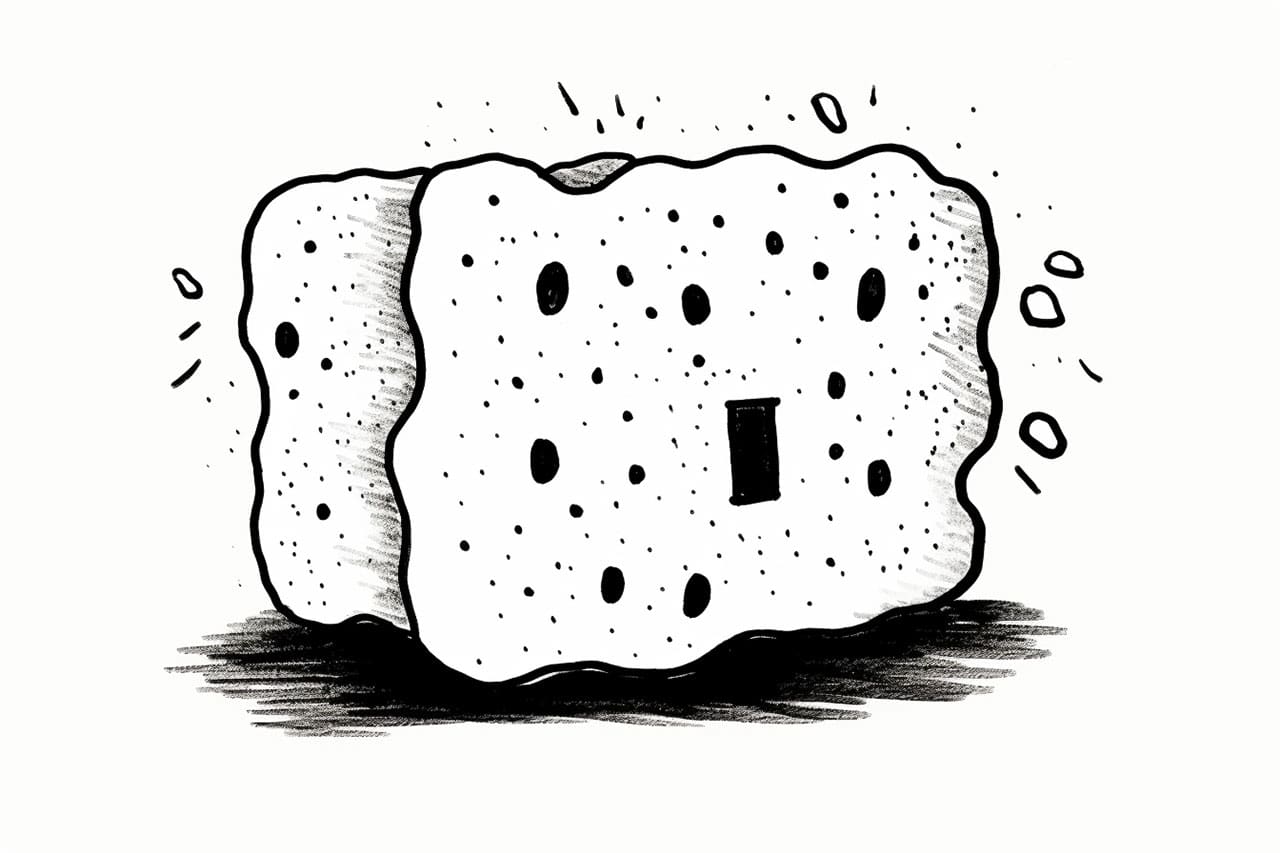
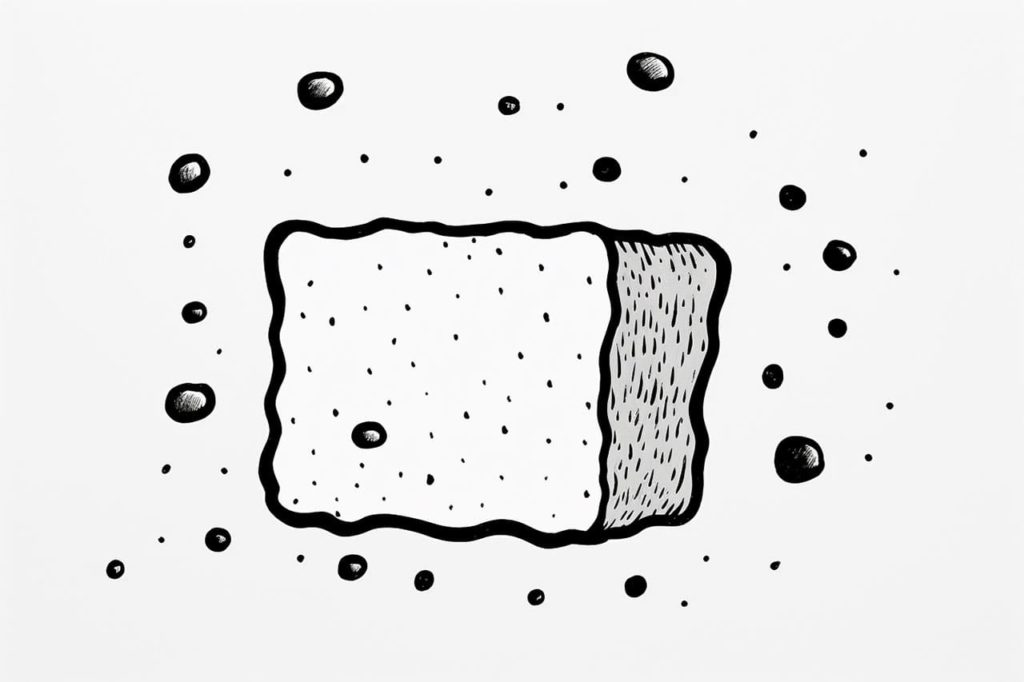
Start by observing a real sponge or a reference picture. Notice the overall shape of the sponge. Sponges come in various irregular shapes, so there is no right or wrong here. Draw a rough, uneven oval shape to represent the basic form of the sponge. Don’t worry about perfection at this stage; we’ll add more details later.
Step 2: Add Texture and Pores
Next, let’s add the characteristic texture of a sponge. Observe the tiny holes and bumps on the surface of the sponge. Use short, random lines and dots to create the porous look. Be mindful of the variation in size and placement of these details to make your drawing more realistic.
Step 3: Refine the Shape
Now that you have the texture in place, it’s time to refine the overall shape of the sponge. Look closely at your reference picture or real sponge, and add more details and irregularities to the basic shape you sketched earlier. Sponges have a crumpled and uneven appearance, so make sure to maintain that rough and natural look.
Step 4: Add Shading for Depth
To make your sponge drawing three-dimensional, you need to add shading. Observe the light source in your reference picture and imagine where the shadows would fall. Shade the areas where the light does not directly hit, such as the crevices, folds, and corners. Use light and gentle strokes to create a gradual transition between the light and dark areas.
Step 5: Work on the Sponge’s Texture
To further enhance the realism of your drawing, focus on the sponge’s texture. Take a closer look at the reference picture, and notice the variations in color and tone. Use subtle changes in shading to create the illusion of depth and texture. The tiny pores and irregularities should be clearly visible, giving your drawing an authentic sponge appearance.
Step 6: Final Touches and Details
Once you’ve completed the shading and texture, take a step back and assess your drawing. Make any necessary adjustments and add any final touches you feel are necessary. Pay attention to the overall composition and balance of your artwork.
Practice and Experiment
Remember, drawing is all about practice and experimentation. Don’t be afraid to try different techniques and styles to create your unique interpretation of a sponge. Keep observing real sponges and other reference pictures to improve your understanding of textures and shapes.
Conclusion
Congratulations! You have successfully learned how to draw a sponge with simple yet effective techniques. By observing real-life objects and practicing regularly, you can enhance your drawing skills and create more realistic and captivating artwork.
Now, go ahead and apply what you’ve learned to other subjects and objects. Happy drawing!
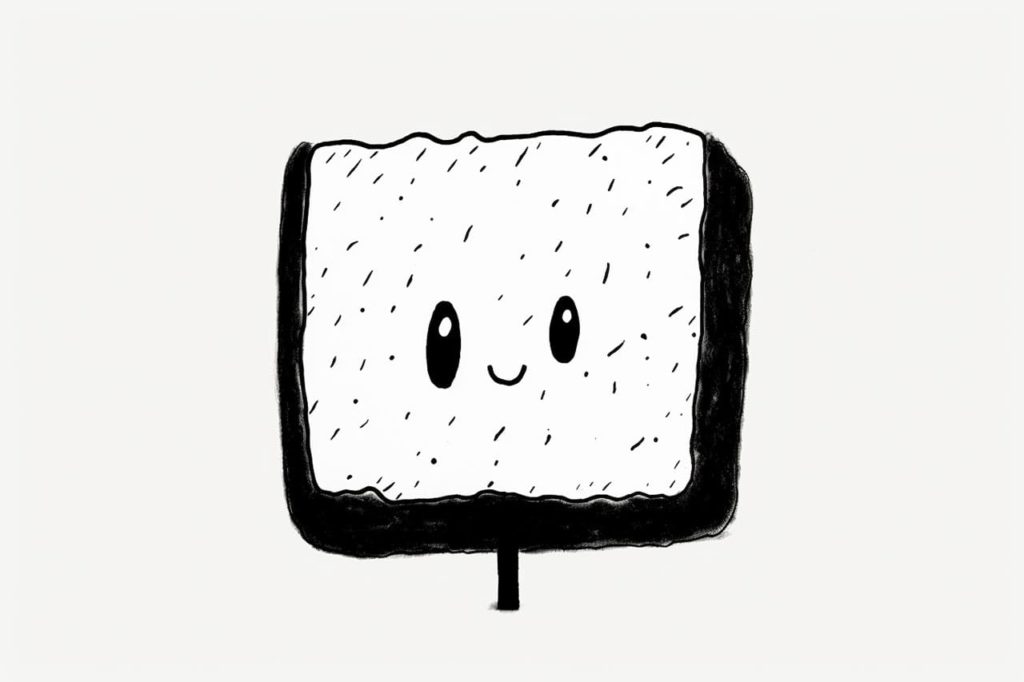
Gallery of Sponge Drawings
Check out some more examples of sponge drawings in our gallery.

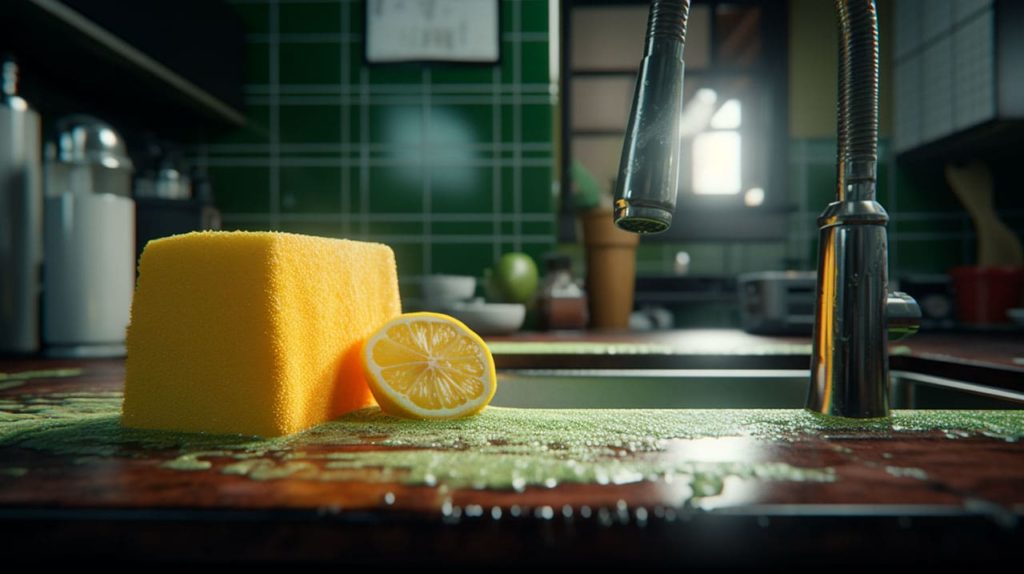
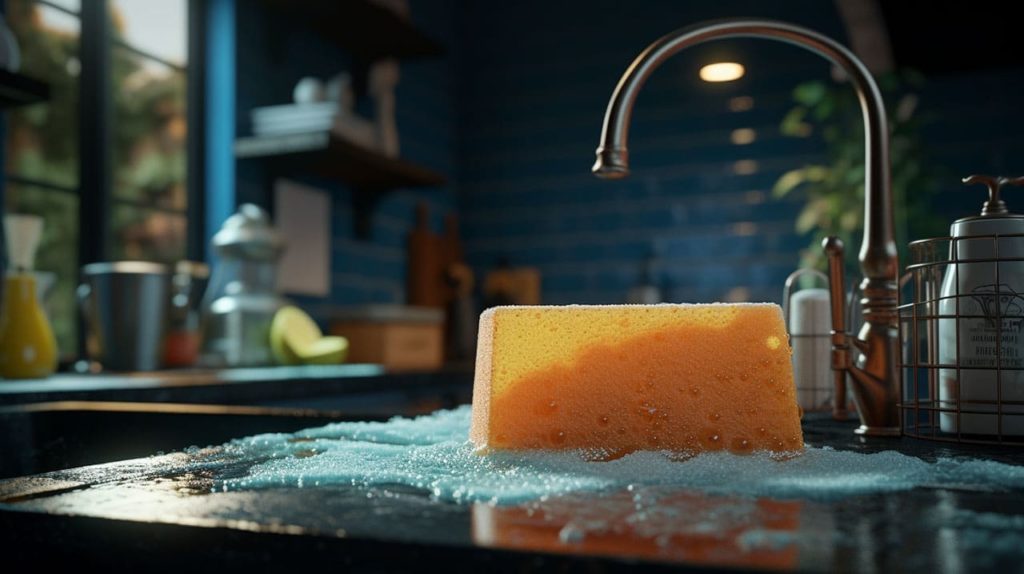
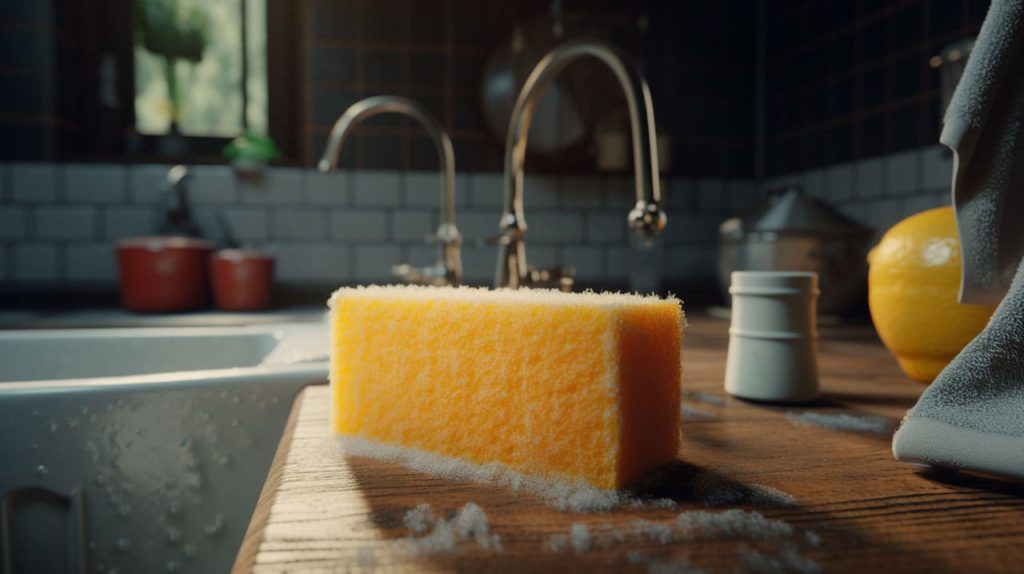
Reference Images of a Sponge
Use these reference images to help when drawing or sketching your own sponge art.

Video of a Sponge
A cool and quirky animation of a sponge to give you more sponge drawing inspiration.
Frequently Asked Questions About How to Draw a Sponge
How do you draw a sponge step by step?
Drawing a sponge step by step is a straightforward process. Begin by sketching a slightly irregular oval or rectangular shape to form the base of the sponge. Next, add small, random bumps and holes across the surface of the shape to mimic the porous texture of a sponge. Make sure these elements are varied in size and placement for a more realistic appearance. To enhance the sponge’s three-dimensional quality, add shading by lightly hatching or stippling in the areas where shadows would naturally fall, such as in the crevices and on the sides. This simple step-by-step approach allows you to create a sponge drawing with convincing texture and depth.
How do you draw a realistic sponge?
To draw a realistic sponge, start by observing and studying real sponges to understand their textures and shapes. Begin your drawing with a light outline of the sponge’s basic form, typically an irregular oval or rounded shape with a slightly porous surface. Pay close attention to the sponge’s unique surface details, which often include small holes, creases, and folds. Use a combination of shading techniques, such as stippling, hatching, and cross-hatching, to replicate the texture and shadows accurately. Gradually build up layers of shading to give the sponge a three-dimensional appearance, focusing on highlights and lowlights to create depth. Continuously refer to your reference image and refine your drawing until it closely resembles the real-life sponge’s intricate texture and shape, resulting in a realistic representation. That’s how to draw a sponge in a realistic way!