Drawing is a skill that anyone can learn with practice and guidance. In this step-by-step tutorial, you will learn how to draw a groundhog, one of the iconic animals of the animal kingdom. By following these simple instructions, you will be able to create a realistic and detailed representation of this cute creature. So grab your drawing supplies and let’s get started!
Materials:
- Drawing paper
- Pencil
- Eraser
- Fine-tipped black pen or marker
- Colored pencils or markers (optional)
Step 1: Sketch the Basic Shapes
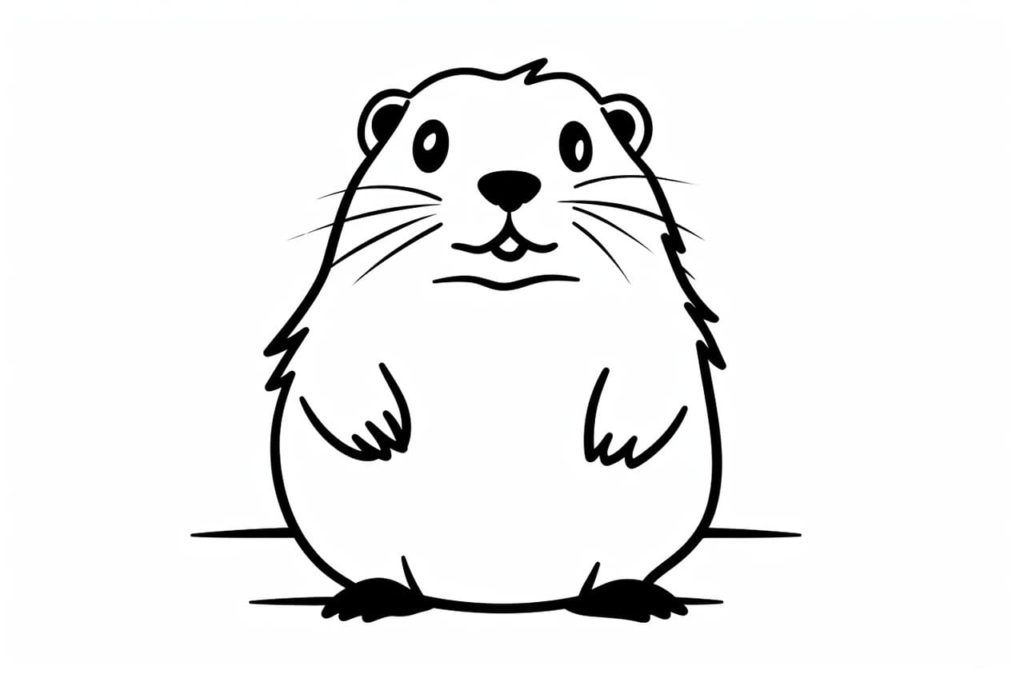
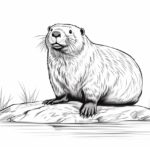
Start by lightly sketching the basic shapes that make up the groundhog’s body. Begin with an oval shape for the head and a larger oval shape for the body. These shapes will serve as guidelines for the rest of the drawing.
Step 2: Add the Facial Features
Now, let’s focus on the groundhog’s face. Draw two small circles for the eyes, leaving a bit of space in between. Add a rounded triangle shape for the nose and a curved line for the mouth. Don’t worry about adding too many details at this point; we’ll refine them later.
Step 3: Outline the Body
Using the basic shapes as a guide, carefully outline the groundhog’s body. Pay attention to the contours and curves, making sure to capture the overall shape accurately. Start with the head and work your way down to the body.
Step 4: Refine the Facial Features
Next, refine the facial features of the groundhog. Add more detail to the eyes by drawing small circles within them to represent the pupils. Enhance the nose by adding a small curved line on each side. Use short, curved lines to create the mouth, giving the groundhog a friendly expression.
Step 5: Draw the Ears and Fur
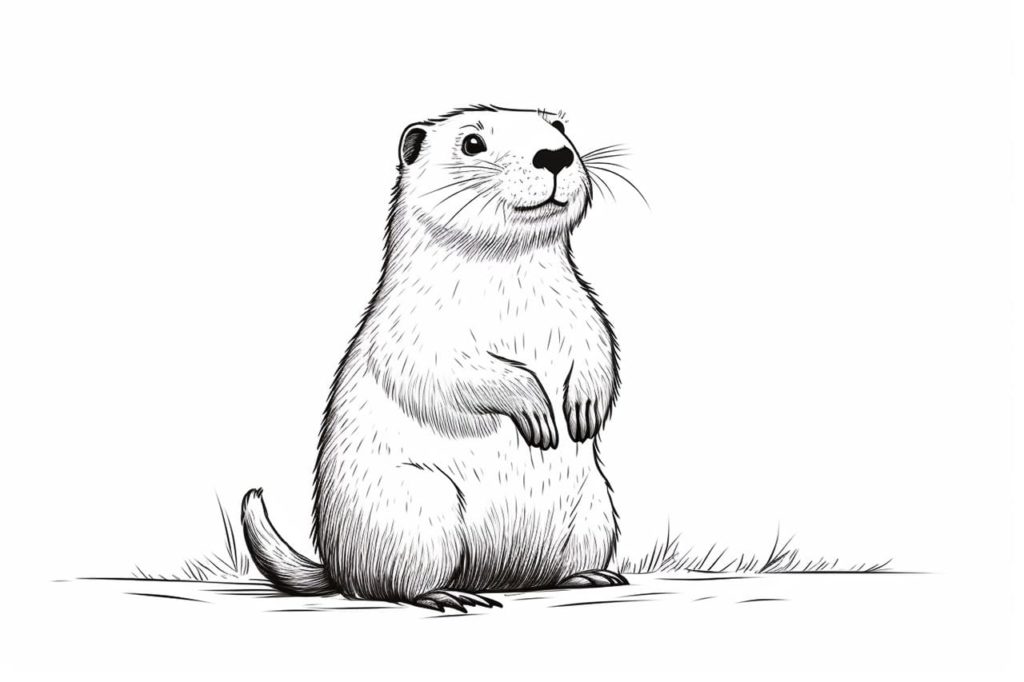
To complete the head, add two small curved lines on top of the oval shape to represent the groundhog’s ears. Then, using short, quick strokes, draw the fur around the face and body. Pay attention to the direction of the fur and use lighter strokes for a more realistic effect.
Step 6: Add Legs and Paws
Now it’s time to draw the groundhog’s legs and paws. Start by sketching two long, curved lines extending from the bottom of the body. Then, at the end of each line, draw three small ovals for the paws. The front legs should be slightly shorter than the back legs.
Step 7: Outline the Tail
Extend a curved line from the back of the groundhog’s body to create its tail. Make the tail fluffy by adding small, curved lines along its length. Remember to keep the tail proportionate to the rest of the body.
Step 8: Finalize the Details
Take this opportunity to refine and add any additional details to your groundhog drawing. Pay attention to the contours of the body, adding depth and volume where needed. Add more fur texture and define the features of the face, such as wrinkles or fur patterns.
Step 9: Erase Unnecessary Guidelines
Carefully erase any visible guidelines or construction lines that you no longer need. Use a gentle touch to avoid smudging your drawing and maintain the cleanliness of your lines.
Step 10: Ink or Darken Your Drawing
Once you’re satisfied with your pencil sketch, trace over the final lines with a fine-tipped black pen or marker. This will make your drawing stand out and give it a more finished appearance. Be confident with your lines and vary the thickness to add depth and dimension.
Step 11: Color Your Drawing (optional)
If you prefer to add color to your drawing, grab your colored pencils or markers and carefully color in your groundhog. Groundhogs typically have brown fur with lighter shades on their undersides. You can also add shading and highlights to make your drawing more realistic.
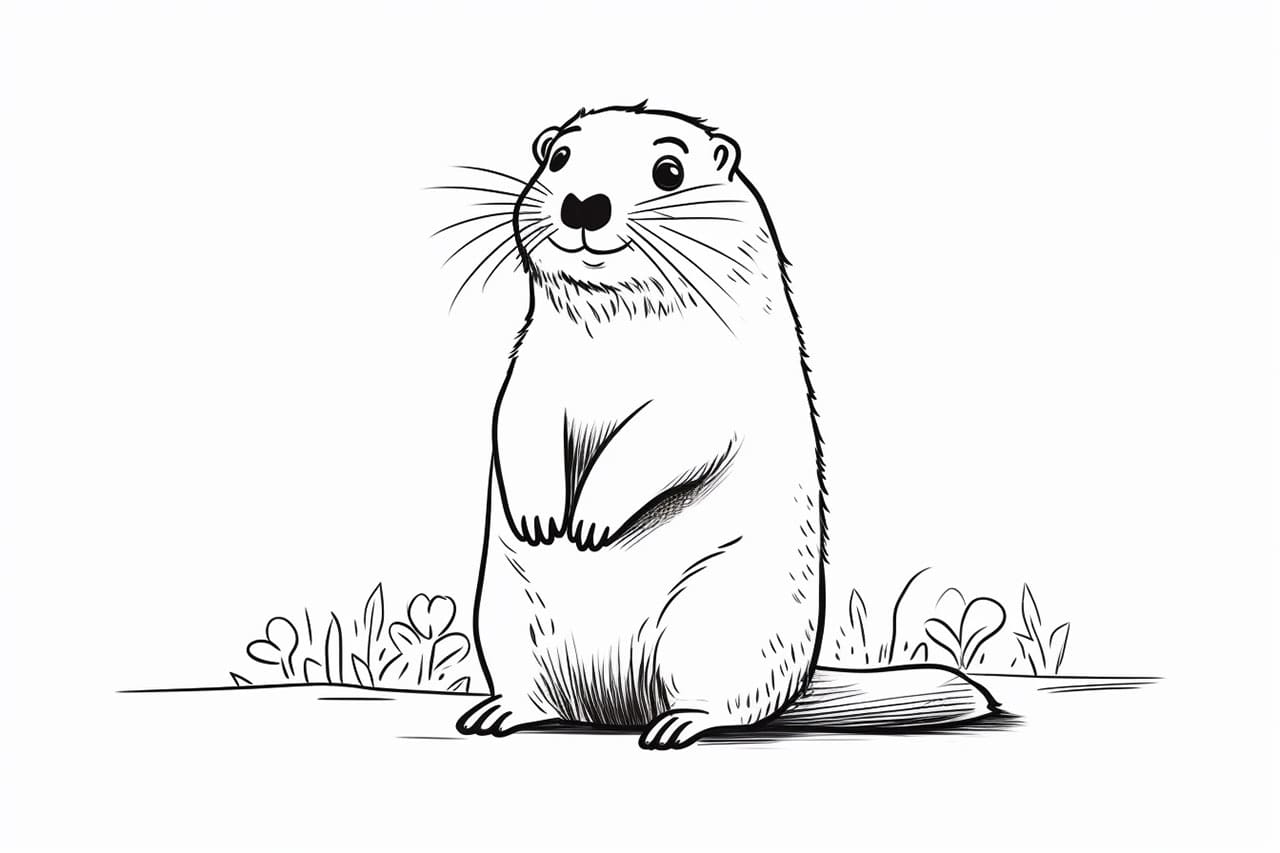
Congratulations! You have successfully learned how to draw a groundhog from start to finish. By following these step-by-step instructions, you have created a detailed and accurate representation of this adorable animal. Remember, practice is key to improving your drawing skills, so keep experimenting and exploring new subjects. Enjoy the process and keep up the great work!
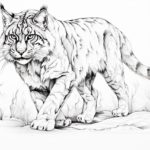
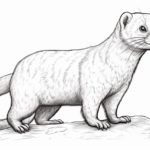
Gallery of Groundhog Drawings