Welcome to this step-by-step tutorial on how to draw an acorn! Whether you’re a beginner or an experienced artist, learning to draw the basic shapes of nature can be a great way to enhance your skills. In this guide, I will walk you through the process of drawing an acorn, from capturing its unique form to adding the final details. So grab a pencil and let’s get started!
Materials Required:
To begin this drawing tutorial, you’ll need the following materials:
- Pencil
- Eraser
- Drawing paper
- Fine-tip pen or marker (optional)
Make sure you have these materials handy before you start drawing, as they will greatly aid you in creating an accurate and detailed representation of an acorn.
Step 1: Sketch the Outline
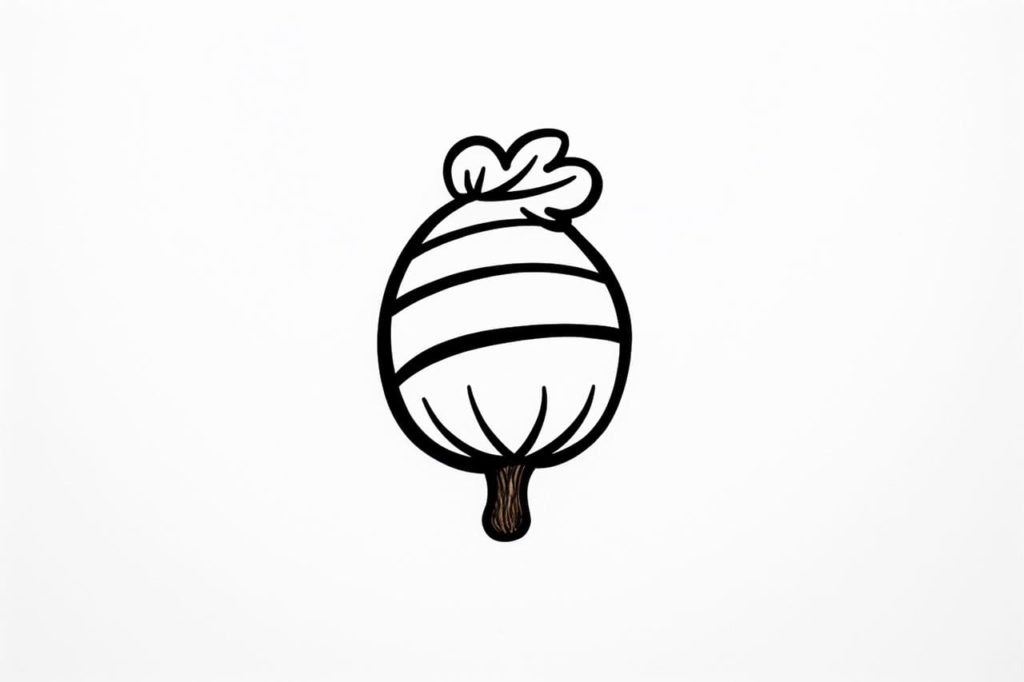
Start by lightly sketching an oval shape for the body of the acorn. This will serve as a guide for the overall shape of the acorn. Keep the lines faint at this stage, as they will be erased later.
Step 2: Draw the Cap
Above the oval shape, draw a slightly curved line that represents the cap of the acorn. The cap should be larger than the oval shape, with a slightly wavy outline to depict its natural texture.
Step 3: Refine the Acorn Shape
Using the initial oval shape as a guide, refine the outline of the acorn by following its contours. Make the bottom part of the acorn slightly narrower than the top, creating a tapered effect.
Step 4: Add Texture to the Cap
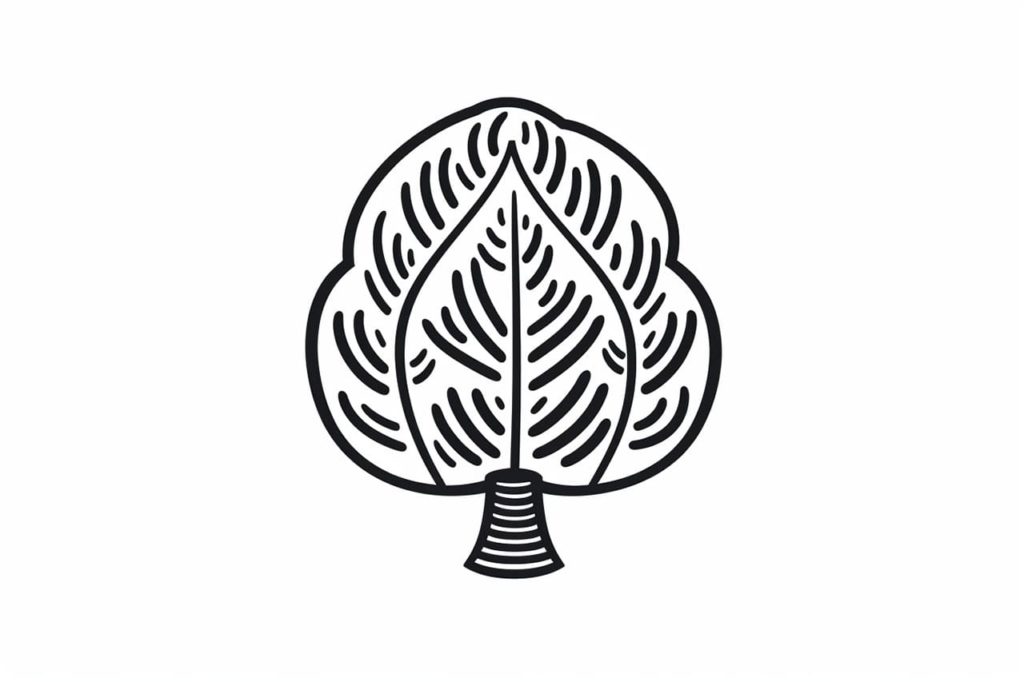
To make the cap of the acorn appear more realistic, add some texture to it. Draw short, curved lines across the surface of the cap, following its shape. These lines should be evenly spaced and should radiate from the top center of the cap, creating a sense of depth and detail.
Step 5: Include the Acorn’s Tip
At the top of the acorn, draw a small, pointed tip. This will complete the overall shape of the acorn and add a finishing touch to your drawing.
Step 6: Refine the Details
Take a closer look at your drawing and refine any areas that need improvement. This is the point where you can erase any unnecessary guidelines and adjust the shapes and lines to create a more polished representation of an acorn.
Step 7: Add Shadows and Shading
Now that you have the basic outline of the acorn, it’s time to add some depth and dimension to your drawing. Decide on the direction of the light source and add shadows accordingly. Use hatching or cross-hatching techniques to create shading, making sure to vary the pressure of your pencil to achieve different depths of darkness.
Step 8: Ink or Outline Your Drawing (Optional)
Once you are satisfied with your pencil drawing, you can choose to outline it with a fine-tip pen or marker. This step is optional but can add a bold and defined look to your artwork.
Step 9: Erase the Guidelines
Carefully go over your drawing and erase any remaining pencil guidelines. Take your time during this step to avoid accidentally erasing any important lines or details.
Step 10: Final Touches
To emphasize the texture of the acorn cap, you can add extra lines or dots to further enhance the detail. Additionally, you can use a blending tool or your fingers to smudge and soften the shading, creating a more realistic appearance.
Congratulations! You have successfully drawn an acorn. Remember that practice makes perfect, so keep drawing and experimenting with different techniques to further refine your skills.
Conclusion
In conclusion, drawing an acorn can be an enjoyable and rewarding artistic exercise. By following these step-by-step instructions, you can capture the unique shape and texture of an acorn with ease. Remember to start with a light sketch, refine the details, add shadows and shading, and make any necessary adjustments along the way. With practice, you’ll be able to create stunning representations of nature’s beauty.
So grab your pencils and start exploring the world of drawing acorns today!
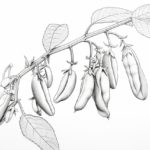
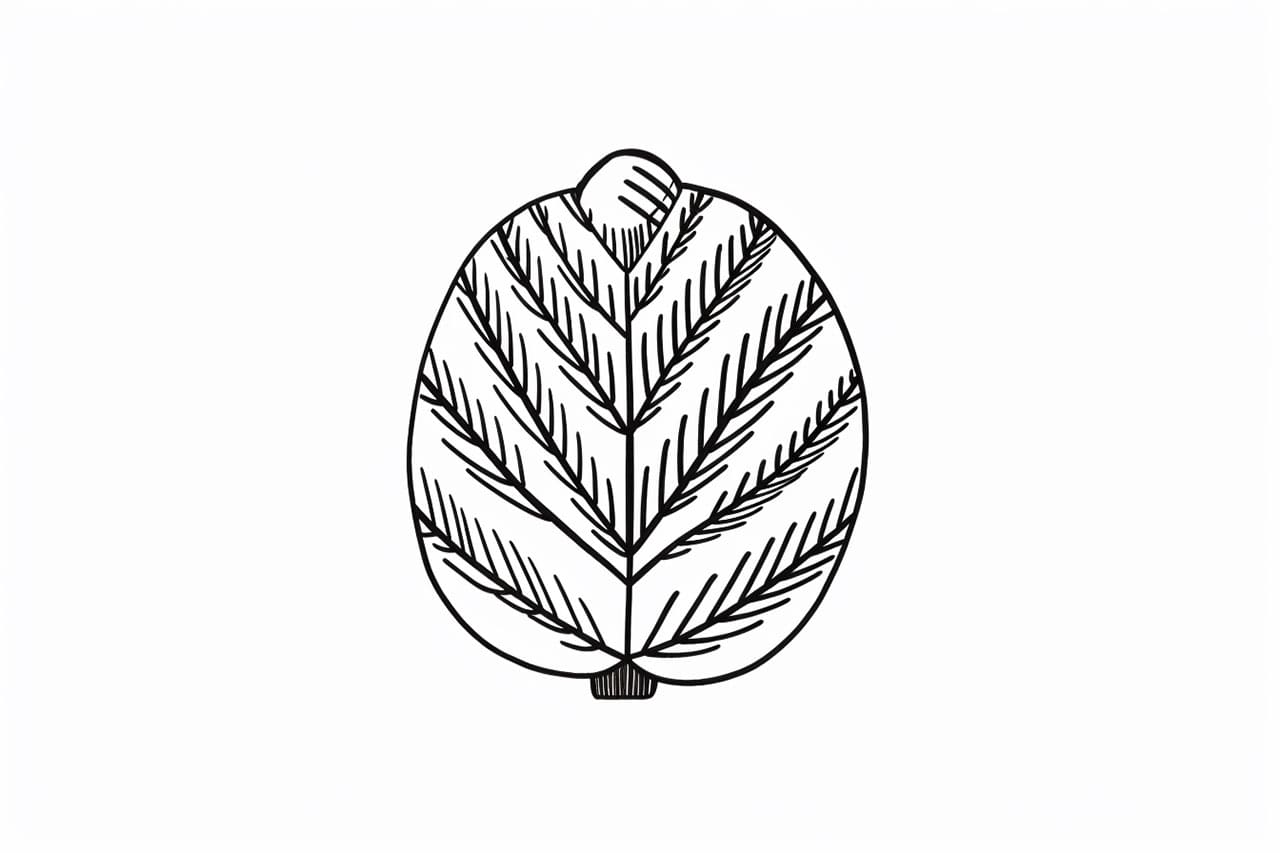
Gallery of Acorn Drawings