Whether you’re an aspiring artist or just looking to have some fun, drawing a pretzel can be a delightful and satisfying experience. The intricate twists and turns of a pretzel make it an interesting subject to recreate on paper. In this step-by-step guide, I will walk you through the process of drawing a pretzel in a clear and concise manner. So grab your pencils and let’s get started!
Materials Required
Before we begin, make sure you have the following materials handy:
- Paper: Use a high-quality drawing paper that can handle pencil shading.
- Pencils: Have a range of graphite pencils, including HB, 2B, and 4B, to achieve various shades.
- Eraser: A good quality eraser will help you make corrections when needed.
- Blending Stump: This tool is useful for creating smooth shading and blending pencil strokes.
- Ruler: Use a ruler or any straight edge to draw precise lines.
Now that you have your materials ready, let’s dive into the steps of drawing a pretzel!
Step 1: Sketch the Basic Shape
Start by sketching a rough oval shape in the center of your paper. This will serve as the base for your pretzel. Don’t worry about getting it perfect at this stage, as we will refine the shape later on.
Step 2: Divide the Oval into Four Sections
Using your ruler, draw two vertical lines and two horizontal lines across the oval. These lines will divide the oval into four equal sections. This will help you create the symmetrical shape of the pretzel.
Step 3: Add the Twists
In each section, draw a curved line that connects both ends of the oval. These lines will form the pretzel’s twists. Make sure the lines follow the shape of the oval and create a loop-like structure.
Step 4: Refine the Shape
Now that you have the basic structure of the pretzel, it’s time to refine the shape. Use your eraser to gently remove any unnecessary lines from the previous steps. Then, using light pencil strokes, start adding more volume and definition to the twists of the pretzel. Pay attention to the curves and bends, as they give the pretzel its characteristic look.
Step 5: Add Texture
To make your pretzel drawing more realistic, it’s important to add texture. Using your pencils, lightly shade the twists of the pretzel to give them a three-dimensional appearance. Start with a lighter shade and gradually build up the darkness by layering your pencil strokes. Pay close attention to the areas where the twists overlap, as they will cast shadows.
Step 6: Shade the Background
To make the pretzel stand out, it’s a good idea to add some shading to the background. Use your pencils to create a gradient effect, starting with a darker shade at the top and gradually getting lighter towards the bottom. This will create a sense of depth and make the pretzel pop.
Step 7: Final Details
Now that you have the basic structure and shading in place, it’s time to add the final details. Use your pencils to darken the outlines and add small creases and lines to the twists of the pretzel. This will enhance the texture and give your drawing a polished look.
Conclusion
Congratulations! You have successfully learned how to draw a pretzel from start to finish. By following these step-by-step instructions, you can create a realistic and visually appealing drawing of this delicious treat. Remember to be patient and have fun while drawing. With practice, you’ll be able to master the art of drawing pretzels and other intricate objects. So grab your pencils, get creative, and enjoy the process of bringing the pretzel to life on paper!
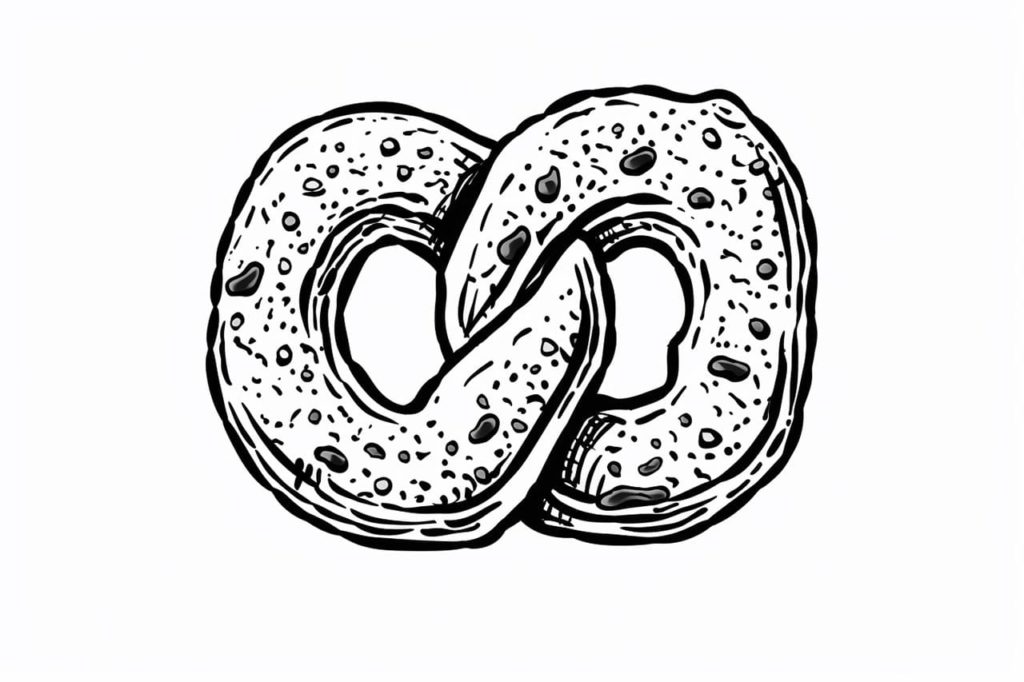
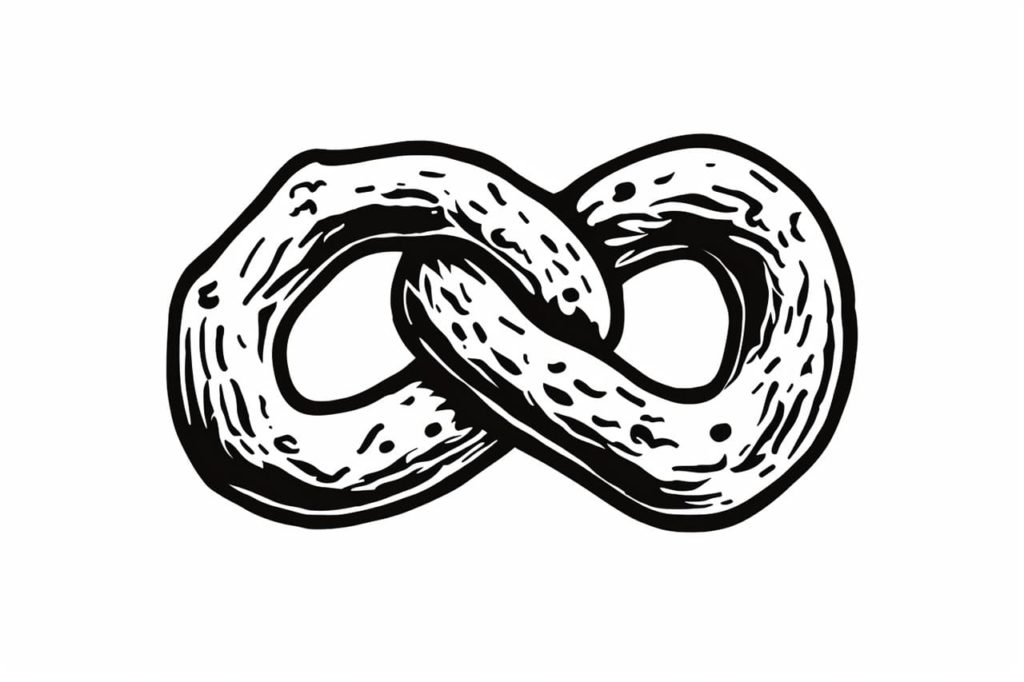
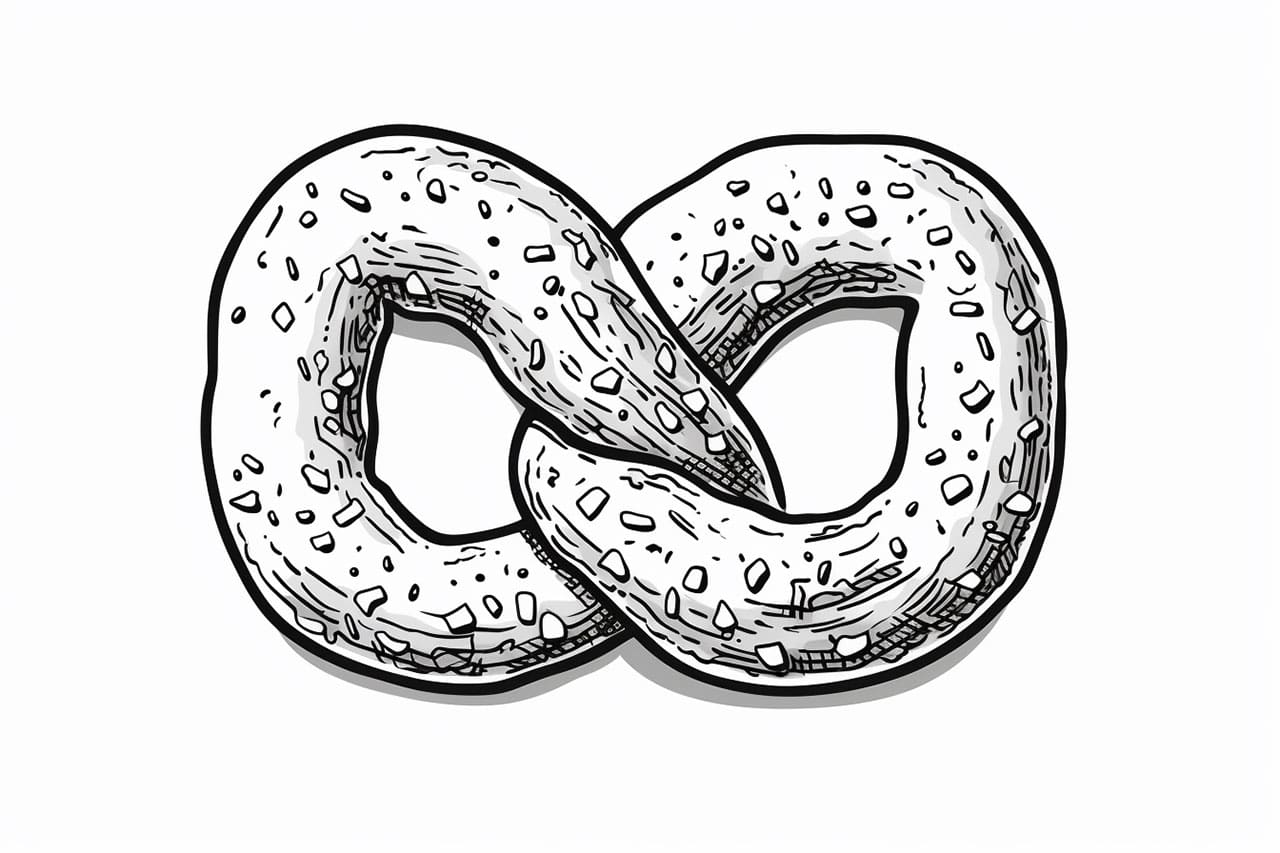
Gallery of Pretzel Drawings