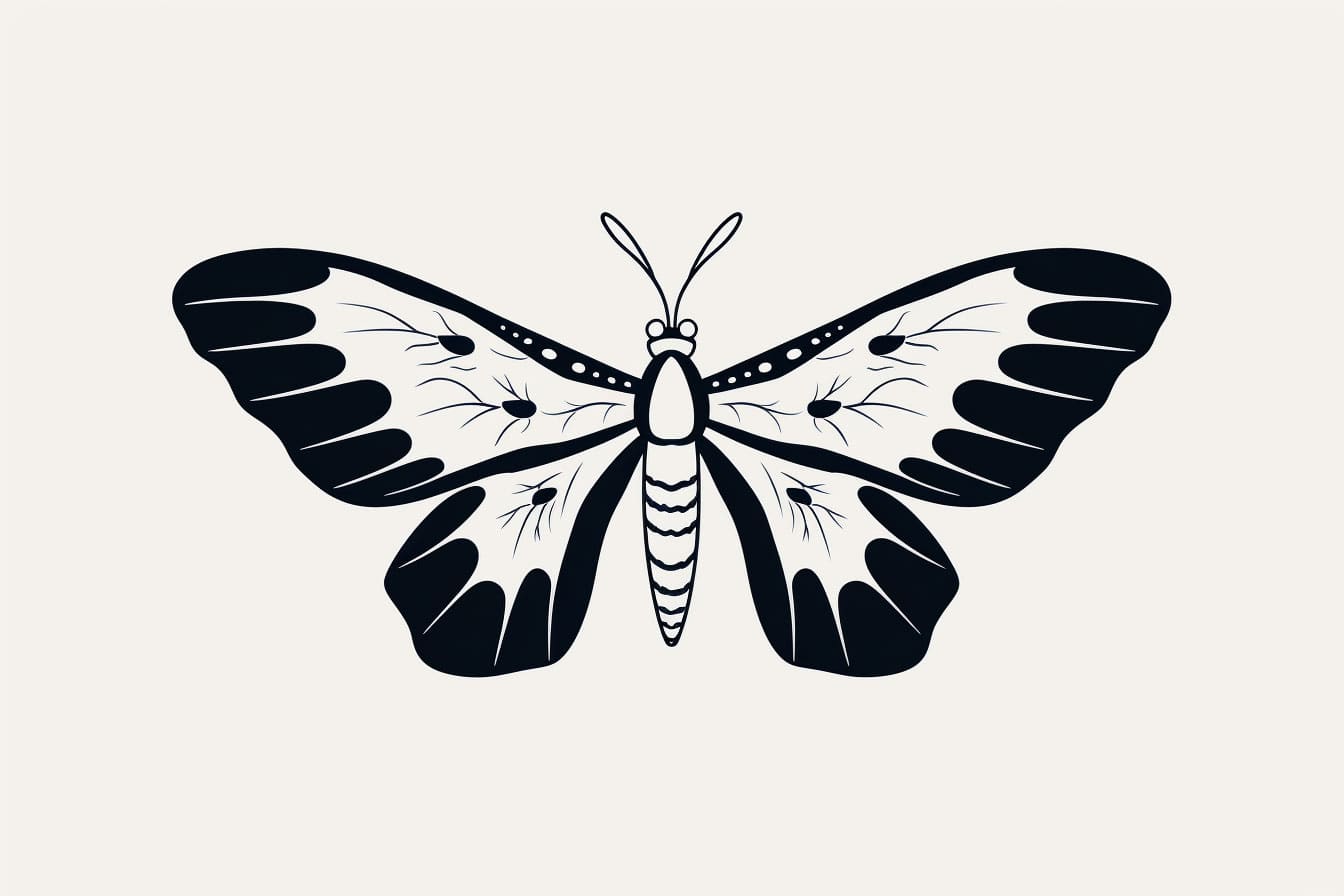
Drawing can be a great way to express your creativity and enhance your artistic skills. If you are interested in drawing insects, moths are a fascinating subject to explore. With their intricate patterns and delicate wings, moths provide an interesting challenge for any artist. In this tutorial, we will guide you through the process of how to draw a moth step-by-step. By following these simple instructions, you will be able to create a realistic moth drawing that captures its beauty.
Materials Required:
To begin your moth drawing, you will need the following materials:
- Pencil: Start with a medium-soft pencil, such as an HB or 2B, for sketching.
- Eraser: Choose a soft eraser to correct any mistakes or lighten areas of your drawing.
- Paper: Use a smooth paper that is suitable for drawing. A sketchbook or drawing pad is ideal.
With your materials ready, let’s get started!
Step 1: Observe the Moth
Before you begin drawing, it’s important to observe the moth you want to depict. Take a close look at its shape, wingspan, and pattern. Notice any unique characteristics that will help you capture its essence on paper.
Step 2: Start with Basic Shapes
To build the foundation of your moth drawing, begin by lightly sketching basic shapes. Start with an oval for the body and two smaller ovals for the wings on either side. Don’t worry about details at this stage – focus on proportion and placement.
Step 3: Refine the Outline
Using your initial shapes as a guide, start refining the outline of the moth. Pay attention to the curves and angles of the body and wings. Use light, confident strokes to create a smooth line.
Step 4: Add Details to the Wings
Now it’s time to add the intricate details to the moth’s wings. Moth wings usually have fine lines and patterns. Study the wings of your reference and replicate the lines and patterns on your drawing. Take your time and use short, light strokes.
Step 5: Shade the Body and Wings
To give your moth drawing depth and dimension, add shading to the body and wings. Observe the areas of light and shadow on the moth and replicate them in your drawing. Use cross-hatching or stippling techniques to create realistic texture.
Step 6: Add Final Touches
Review your drawing and make any necessary adjustments or refinements. Erase any stray lines or smudges. Consider adding additional details, such as antennae or subtle patterns, to enhance the realism of your moth.
Conclusion
Drawing a moth can be a rewarding experience for artists of all skill levels. You have learned how to create a realistic moth drawing by following the step-by-step instructions in this tutorial. Remember to observe your subject closely, use basic shapes as a foundation, and add details and shading to bring your drawing to life. With practice and patience, you can continue refining your moth drawing skills and exploring the beauty of these fascinating creatures.
We hope this tutorial has inspired you to experiment with drawing moths and explore the world of insect art. Happy drawing!

