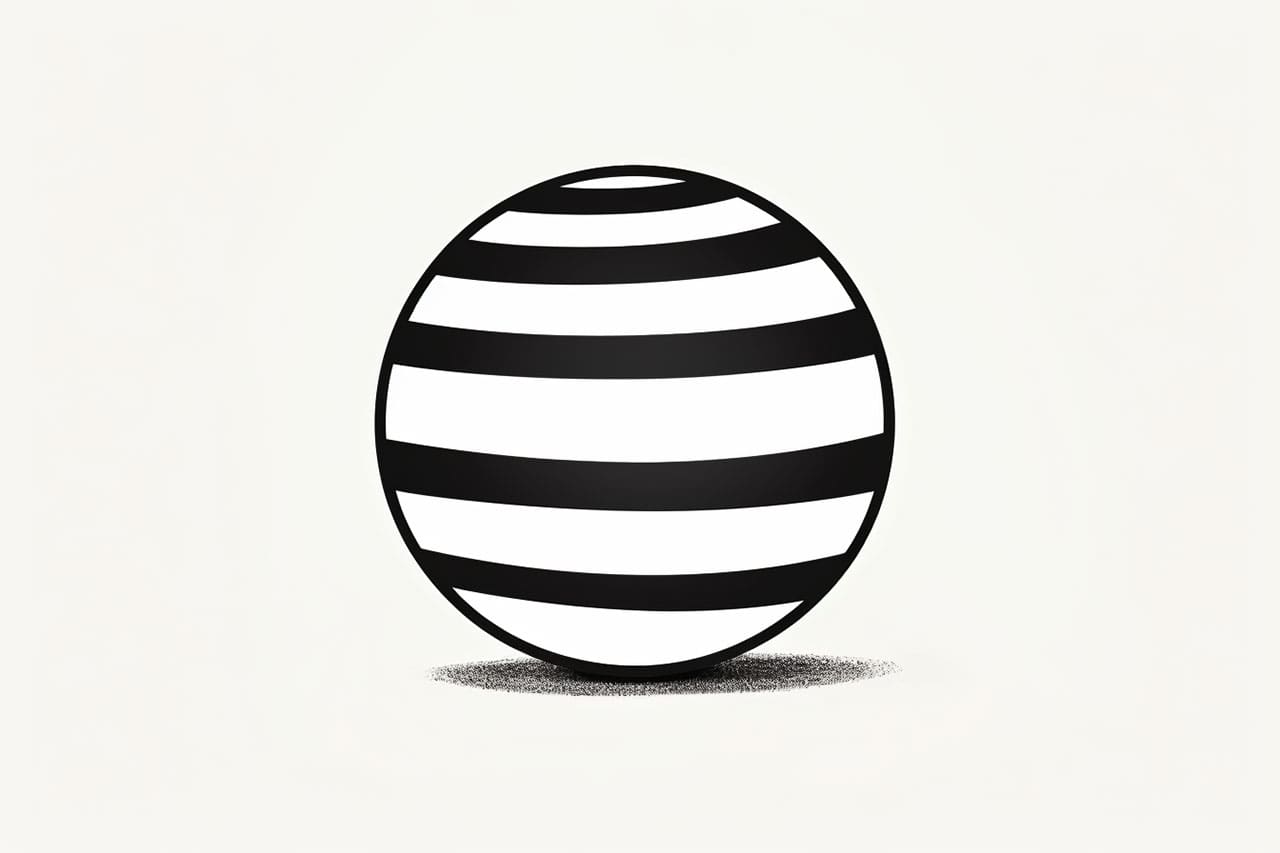
Are you looking to add some summer fun to your drawings? Drawing a beach ball is the perfect way to capture the sunny spirit of the beach. In this step-by-step tutorial, I will guide you through the process of how to draw a beach ball with ease. So grab your drawing materials and let’s dive in!
Materials Required
Before we begin, make sure you have the following materials ready:
- Paper: A smooth and sturdy paper is ideal for drawing. You can use a sketchbook or any other paper that you feel comfortable drawing on.
- Pencil: A graphite pencil with a medium or soft lead will work well for sketching the beach ball.
- Eraser: A kneaded eraser or a soft eraser is recommended for easy corrections and clean lines.
- Ruler: To create accurate shapes and straight lines, keep a ruler handy.
- Colored pencils or markers: Choose your favorite colors to bring your beach ball to life. Colored pencils are great for shading and blending, while markers give a vibrant and bold look.
Now that we have our materials ready, let’s begin drawing our beach ball!
Step 1: Sketch the Outline
Start by lightly sketching a large circle in the center of your paper. This will be the outline of your beach ball. Use a pencil and feel free to use a circular object like a compass or a round lid to help you create a symmetrical circle. Remember, this is just a guideline, so keep your lines light so that they can be easily erased later.
Step 2: Divide the Ball
Draw a vertical line and a horizontal line that intersect at the center of the circle. This will divide the beach ball into four equal parts, creating guidelines for the panels. Make sure the lines intersect precisely at the center to maintain symmetry.
Step 3: Add the Panels
Now, draw curved lines within each of the four sections to create the panels on the beach ball. Imagine each panel as a slice of pizza or a pie piece. The curved lines should follow the contour of the circle but should not touch the outer edge. Ensure that each panel is roughly the same size and shape.
Step 4: Refine the Panel Lines
Once you have the panels sketched out, go over them with smoother lines to refine their shape. The curved lines should be clean and distinct, giving each panel a smooth and rounded appearance. Use your pencil lightly to avoid any heavy lines that may be difficult to erase later.
Step 5: Add Details
Now it’s time to add some details to make your beach ball more realistic. Start by drawing a small circle in the center of each panel, just slightly off to one side. These circles will represent the air valve or the inflation point on the beach ball. Next, draw a curved line on the outer edge of each panel, following the curve of the panels and giving them some depth.
Step 6: Erase Guidelines
Carefully erase the guidelines you drew in the earlier steps. Use a gentle touch to avoid smudging the pencil lines. Start erasing from the center and work your way towards the outer edges. Take your time and erase any stray marks or smudges to achieve clean and defined lines.
Step 7: Select Your Colors
Now comes the fun part – adding colors! Decide on the color scheme you want for your beach ball. Traditionally, beach balls have vibrant colors like red, yellow, blue, and green. But feel free to add your own twist and choose any combination that suits your style. Markers or colored pencils can both be used – it’s completely up to you.
Step 8: Color the Panels
Take your chosen colors and fill in each panel of the beach ball. You can use a single color for each panel or create a pattern with multiple colors. Make sure to color within the lines and apply the colors evenly. You can also add shading to give the beach ball a three-dimensional look by adding darker tones on one side of each panel.
Step 9: Final Touches
Review your drawing and make any necessary adjustments or additions. You can add shadows to the panels, highlights to the inflated areas, or even a sandy beach in the background. This is your chance to get creative and personalize your drawing.
Conclusion
Drawing a beach ball is a fantastic way to showcase your artistic skills while capturing the essence of summer. By following these step-by-step instructions, you can easily create a vibrant and realistic beach ball drawing. So grab your materials and let your creativity soar as you bring the spirit of the beach to life on paper!

