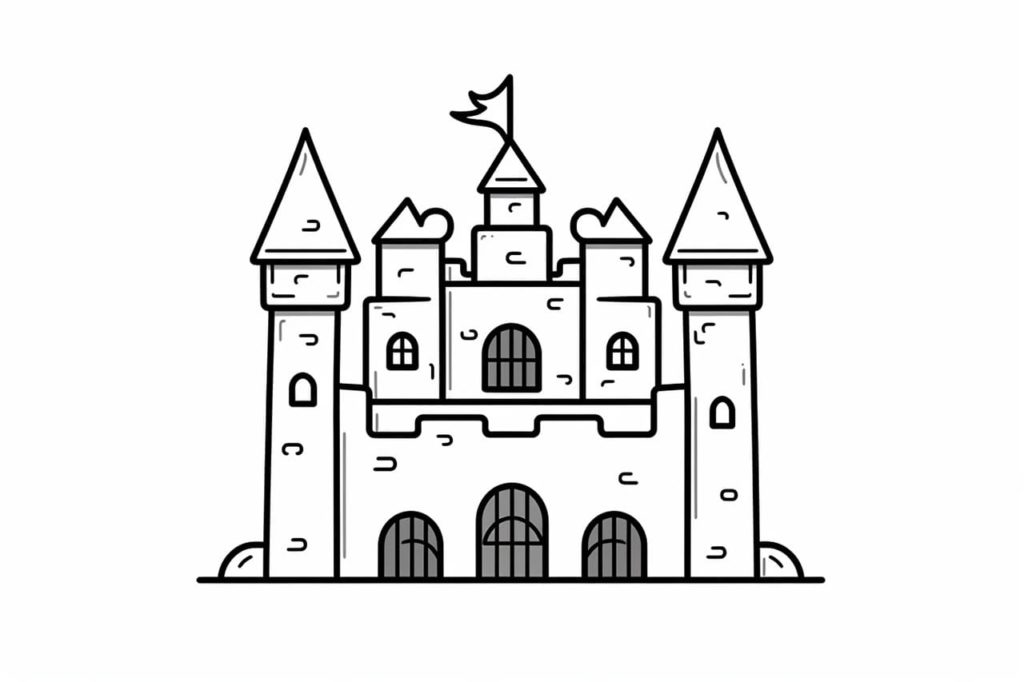
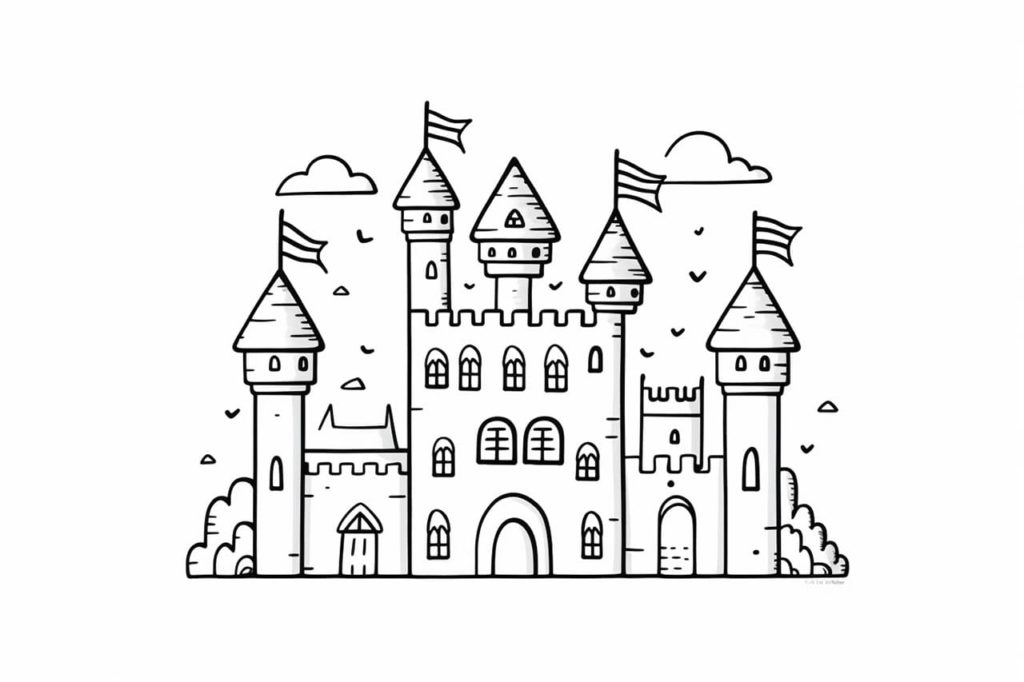
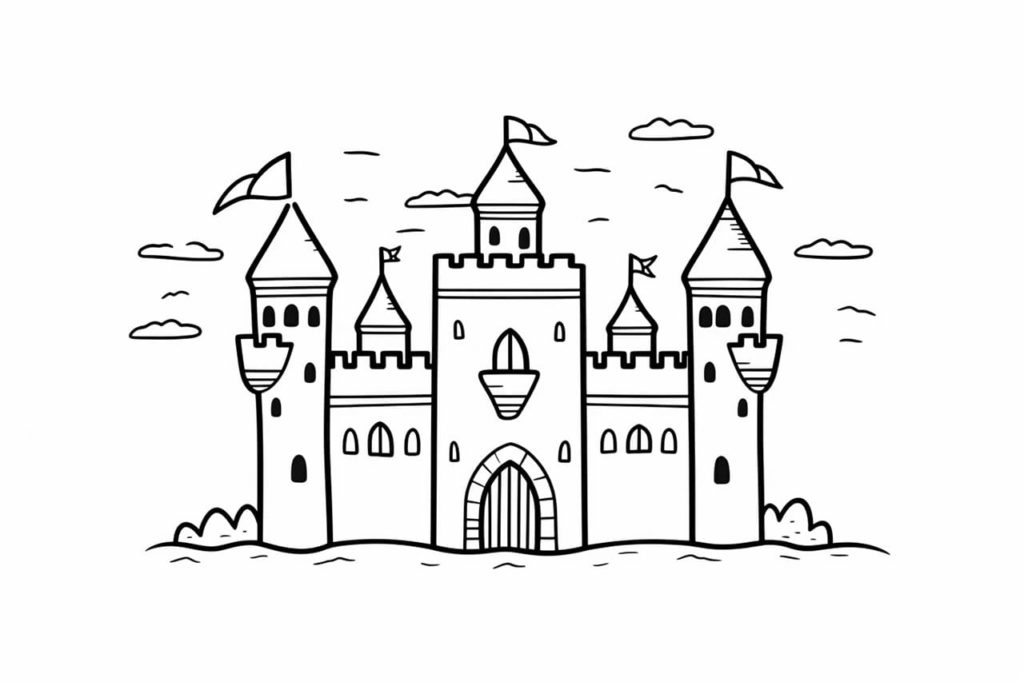
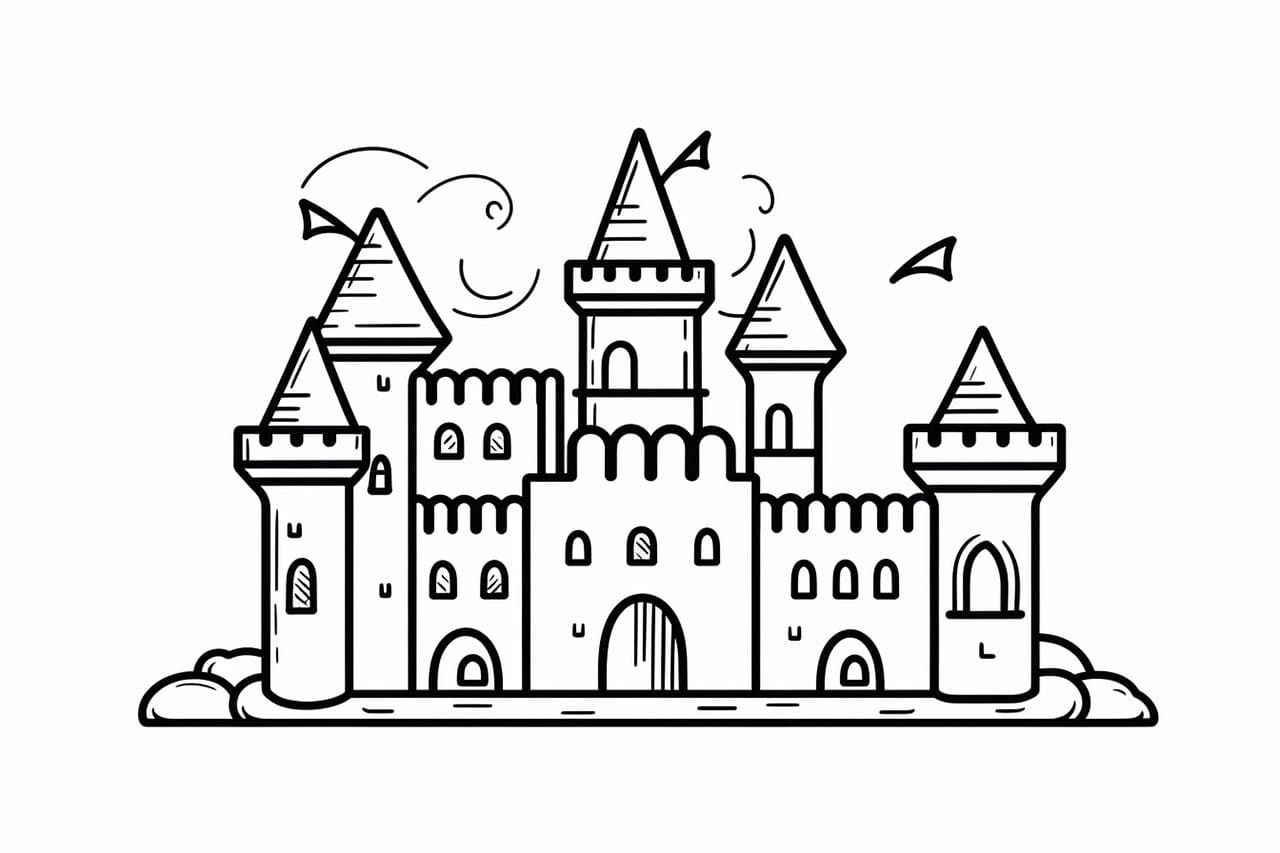
As an expert artist and drawing instructor, I am here to guide you through the process of how to draw a castle in all of its magnificent and regal splendor. Follow these step-by-step instructions and let your creativity flow as you bring this majestic structure to life on paper.
Materials Required
Before we begin, gather the following materials:
- Pencil
- Eraser
- Drawing paper
- Ruler
- Compass (optional)
- Colored pencils or markers (optional for coloring)
- Reference photos of castles
Now that you have everything you need, let’s get started on our castle drawing!
Step 1: Basic Outline
Begin by lightly sketching a rectangular shape for the main structure of the castle. This will serve as the foundation of our drawing. Adjust the size and proportions according to your preference.
Step 2: Towers
Add towers to your castle by drawing small rectangles or squares at each corner of the main structure. These towers can vary in size and shape, so feel free to get creative. You can also experiment with round or octagonal shapes.
Step 3: Details
Enhance the towers by adding rooftops and windows. For the rooftops, you can draw triangular shapes or use curved lines for a more decorative look. Add small rectangles as windows on each tower, and draw lines to represent individual panes if desired.
Step 4: Main Entrance
Next, draw a larger, more elaborate entrance for the castle. This can be in the form of a grand gate or a drawbridge leading to the main doors. Feel free to embellish this structure with additional details like arches or decorations.
Step 5: Walls and Battlements
Connect the towers with thick, solid lines to form the outer walls of the castle. Add crenellations or battlements along the top edge of the walls by drawing a series of small square or rectangular shapes.
Step 6: Details, Details, Details
Now is the time to add more intricate details to your castle. You can draw additional windows, turrets, or balconies along the walls. Decorative elements such as flags, banners, or sculptures can also be incorporated to give your castle a regal look.
Step 7: Landscaping
To provide a sense of environment, draw a simple landscape around your castle. You can add trees, hills, a moat, or even a pathway leading up to the entrance. This will help bring your castle to life and add depth to your drawing.
Step 8: Refine and Erase
Take a moment to review your drawing and make any necessary adjustments. Use your eraser to remove any unwanted lines or smudges, ensuring that your castle looks clean and polished.
Step 9: Coloring (Optional)
If you prefer a colored drawing, now is the time to bring out your colored pencils or markers. Select colors that complement the medieval theme and apply them to your drawing, adding depth and vibrancy to your creation.
Conclusion
Congratulations on completing your castle drawing! By following these step-by-step instructions, you have created a stunning representation of a castle. Remember, practice makes perfect, so don’t be afraid to experiment and add your unique touch to future castle drawings.
Drawing a castle allows us to tap into our imagination and bring forth a world of enchantment and wonder. Whether you dream of knights, princesses, or simply appreciate the architectural beauty, drawing a castle is a fun and engaging activity. So grab your pencil, let your creativity take flight, and enjoy the journey of creating your very own castle masterpiece.
Gallery of Castle Drawings
