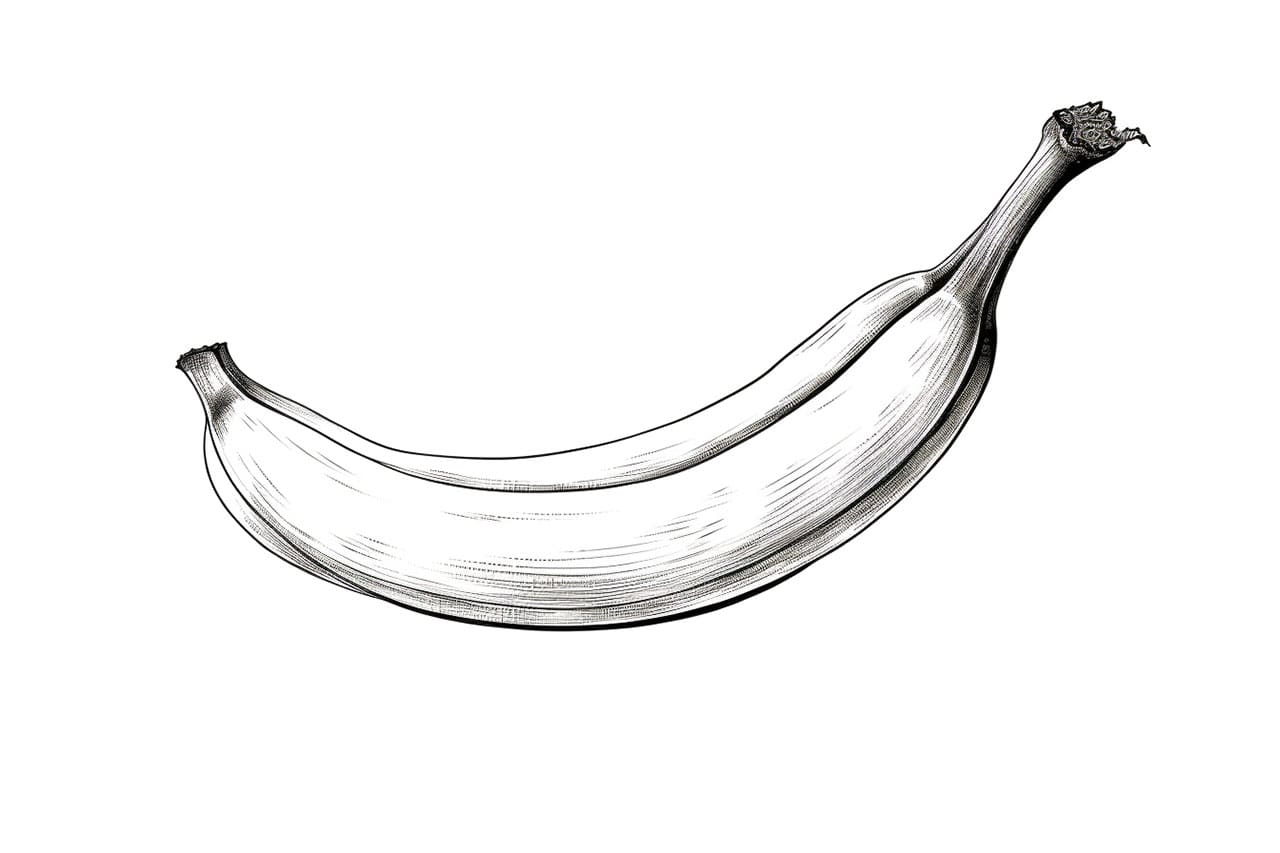
Welcome to this step-by-step guide on how to draw a banana. Whether you’re a beginner artist or an experienced illustrator, this tutorial will help you create a realistic and vibrant drawing of this popular fruit. Drawing a banana is not only a great way to practice your observational skills and shading techniques, but it can also be a fun and rewarding experience. So grab your pencils and let’s get started!
Materials Required
Before we begin, make sure you have the following materials:
- Pencil: You’ll need a graphite pencil for sketching and outlining.
- Paper: Choose a smooth-surfaced paper that’s suitable for drawing. A sketchpad or drawing paper will work well.
- Eraser: Have an eraser on hand to correct any mistakes or stray lines.
- Pencil sharpener: Keep a pencil sharpener nearby to maintain a sharp point on your pencil.
- Optional: Colored pencils or markers, if you wish to add color to your drawing.
Now that you have all your materials ready, let’s dive into the step-by-step process of drawing a banana.
Step 1: Outline the Basic Shape
Start by lightly sketching an elongated oval shape on your paper. This will serve as the basic outline of the banana. Keep the lines faint so that you can easily erase them later if needed.
Step 2: Add the Curvature
Next, add some curves to the outline to give it a more natural and three-dimensional appearance. Observe the reference image or a real banana to get an idea of the curvature. Pay attention to the slight curve on both ends of the fruit.
Step 3: Draw the Stem
Now it’s time to draw the stem. Extend a short, curved line upwards from the top of the banana. The stem should be slightly thicker at the base and taper towards the end.
Step 4: Refine the Shape
Take a closer look at your sketch so far and make any necessary adjustments. Pay attention to the proportions and curves of the banana. Erase any unwanted lines and refine the outline until you’re satisfied with the shape.
Step 5: Shade the Banana
With the basic shape in place, it’s time to add some shading to give your drawing depth and dimension. Start by identifying the light source in your reference image or imagine one if you don’t have a reference. This will help determine where the lightest and darkest areas of the banana should be.
Step 6: Apply Base Shade
Using your pencil, lightly shade the entire banana with a base tone. This will serve as the foundation of your shading. Keep the pressure light and consistent for now.
Step 7: Darken the Shadow Areas
Identify the areas of the banana that are in shadow. These areas usually include the space between the curves and the bottom part of the fruit. Darken these areas using your pencil, applying more pressure to create a darker tone.
Step 8: Create Highlights
Now it’s time to add highlights to your drawing. Identify the areas of the banana that are catching the most light. Use an eraser to carefully lighten those areas, creating a contrast between the highlights and the shaded areas.
Step 9: Blend the Shading
To achieve a smoother and more realistic appearance, blend the shading using a blending stump or a tortillon. Gently rub the shaded areas in a circular motion to soften the lines and create a gradual transition between the light and dark tones.
Step 10: Finalize the Details
Take a step back and assess your drawing. Make any necessary adjustments and add any additional details you may have missed. Pay attention to the small details like texture and any imperfections on the surface of the banana.
Conclusion
Congratulations! You have successfully learned how to draw a realistic banana. By following these step-by-step instructions, you should now have a beautiful drawing that captures the shape, shading, and details of this delicious fruit. Remember, practice is vital to improving your drawing skills, so keep experimenting and trying new subjects. Drawing is a beautiful way to express your creativity and observe the world around you.
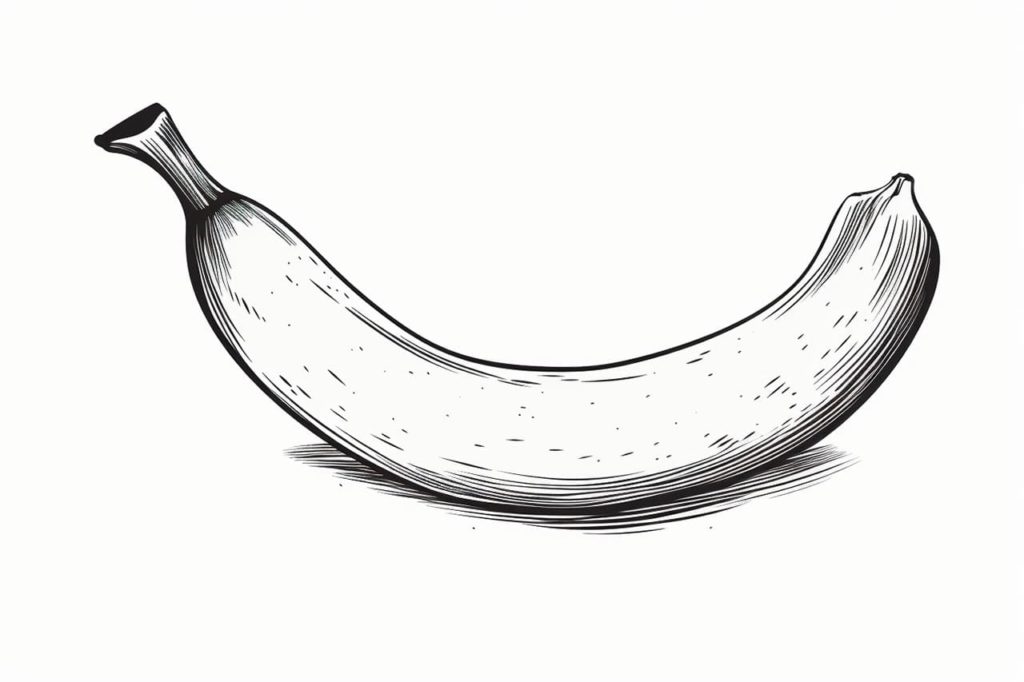
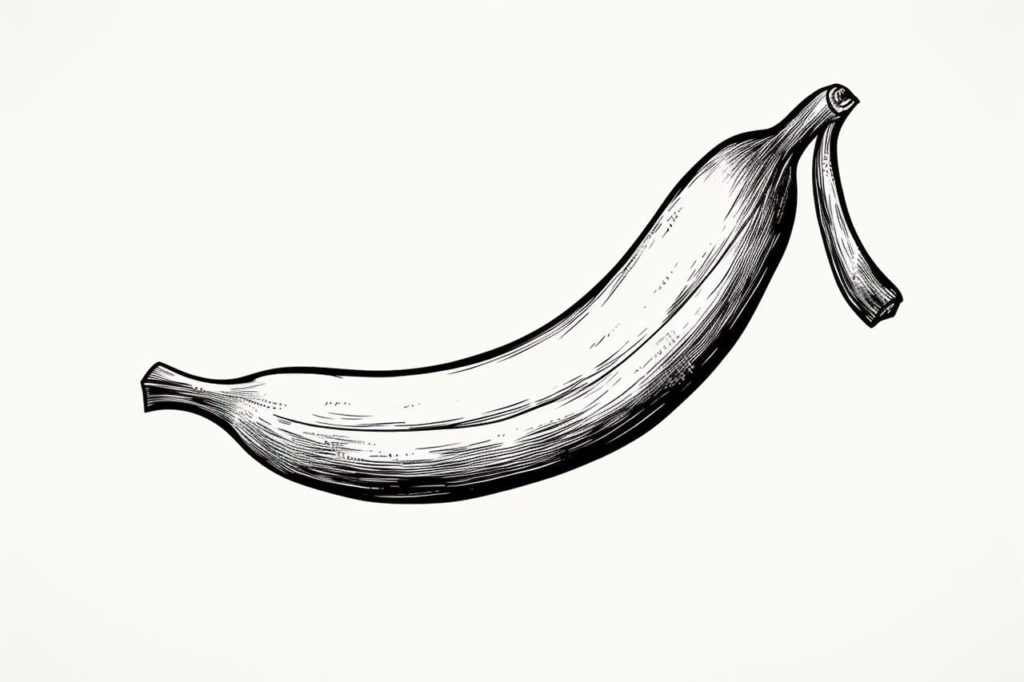
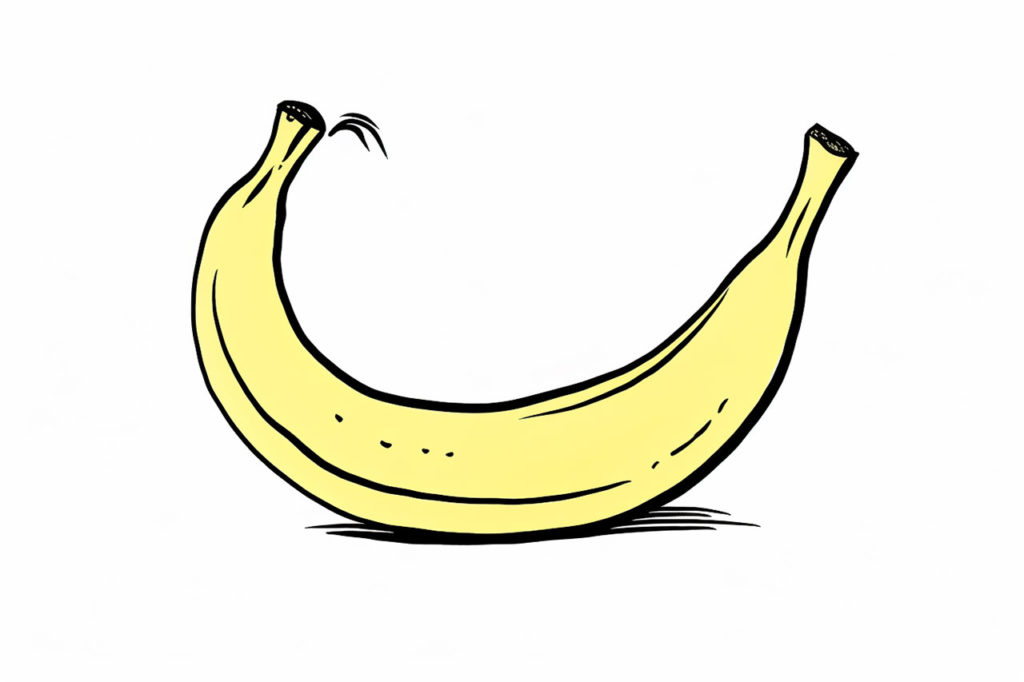
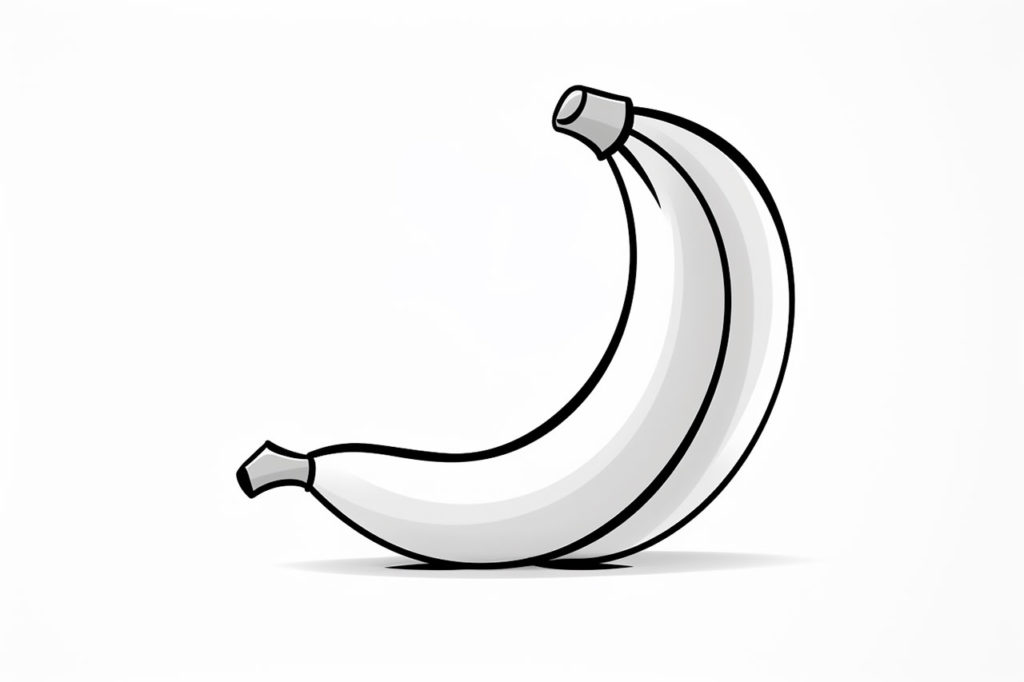
Gallery of Banana Drawings