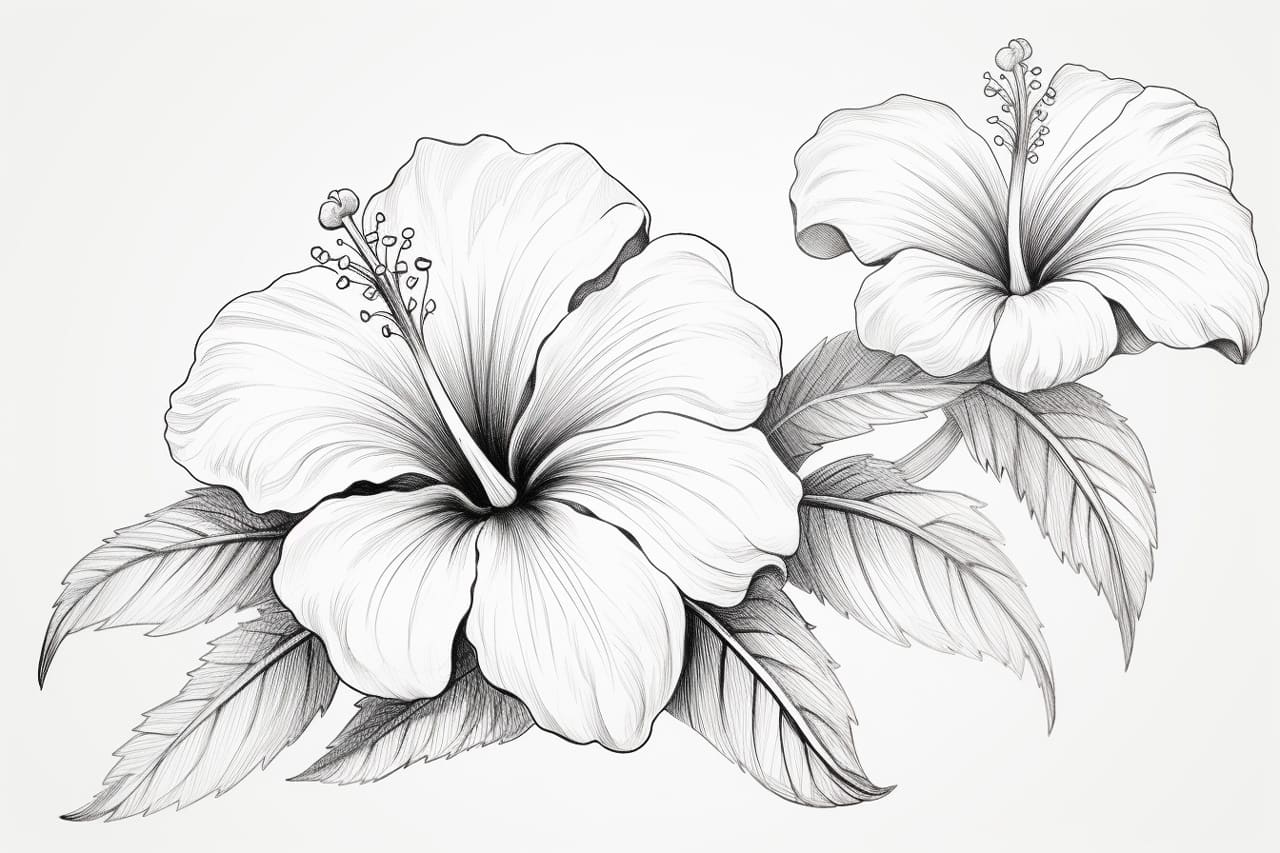
Welcome to this step-by-step tutorial on how to draw a tropical flower. Whether you are an aspiring artist or simply looking to unleash your creativity, this guide will help you create a stunning and vibrant representation of a tropical bloom.
Before we begin, gather the following materials:
- Pencil
- Eraser
- Drawing paper
- Colored pencils or markers
Now, let’s dive into the wonderful world of tropical flowers and start creating our masterpiece!
Step 1: Start with Basic Shapes
Begin by lightly sketching a large oval shape in the center of your paper. This oval will serve as the main structure of your tropical flower.
Step 2: Add Petals
Using the oval shape as a reference, draw a series of overlapping curved lines extending outward. These lines will form the petals of your tropical flower. Feel free to vary the size and shape of the petals to create a natural and organic look.
Step 3: Define Petal Outlines
Next, refine the shape of each petal by tracing over the initial curved lines with bolder and more defined strokes. Pay attention to the curves and contours of the petals to add depth and dimension to your drawing.
Step 4: Create Details
To make your tropical flower more visually interesting, add some intricate details to the petals. You can do this by drawing smaller curved lines or shapes within each petal. These details will add texture and give your flower a realistic appearance.
Step 5: Draw the Center
Moving on to the center of the flower, draw a small circle or oval shape. This will represent the stamen or pistil. You can experiment with different sizes and shapes to create a unique center for your tropical flower.
Step 6: Add Texture to the Center
To make the center more visually appealing, add some texture by drawing small lines or dots around it. This will give the illusion of pollen or seeds and add depth to your drawing.
Step 7: Refine the Outline
Now that you have established the main components of your tropical flower, go over the entire outline with a darker pencil or pen to make it more defined. Pay attention to the details, such as the curves of the petals and the shape of the center, to ensure a polished look.
Step 8: Add Color
It’s time to bring your tropical flower to life with some vibrant colors. Use colored pencils or markers to carefully fill in each petal, choosing colors that you find inspiring and true to the tropical theme. Experiment with different shades and blending techniques to achieve a more realistic and dynamic appearance.
Step 9: Shade and Highlight
To add depth and dimension to your drawing, incorporate shading and highlighting techniques. Observe the light source in your composition and imagine where it would hit the petals and center. Use a darker shade of your chosen colors to add shadows and a lighter shade or white to create highlights.
Step 10: Final Touches
Before you consider your drawing complete, take a step back and evaluate the overall composition. Are there any areas that need additional details or corrections? Take this opportunity to make any necessary adjustments and add any final touches to enhance the overall beauty and realism of your tropical flower.
Congratulations! You have successfully drawn a stunning tropical flower. Don’t be afraid to experiment and add your own personal touches to make it even more unique. Keep practicing and exploring your creativity, and soon you’ll be able to create even more intricate botanical drawings.
Conclusion
In this tutorial, we have explored the step-by-step process of drawing a tropical flower. From basic shapes and petal outlines to adding colors and final touches, you have learned how to create a vibrant and realistic representation of a tropical bloom. Remember to practice regularly and allow your creativity to flourish.
So grab your pencil and paper, and immerse yourself in the beauty of the tropical world as you create your very own masterpiece. Happy drawing!


