How to Draw a Tractor in 7 Easy Steps
Learn how to draw with this step-by-step tutorial.
Materials You'll Need
- Drawing paper
- Pencil (HB or 2B)
- Eraser
Learning to draw intricate subjects, such as machinery, can often feel like an intimidating challenge, especially for beginners. However, every accomplished artist begins their journey with the same fundamental steps and practice. Embracing this learning process can open new creative avenues, allowing you to express yourself through art.
In this tutorial, we will guide you through the delightful experience of how to draw a tractor. This iconic piece of machinery is not only a staple on farms but also a great subject for practicing your artistic skills. By following our simple, step-by-step instructions, you will discover that creating a detailed and impressive tractor sketch is not only achievable but also enjoyable.
So grab your drawing materials and get ready to embark on this artistic adventure! As you delve into each step, remember that patience and practice are key to honing your skills. Before you know it, you'll have a stunning tractor sketch that showcases your newfound talent!
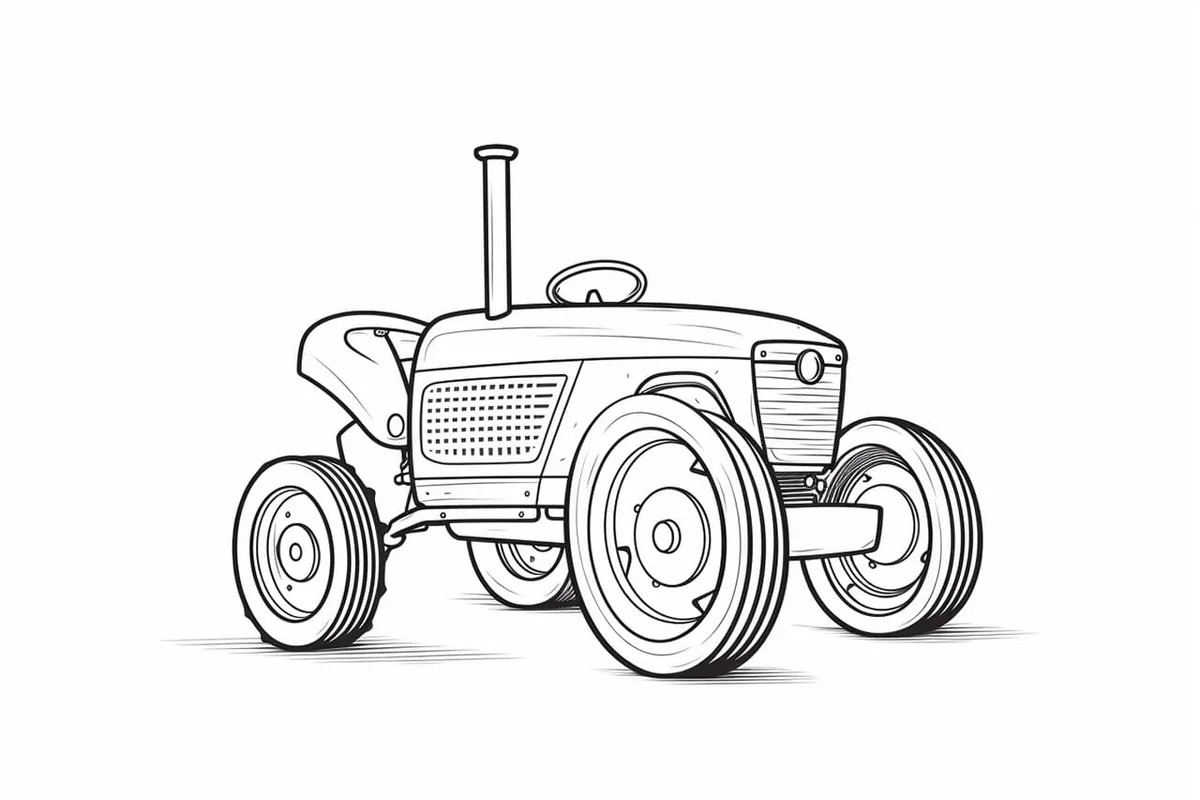
Step 1: Draw the Body
Start by drawing a large rectangle for the body of the tractor. This rectangle should take up a good portion of your drawing paper. Then, add a smaller square on top of the rectangle to represent the cabin where the driver sits.
Step 2: Draw the Wheels
Next, let's add the wheels. Draw two large circles on either side of the bottom of the rectangle. These are the rear wheels of the tractor. Inside each big circle, draw another smaller circle to represent the hub of the wheel. Then, draw a slightly smaller circle on the front side of the rectangle for the front wheel of the tractor, with another smaller circle inside it for the hub.
Step 3: Add Details to the Wheels
Now, it's time to add some details to the wheels. Draw a series of lines radiating out from the hub circles in the wheels. These lines represent the spokes of the tractor wheels. Then, draw a wavy pattern along the outer edge of the wheels to represent the tire treads.
Step 4: Draw the Cabin
Let's add some details to the driver's cabin. Draw a rectangular front window on the cabin, and another rectangular side window. Then, draw a line to split the front window into two parts. This line represents the windshield wiper.
Step 5: Draw the Hood and the Grille
Move on to the front of the tractor and draw a slanted rectangular shape that connects the cabin to the smaller front wheel. This is the hood of the tractor. Then, draw a rectangular grille at the front of the hood. Draw several vertical lines inside this rectangle to represent the slats of the grille.
Step 6: Add Final Details
To finalize your tractor, add some smaller details to make it look realistic. Draw a curved line on top of the cabin to represent the roof. You can also add a couple of rectangular shapes at the back of the tractor to form the mudguards over the rear wheels. Lastly, don't forget to add the exhaust pipe and the headlights.
Step 7: Color Your Tractor
After you've completed all the steps above and are happy with your sketch, it's time to add some color. You can color your tractor any way you like. Most tractors are red, green, or blue, but you can use your creativity here.
Congratulations! You've now learned how to draw a tractor. Keep practicing this process, and over time, your drawing skills will continue to improve. Remember, the key to becoming a good artist is patience and persistence. Don't be discouraged if your first few attempts don't turn out perfect. With practice, you'll improve.
Drawing a tractor is a fun way to practice your sketching skills while also learning about the world around us. Thank you for following this tutorial on "How to Draw a Tractor." Keep practicing, keep exploring, and most importantly, keep creating! Next, you can learn to draw a barn to house your tractor on the farm.
Gallery of Tractor Drawings


Fun Facts About Tractors
-
Tractors were first developed in the late 19th century to replace animal power on farms.
-
The first gasoline-powered tractor was built by John Froelich in 1892.
-
Tractors revolutionized agriculture by significantly increasing the efficiency of farming activities.
-
Modern tractors come with a variety of attachments for plowing, planting, harvesting, and more.
-
Tractors are not only used on farms, but they are also used in construction and landscaping industries.
-
Compact tractors are popular for small-scale gardening and residential lawn maintenance.
-
The world's largest tractor is the Big Bud 16V-747, which weighs around 100,000 pounds and has over 900 horsepower.
-
John Deere is a well-known brand that has been manufacturing tractors since 1918.
-
Tractors often feature powerful engines and rugged tires suited for different terrains.
-
On some farms, vintage tractors are restored and displayed as part of agricultural heritage shows.
Tip: To capture the essence of a tractor in your drawing, start by focusing on the basic shapes that make up its structure. Use geometric forms like rectangles for the body and circles for the wheels to create a solid foundation. Don't hesitate to lightly sketch these shapes with a pencil before committing to the details, as this will allow you to adjust proportions easily. Pay close attention to the perspective; tractors often have a unique viewpoint that can enhance the realism of your drawing. Finally, when adding details like shadows and highlights, consider the light source and how it interacts with the machine's surfaces, as this will bring your tractor to life with dimension and character.
Suggestions for Scenes and Settings for Tractor Drawings
-
Sunny Field Work: Create a scene of a tractor plowing through golden wheat fields under a bright blue sky.
-
Vintage Tractor Restored: Illustrate an old classic tractor parked beside a rustic barn surrounded by wildflowers.
-
Tractor Parade: Draw a line of colorful tractors parading down a street during a country fair or festival.
-
Tractor at Sunrise: Capture the serene beauty of a tractor silhouetted against the first light of dawn over the fields.
-
Tractor with Cart: Picture a tractor pulling a cart full of fresh produce, ready for market day.
-
Nighttime Harvest: Show a tractor's headlights illuminating rows of crops during a late-night harvest.
-
Frozen Farm Scene: Depict a tractor parked in a snowy landscape with frost covering its body and plow.
-
Construction Site Tractor: Imagine a tractor alongside cranes and bulldozers at a bustling construction site.
-
Cartoon Farm Adventure: Draw an animated tractor with a friendly face, helping farm animals with various tasks.
-
Garden Tractor Fun: Show a compact tractor carefully navigating a lush suburban garden with neatly trimmed hedges.