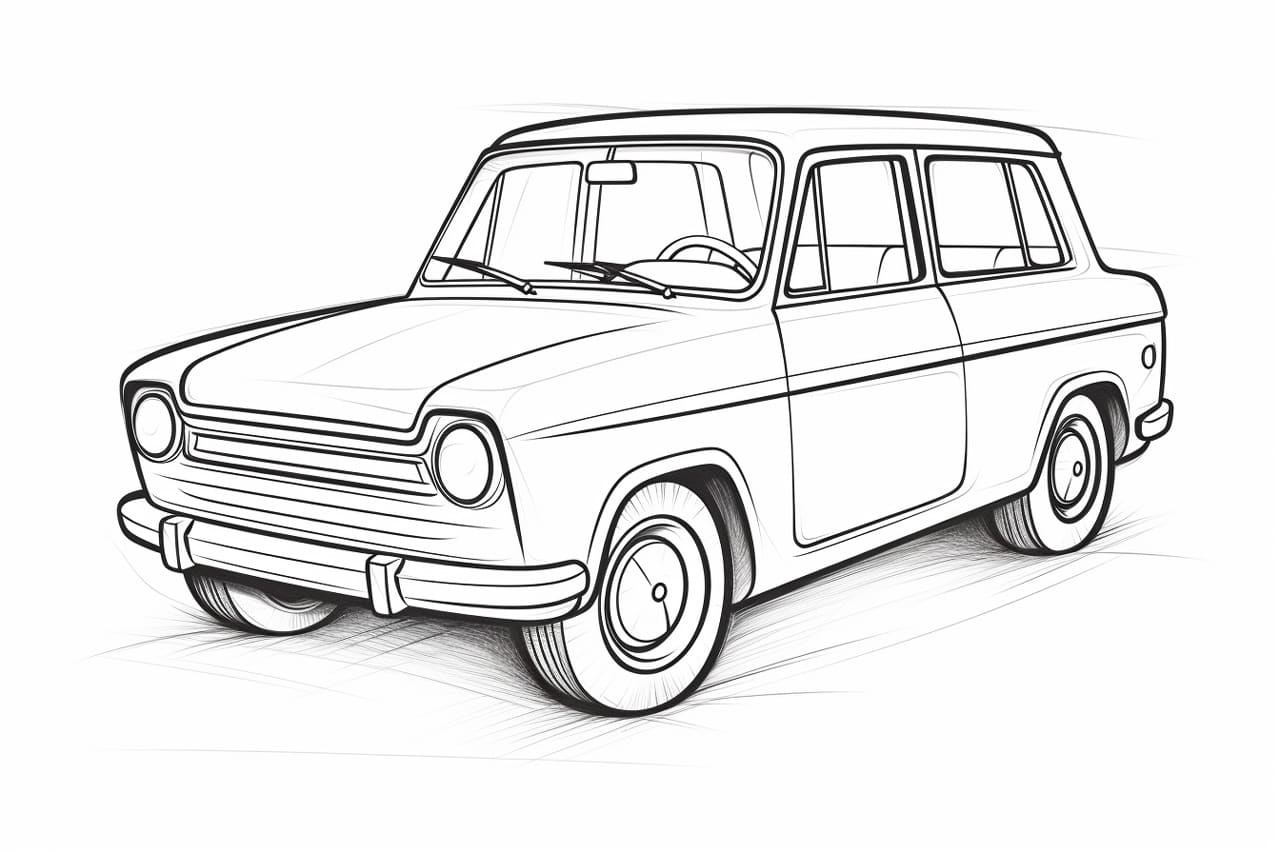
Drawing cartoon cars can be a fun and creative way to express your imagination and artistic skills. In this step-by-step guide, we will explore the process of how to draw a cartoon car from scratch. Whether you’re a beginner or an experienced artist, this tutorial will provide you with clear and concise instructions to create a lively and dynamic cartoon car. So grab your sketchbook and let’s get started!
Materials Required
Before we begin, make sure you have the following materials:
- Paper: Use a sketchbook or any type of paper suitable for drawing.
- Pencils: Have a range of pencils with different lead grades to achieve varying levels of darkness and shading.
- Eraser: A kneaded eraser or a regular eraser will work fine.
- Black pens or markers: These will be used for outlining and adding details.
- Colored pencils or markers: These will be used to add color to your cartoon car, but they are optional.
Now that we have everything we need, let’s dive into creating our cartoon car!
Step 1: Basic Structure
Start by drawing a rectangle shape in the center of your paper. This shape will serve as the body of your car. You can make it as big or as small as you like, depending on the size of your cartoon car.
Step 2: Wheels
Draw two circles beneath the body of the car to represent the wheels. Make sure they are the same size and evenly spaced apart. These circles should be slightly larger than the body.
Step 3: Windows
Now, draw two rectangular shapes for the windows on either side of the car. The top of the windows should align with the upper edge of the car’s body. Leave a small gap between the windows and the body.
Step 4: Roof and Windshield
Connect the front of the car’s body to the top of the windshield by drawing a curved line. This line will form the roof of the car. Then, draw a diagonal line from the top of the windshield to the front of the car to create the windshield itself.
Step 5: Doors
Add two straight lines to represent the doors of the car. These lines should extend from the bottom of the windows to the bottom of the body.
Step 6: Bumpers and Grille
Draw two curved lines at the front and back of the car to form the bumpers. These lines should curve slightly upward at the edges. Then, add a small rectangle at the front to represent the grille of the car.
Step 7: Headlights and Taillights
Inside the grille, draw two small circles for the headlights. Similarly, add two circles or ovals at the back of the car for the taillights. Make sure they are evenly spaced and proportional.
Step 8: Details and Accessories
Now, it’s time to add some details and accessories to your cartoon car to give it character and personality. You can draw a small circle or oval on each wheel to represent the hubcaps. Add some curved lines on the side of the car to indicate the shape of the body panels. You can also draw a handle and a side mirror on the doors for added realism.
Step 9: Outline and Refine
Once you are satisfied with the basic structure and details of your cartoon car, use a black pen or marker to outline the final drawing. Start by outlining the body, then move on to the windows, doors, wheels, and other details. Take your time and make sure the lines are smooth and clean. Erase any unnecessary pencil lines as you go.
Step 10: Color (Optional)
If you prefer, you can add color to your cartoon car using colored pencils or markers. Choose your favorite colors and fill in the different areas of the car. You can also experiment with shading and highlighting to add depth and dimension to your drawing.
And there you have it – your very own cartoon car! By following these step-by-step instructions, you have created a unique and vibrant cartoon car from scratch. Feel free to experiment with different shapes, colors, and styles to create a car that reflects your own artistic flair.
Conclusion
Drawing a cartoon car can be an enjoyable and rewarding experience. With a few simple steps, you can bring a car to life on paper and let your creativity shine. Remember to start with the basic structure, add details, and refine your drawing with clean outlines. If desired, you can also add color to make your cartoon car even more captivating. So grab your art supplies and have fun creating your own cartoon car masterpiece!

