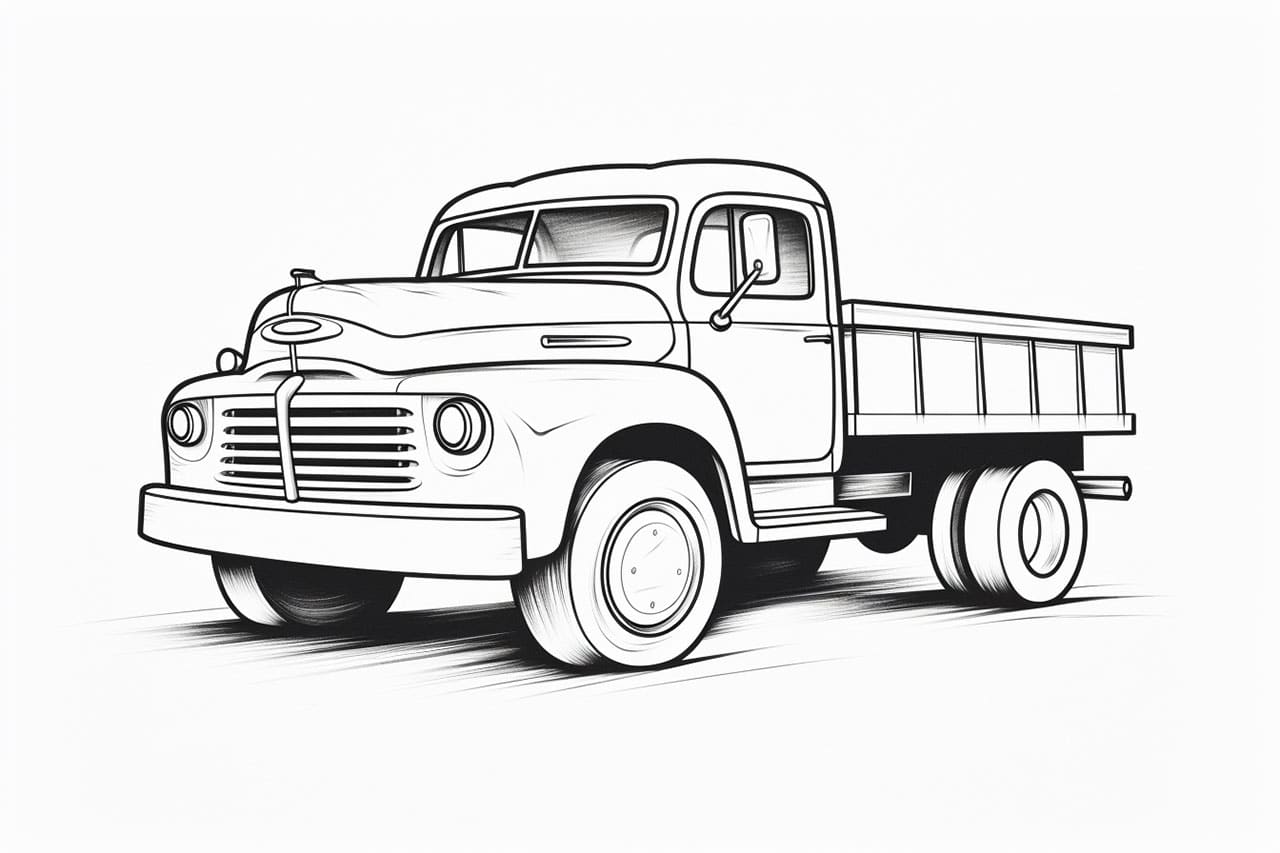
Drawing a truck may seem challenging, but with the right guidance, anyone can create a realistic and impressive truck illustration. In this step-by-step guide, we will walk you through the process of how to draw a truck using easy techniques. So grab your pencils, paper, and let’s get started!
Materials Required
To complete this drawing, you will need:
- Paper: Any type of drawing paper will work.
- Pencils: Have a range of pencils with different lead thicknesses, such as 2B, 4B, and 6B.
- Eraser: A kneaded eraser or a regular eraser will do.
- Ruler: Use a ruler to maintain straight lines and proper proportions.
- Reference Image: Find a clear reference image of a truck to help you visualize the details accurately.
Now that you have your materials ready, let’s begin the drawing process.
Step 1: Sketch the Basic Outline
Start by lightly sketching the basic outline of the truck using a pencil. Begin with a rectangle shape for the body of the truck. Then, add a smaller rectangle towards the front for the driver’s cabin. Remember to keep your lines light and easy to erase if needed.
Step 2: Add Wheels and Other Details
Next, add wheels to your truck by drawing circles or ovals on each corner of the rectangular body. Make sure they are evenly spaced and aligned with the perspective of the truck. Then, draw the details of the driver’s cabin, such as the windshield and side windows. You can also add other elements like mirrors, door handles, and headlights at this stage.
Step 3: Refine the Shape and Proportions
Using your initial sketch as a guide, refine the shape and proportions of the truck. Pay attention to the curves and angles of the body, ensuring they match your reference image. Use a ruler to straighten lines and maintain symmetry. Don’t worry about adding too many details yet; focus on getting the overall shape right.
Step 4: Add Details and Texture
Now it’s time to add more details and texture to your truck. Start by drawing the grille at the front, including any distinctive patterns or shapes. Then, add the doors and any other visible parts, such as handles and logos. Take your time to observe the reference image and replicate the details as accurately as possible.
Step 5: Shade and Add Depth
To give your truck a three-dimensional look, it’s important to add shading and depth. Determine the direction of the light source in your reference image and shade the areas accordingly. Use a combination of light and dark pencil strokes to create shadows and highlights. Gradually build up the shading, starting with lighter strokes and gradually darkening them.
Step 6: Fine-Tune the Drawing
Take a step back and evaluate your drawing so far. Look for any areas that need further refinement or adjustment. Erase any unwanted pencil marks and make necessary corrections. Pay attention to the overall balance of your drawing and ensure that the proportions and details are accurate.
Step 7: Final Touches
In this final step, add any finishing touches to your drawing. Darken the lines where necessary to create a more defined and polished look. Use an eraser to highlight specific areas or create additional texture. Take your time to review and make any final adjustments until you are satisfied with the result.
Conclusion
Drawing a truck may seem daunting at first, but by following this step-by-step guide, you can create an impressive illustration with ease. Remember to take your time, observe the details in your reference image, and practice to improve your skills. With dedication and practice, you’ll be able to draw a truck that will impress everyone who sees it.
So grab your materials, follow the steps outlined in this guide, and let your creativity shine through your amazing truck drawing!


