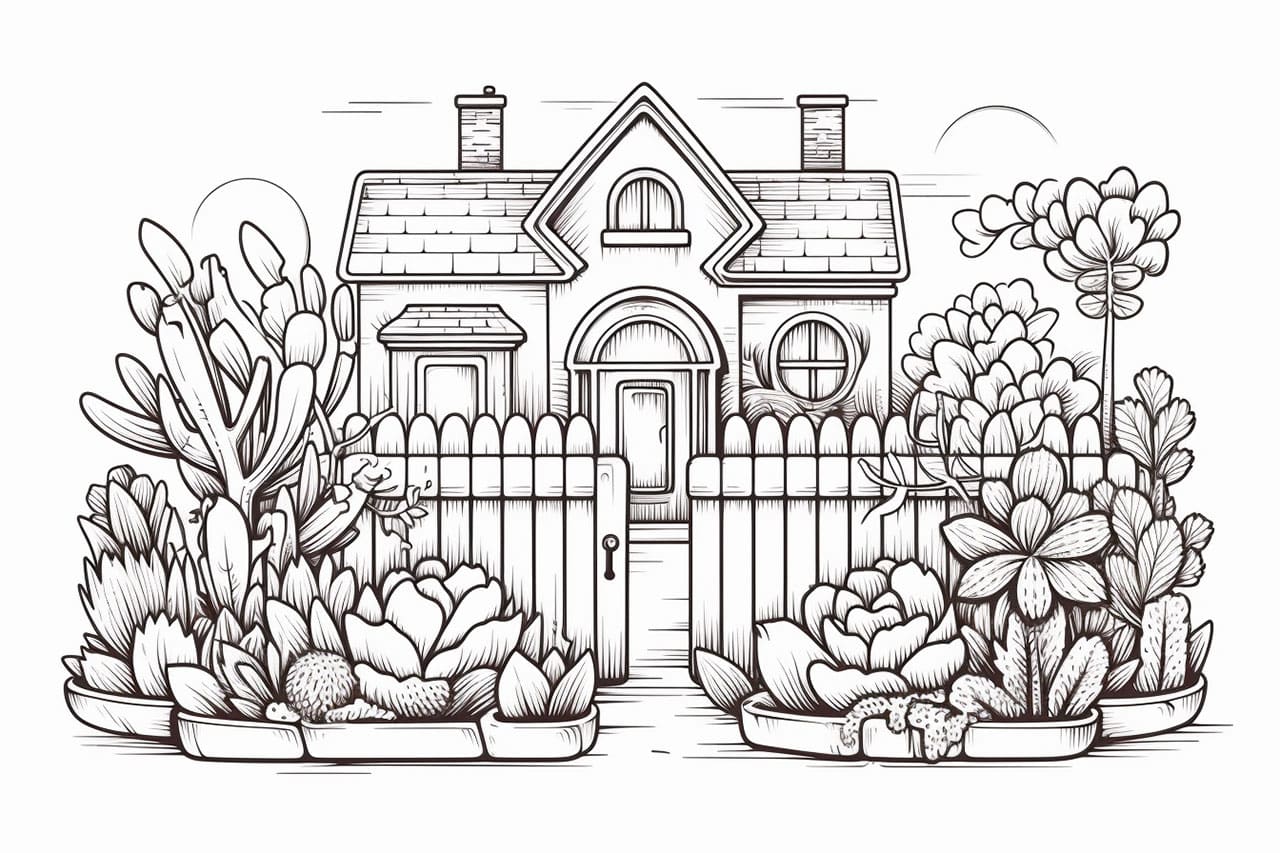
Welcome to this step-by-step guide on how to draw a garden! Whether you’re an aspiring artist or simply looking for a new creative outlet, this tutorial will teach you how to create a beautiful garden drawing.
Materials Required
Before we begin, gather the following materials:
- Drawing paper or sketchbook
- Pencil (preferably a HB or 2B)
- Eraser
- Fine-tip black pen or marker (optional)
- Colored pencils or markers (optional)
Now that you have your materials ready, let’s dive into the world of garden drawing!
Step 1: Start with the Horizon Line
To create depth in your garden drawing, begin by lightly drawing a horizontal line towards the middle of your paper. This line will act as the horizon line and help establish the perspective of the scene.
Step 2: Sketch the Background
Next, start sketching the background elements of your garden. Begin with the larger elements such as trees, hedges, or fences. Use basic geometric shapes to outline these elements before adding more details. Remember to use light and loose strokes at this stage, as you can refine the details later.
Step 3: Add Focal Points
Now, focus on adding focal points to your garden. These could be structures like a gazebo, fountain, or a garden bench. Select one or two elements that will be the main focal points of your drawing and sketch them accordingly. Pay attention to proportions and placement to achieve a balanced composition.
Step 4: Add Greenery and Flowers
Gardens are known for their lush greenery and vibrant flowers. Start adding plants, shrubs, and flowers to your drawing. Observe the shapes and textures of different plants and try to replicate them in your sketch. Use curved and flowing lines to represent leaves and petals.
Step 5: Create Depth and Perspective
To make your garden drawing more realistic, add depth and perspective to the scene. Use shading techniques to create shadows and highlights, giving your drawing a three-dimensional look. Darken areas that are closer to you and use lighter strokes for objects in the distance.
Step 6: Finalize the Details
Now it’s time to refine the details of your garden drawing. Add smaller elements such as rocks, pathways, or stepping stones. Pay attention to textures and patterns, such as the roughness of rocks or the smoothness of pebbles. Take your time to add any additional details that will enhance the overall look of your artwork.
Step 7: Ink or Color (Optional)
If you prefer a more defined look, you can outline your drawing using a fine-tip black pen or marker. This step is optional but can help make your garden drawing stand out. Alternatively, you can also use colored pencils or markers to add vibrant hues to your artwork. Experiment with different color combinations and shading techniques to bring your garden to life.
Conclusion
Congratulations! You have now learned how to draw a garden. By following these step-by-step instructions, you can create a beautiful garden drawing that showcases your artistic skills. Remember to have fun and let your creativity flow as you bring your garden to life on paper.


