Welcome to this step-by-step guide on how to draw a peach. Whether you are a beginner or an experienced artist, this tutorial will help you create a realistic and vibrant peach drawing. With simple instructions and a few basic materials, you’ll be able to capture the beauty of this delicious fruit on paper. So, let’s dive in and learn how to draw a peach!
Materials Required
To create your peach drawing, you will need the following materials:
- Drawing paper or sketchbook
- Pencil (preferably a HB or 2B)
- Eraser
- Colored pencils or watercolor pencils (optional)
- Smooth blending tool (such as a blending stump or tortillon)
- Reference photo of a peach (optional, but helpful for accuracy)
Now that you have gathered your materials, let’s get started on drawing your peach.
Step 1: Sketch the Basic Shape
Begin by lightly sketching an oval shape in the center of your paper. This will be the main outline of your peach. Remember to keep your lines light and loose, as they will be erased later.
Step 2: Add the Indentation
Below the oval shape, draw a slightly curved line that creates an indentation in the peach. This gives the illusion of the peach’s natural groove.
Step 3: Define the Contours
Using curving lines, start defining the contours of the peach. Observe the reference photo or real peach for guidance. Pay attention to the subtle curves and bumps of the fruit’s surface. Avoid making the lines too harsh at this stage, as we’ll refine them later.
Step 4: Add the Stem
Draw a small curved line at the top of the peach to represent the stem. Make it thin and tapering towards the end.
Step 5: Refine the Contours
Go over the initial sketch lines with more confident and refined lines, strengthening the shape of the peach. Add more contours and variations to capture its realistic form. Remember to keep your lines light, as you will be erasing them later.
Step 6: Shade the Peach
Start shading the peach by lightly applying layers of pencil strokes following the natural curve of the fruit. Use a gentle touch to create a smooth and even transition between lights and shadows. Observe the reference photo for guidance on areas that are darker or lighter.
Step 7: Blend the Shadows
Using a smooth blending tool, gently blend the shaded areas of the peach to create a seamless transition between different tones. This will give your drawing a more realistic and three-dimensional look. Take your time and blend slowly to achieve the desired effect.
Step 8: Add Details
Now it’s time to add some details to your peach drawing. Pay attention to the small bumps, creases, and highlights on the fruit’s surface. Use a sharper pencil to create darker lines and emphasize these details. Take a step back and assess your drawing to ensure the proportions and details are accurate.
Step 9: Add Color (Optional)
If you want to add color to your peach drawing, grab your colored pencils or watercolor pencils. Apply light layers of color to the different areas of the peach, gradually building up the intensity. Blend the colors using a blending stump or your fingers for a smooth and natural look. Alternatively, you can leave your drawing in black and white for a classic pencil sketch.
Step 10: Finalize and Erase
Take a moment to review your drawing and make any necessary adjustments. Erase any stray lines or smudges. If you’re happy with the result, you can darken the outlines of the peach slightly to make it stand out more.
Conclusion
Congratulations on completing your peach drawing! By following these step-by-step instructions, you have captured the essence of this delicious fruit on paper. Remember, practice makes perfect, so don’t be afraid to experiment and try drawing different fruits or subjects. With time and dedication, your artistic skills will continue to grow. Enjoy the process, and happy drawing!
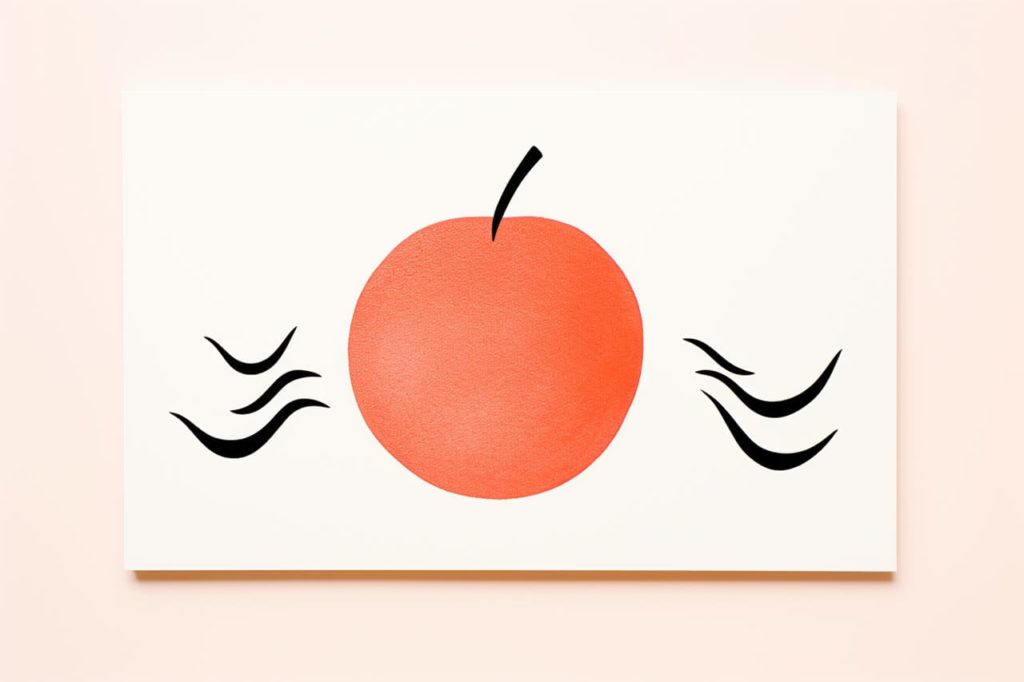
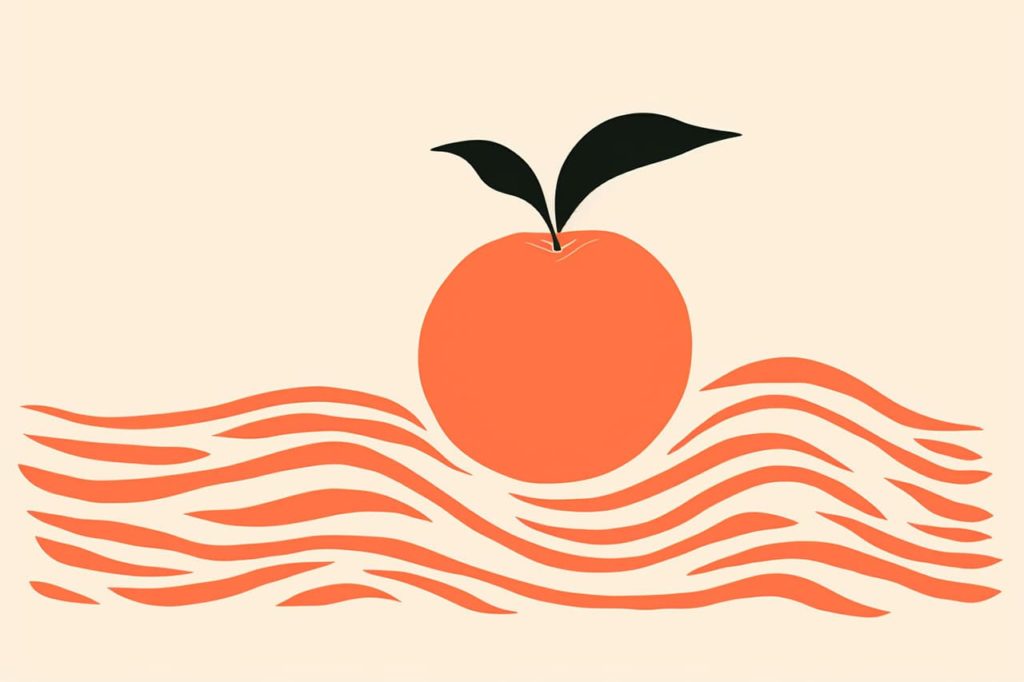
Gallery of Peach Drawings