Welcome to this step-by-step guide on how to draw a cruise ship. In this article, I will walk you through the process of creating a detailed and realistic representation of a cruise ship. Whether you are an aspiring artist or simply looking to try your hand at drawing, this tutorial is designed to help you achieve a stunning result.
Materials Required
Before we begin, make sure you have the following materials handy:
- Pencil: You will need a regular HB pencil for sketching and shading.
- Eraser: A good quality eraser is essential for correcting mistakes.
- Paper: Use a plain white sheet of paper or a drawing pad for your artwork.
- Ruler: A ruler will help you draw straight lines and maintain proportion.
- Coloring tools (optional): If you wish to add color to your drawing, gather your preferred coloring tools such as colored pencils, markers, or paints.
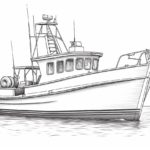
- Reference image of a cruise ship (optional)
Now that you have your materials ready, let’s dive into the drawing process.
Step 1: Sketch the Basic Shape
Start by lightly sketching the basic shape of the cruise ship using your pencil. Begin with a horizontal line near the center of the paper to serve as the ship’s waterline. Then, draw a long, narrow rectangle above the waterline to represent the main body of the ship. This will be the hull.
Step 2: Add the Superstructure
Extend a couple of vertical lines from the hull, slightly tilting them inward to create the sides of the ship. These lines should taper towards the top. Next, draw another rectangle on top of the hull, but slightly smaller in width and length. This rectangle will serve as the base for the various decks and cabins.
Step 3: Outline the Decks
Using your ruler, draw multiple horizontal lines across the smaller rectangle to represent the different decks. Make the lines evenly spaced and gradually decrease their length as you move upward to create a sense of perspective. These lines should be narrower toward the edges of the ship.
Step 4: Add Windows and Balconies
Within each deck, draw small rectangles to represent windows. The windows should be equally spaced and aligned with the decks. Additionally, you can add small squares or rectangles to depict balconies on some of the decks. Remember to adjust their size and position according to the perspective of the ship.
Step 5: Detail the Superstructure
Use your pencil to add more details to the superstructure of the ship. Pay attention to any distinguishing features such as antennas, lifeboats, or observation decks. Take your time to carefully observe reference images or photographs of cruise ships to capture these details accurately.
Step 6: Refine the Hull
Refine the shape of the hull by adding curves and angles to make it more realistic. Pay attention to the front and back of the ship as well. Add any necessary details, such as anchors or water splashes, to bring the drawing to life.
Step 7: Finalize the Outline
Once you are satisfied with the overall structure and shape of the cruise ship, darken the lines that form the outline and erase any unnecessary guidelines. This will make your drawing more defined and polished.
Step 8: Add Shading and Texture
Using your pencil, add shading and texture to your drawing to give it depth and dimension. Pay attention to the light source and add shadows accordingly. Shade the areas that are hidden from the light and leave the areas exposed to the light source relatively lighter.
Step 9: Optional – Add Color
If you prefer a colored drawing, now is the time to grab your coloring tools and add some vibrant hues to your artwork. Use reference images to match the colors of the cruise ship you are drawing, or let your creativity flow and choose your color scheme.
Conclusion
Congratulations! You have successfully learned how to draw a cruise ship. By following these step-by-step instructions, you have created a detailed representation of a cruise ship that captures its unique features and structure. Remember, practice is key, so keep honing your skills and exploring different subjects.
Drawing a cruise ship can be a rewarding experience for artists of all levels. Whether you choose to draw it as a standalone artwork or as part of a larger scene, the skills and techniques you have learned can be applied to various other subjects as well.
Happy drawing!
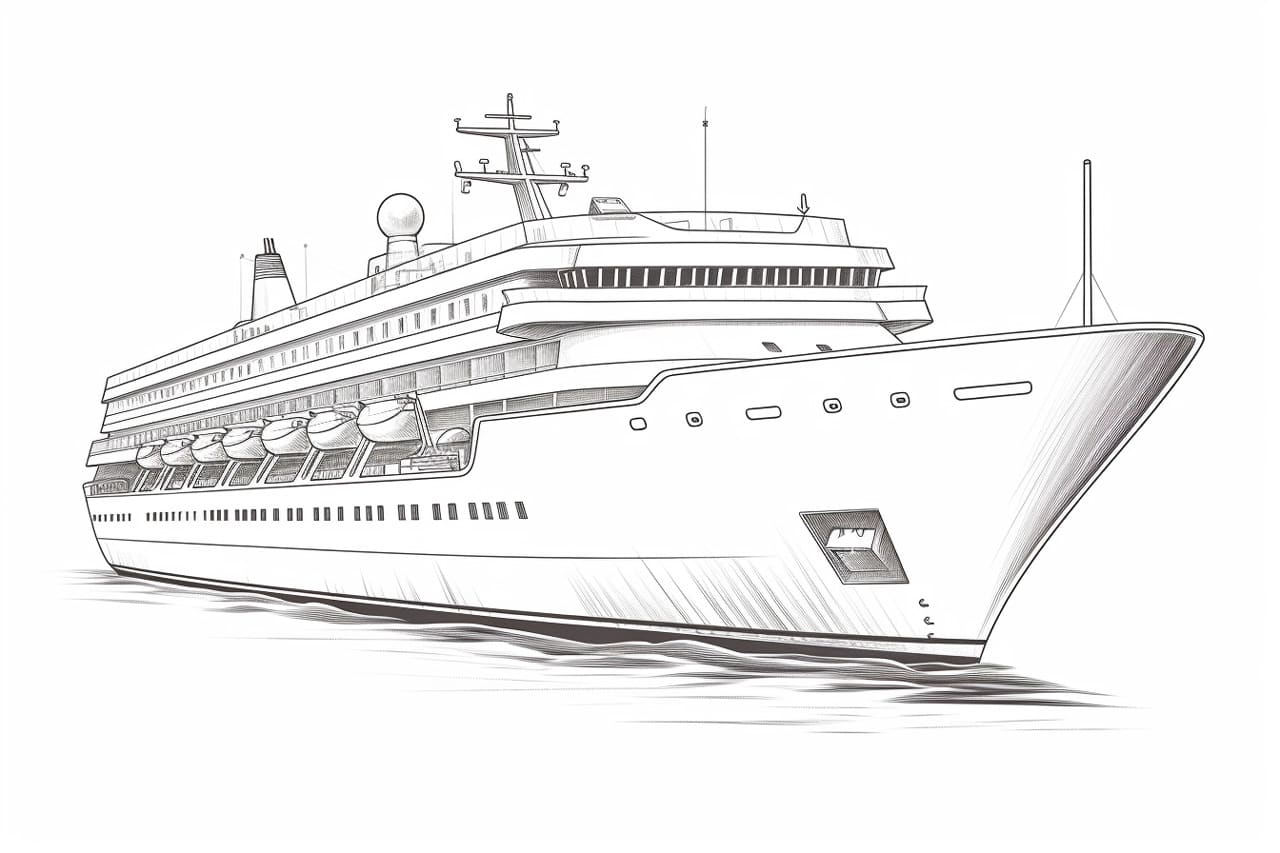
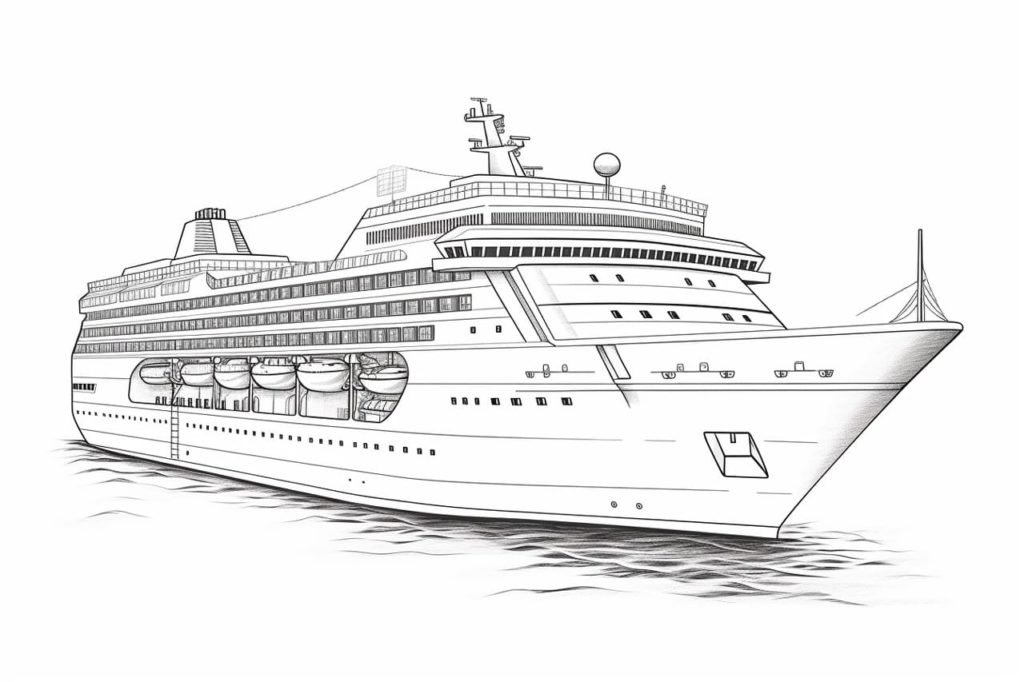
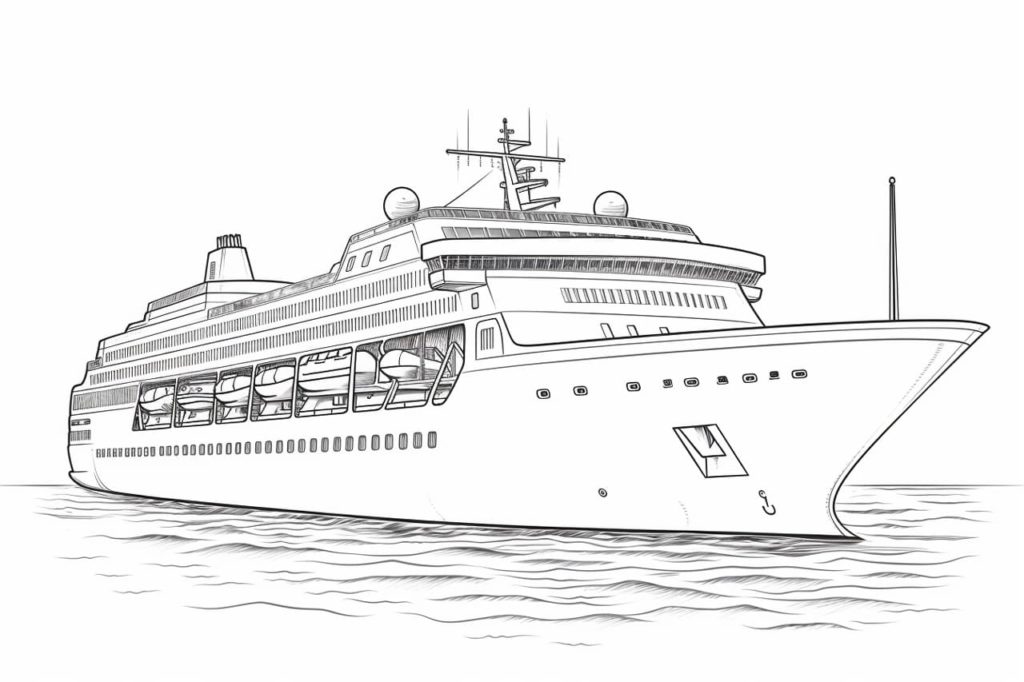
Gallery of Cruise Ship Drawings

Suggestions for Scenes and Settings for Cruise Ship Drawings
- At Sunset: A cruise ship sailing on the ocean with a stunning sunset in the background, casting warm hues over the water.
- In the Harbor: The cruise ship docked at a bustling harbor, with the city skyline behind it and smaller boats nearby.
- Tropical Paradise: A scene where the cruise ship is anchored near a tropical island, with palm trees, white sandy beaches, and clear blue water.
- Under the Northern Lights: A unique setting with the cruise ship in colder waters, under the mesmerizing colors of the Northern Lights in the night sky.
- At Full Sail: The cruise ship moving through open waters, showcasing its full length and structure, with waves gently breaking against its hull.
- Stormy Seas: A dramatic scene of the cruise ship navigating through stormy weather, with dark clouds, rough seas, and waves splashing against the ship.
- Mediterranean Coast: The cruise ship sailing along the coast of the Mediterranean, with historic towns and cliffs visible in the background.
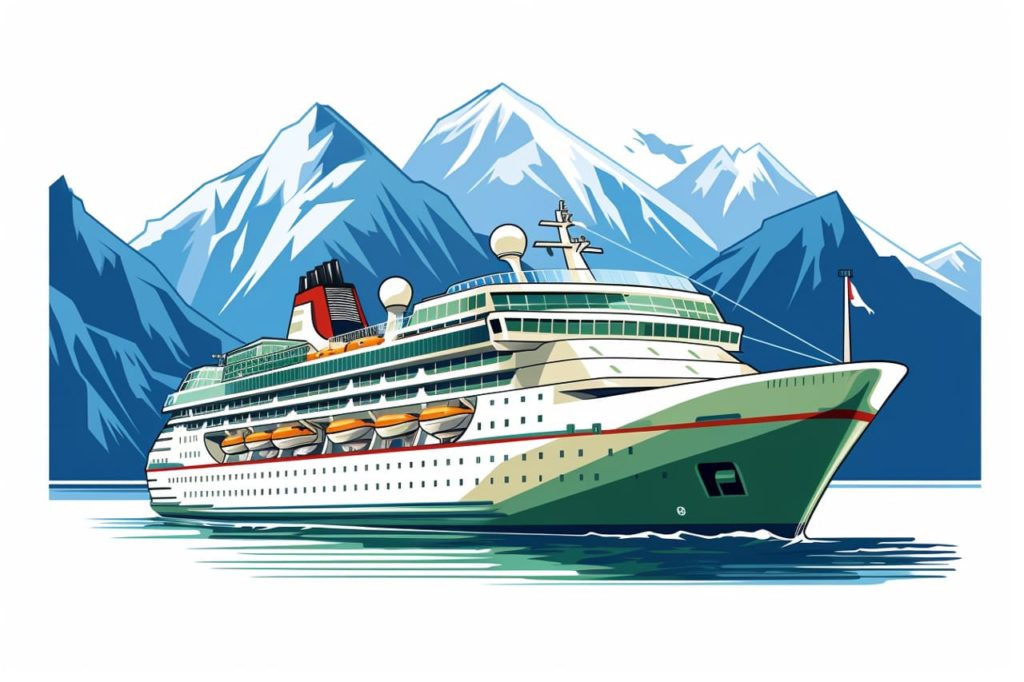
- Through the Fjords: A breathtaking view of the cruise ship passing through narrow fjords, with towering mountains and waterfalls on either side.
- Docked at a Tropical Port: A vibrant scene with the cruise ship docked at a colorful Caribbean port, surrounded by markets, colorful buildings, and lush vegetation.
- Iceberg Navigation: An adventurous setting where the cruise ship navigates through icy waters, with icebergs around it, showcasing the ship’s journey through polar regions.