Learning how to draw a car can be a challenging task, but with some simple steps and practice, you can create a beautiful and realistic car drawing. In this tutorial, we’ll break down the process into easy-to-follow steps. Let’s get started!
Materials Required
- Pencil
- Eraser
- Drawing paper
- Reference picture of a car
Step 1: Draw the Basic Shapes
Start by drawing the basic shapes of the car. Draw a rectangle for the main body of the car, and add a smaller rectangle for the hood. Sketch a smaller rectangle for the trunk and add two circles for the wheels.
Step 2: Refine the Shapes
Next, refine the basic shapes by adding more details. Draw the roof and the windshield, making sure to follow the contours of the car’s body. Add curves to the fenders and the bumpers to give the car a more realistic shape.
Step 3: Sketch the Details
Now it’s time to add the details to the car drawing. Sketch the windows, headlights, and taillights. Add the door handles and the grille, making sure to follow the contours of the car’s body.
Step 4: Add Shading and Texture
Finally, add shading and texture to your drawing to give it a realistic look. Shade in the areas where shadows would naturally fall, such as under the car and around the wheels. Add texture to the car’s body by using short, curved lines to show the direction of the car’s curves.
Step 5: Final Touches
Once you’ve completed the shading and texture, take a step back and look at your drawing as a whole. Make any necessary adjustments and add any final touches that you feel are necessary.
Congratulations! You have successfully learned how to draw a car. With practice, you can refine your skills and draw even more complex and beautiful vehicles.
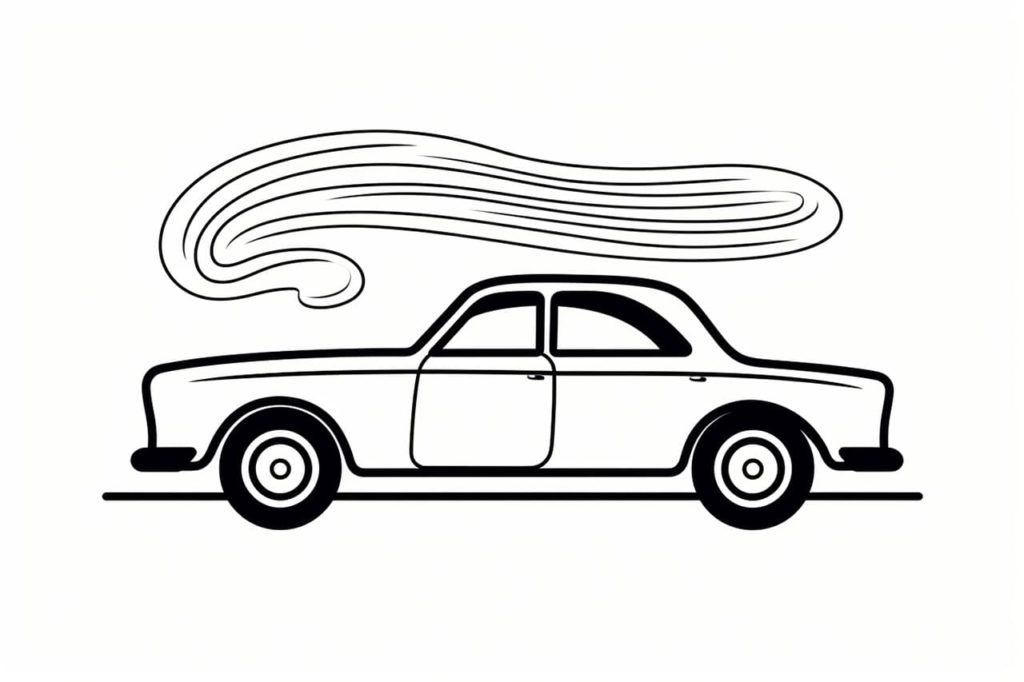
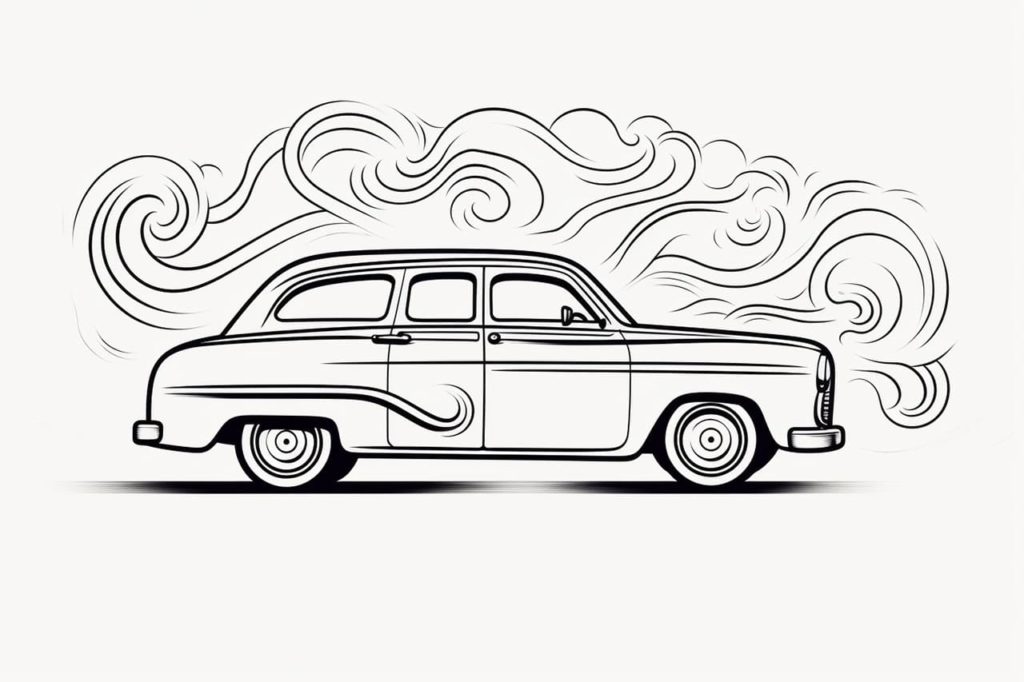
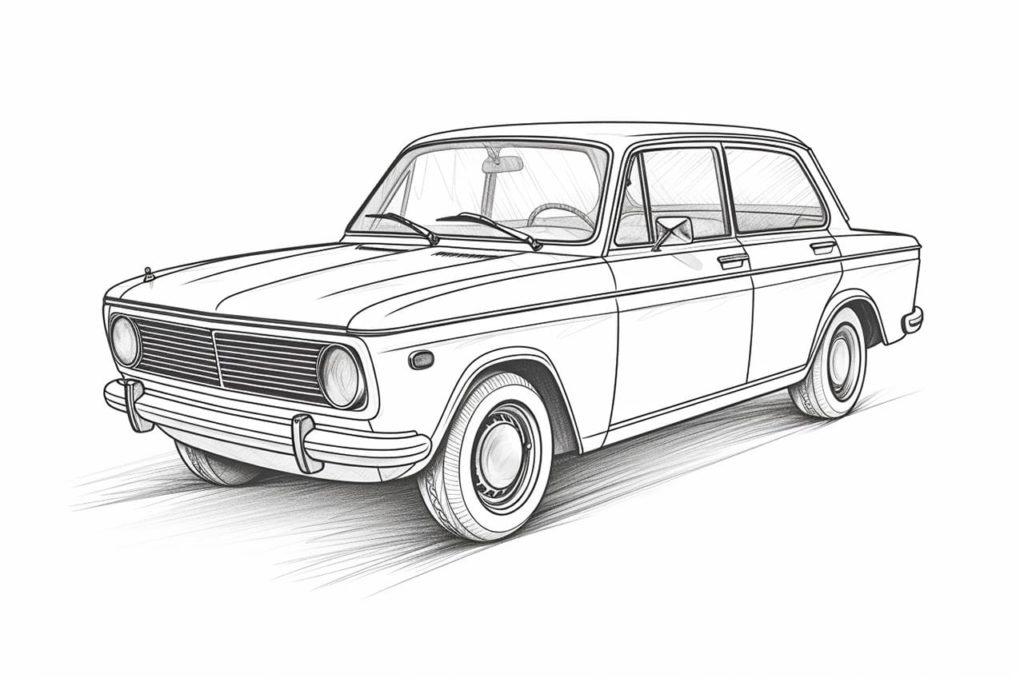
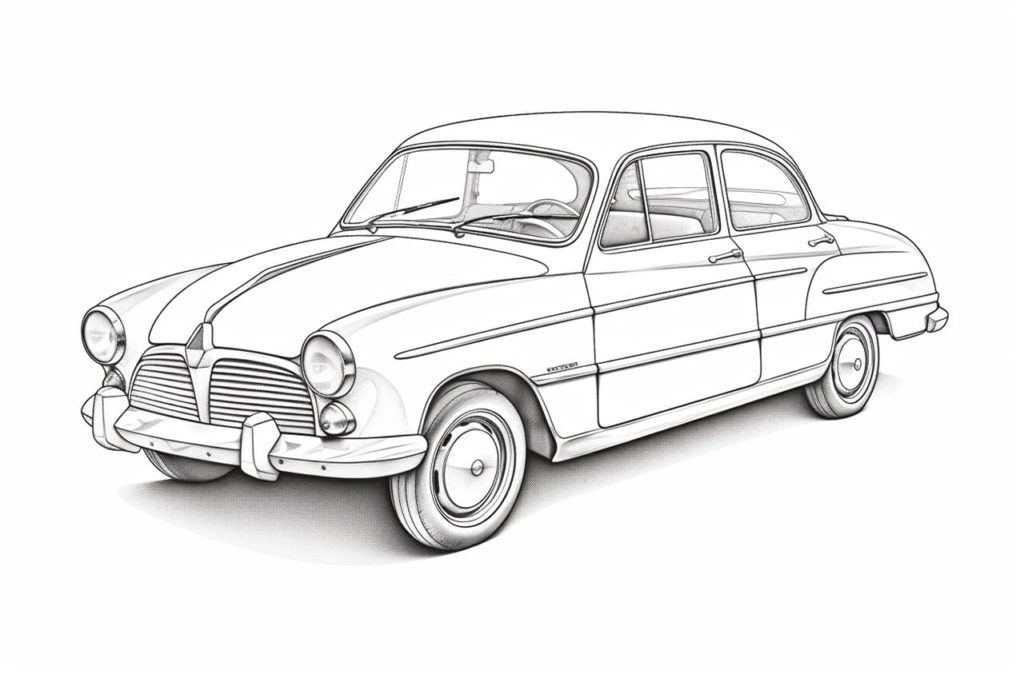
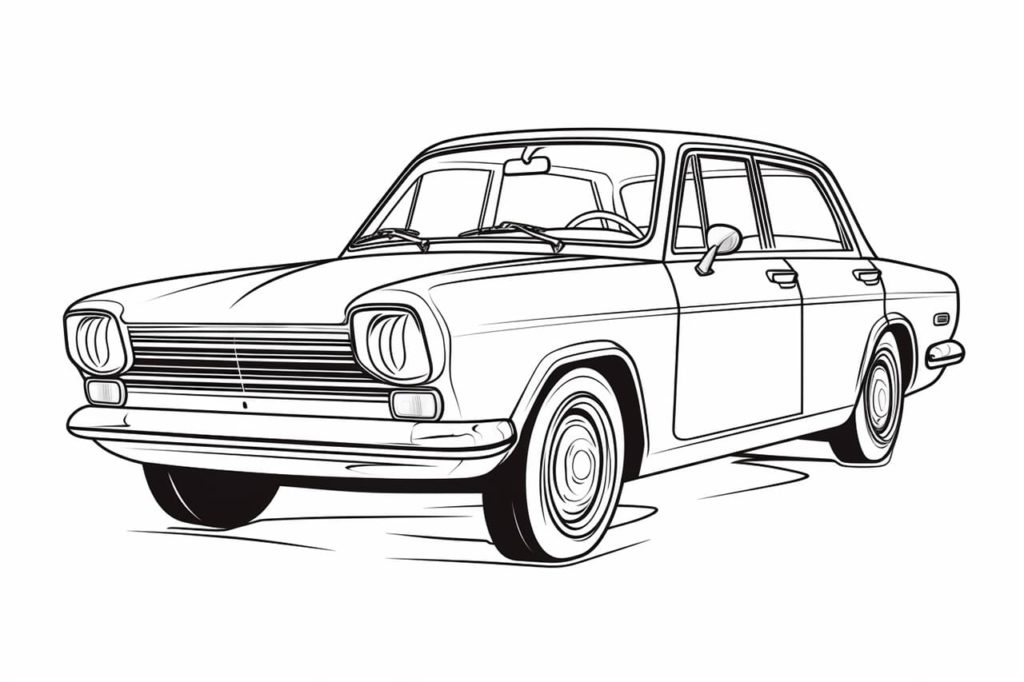
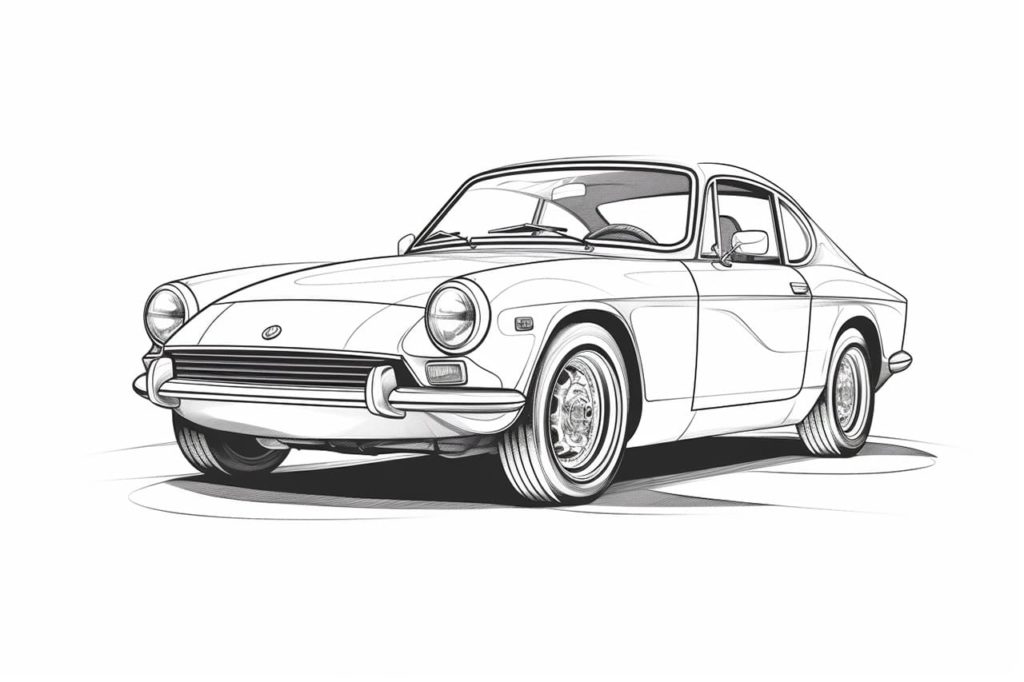
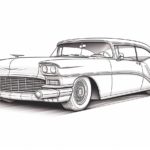
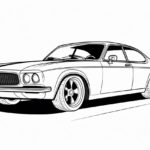
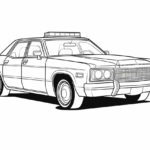
A Gallery of Car Drawings