Welcome to this step-by-step tutorial on how to draw a barn. Drawing a barn can be a delightful and creative experience. Whether you want to sketch a barn for a farm scene or a rustic landscape, this tutorial will guide you through the process. With some simple steps and attention to detail, you can create a beautiful and realistic barn drawing that captures the charm of the countryside. Let’s get started with “How to Draw a Barn”!
Materials Required
- Pencil
- Eraser
- Drawing paper
Step 1: Draw the Base Shape
Start by drawing the base shape of the barn. Draw a large rectangle in the center of your paper. This will be the main body of the barn. Make sure that the sides of the rectangle are straight and equal in length.
Step 2: Add the Roof
Next, draw the roof of the barn. To do this, draw two diagonal lines starting from the top corners of the rectangle and meeting at the center. This will create the triangular roof shape. Make sure that the roof is symmetrical and sits evenly on top of the barn.
Step 3: Draw the Doors
Now it’s time to add the doors to the barn. Draw a rectangle in the center of the barn’s front side. This will be the main door. Add a smaller rectangle on each side of the main door to create the smaller side doors. Make sure that the doors are evenly spaced and proportional to the size of the barn.
Step 4: Add the Windows
To give the barn some character, draw the windows on the sides of the barn. Draw small squares or rectangles on each side of the barn, above the doors. Make sure that the windows are evenly spaced and aligned with the doors.
Step 5: Add Details
Now it’s time to add some details to the barn. Draw the roof beams and the supports for the doors and windows. Add some wooden planks to the doors to give them texture. Draw some wooden panels on the sides of the barn to create the rustic look.
Step 6: Add Shading and Texture
To give your barn drawing more depth and dimension, add shading and texture. Shade in the areas where shadows would naturally fall, such as under the roof and around the doors and windows. Add texture to the wooden panels and planks by using short, curved lines to show the grain of the wood.
Step 7: Final Touches
Take a step back and look at your drawing as a whole. Make any necessary adjustments and add any final touches that you feel are necessary to make your barn drawing come to life.
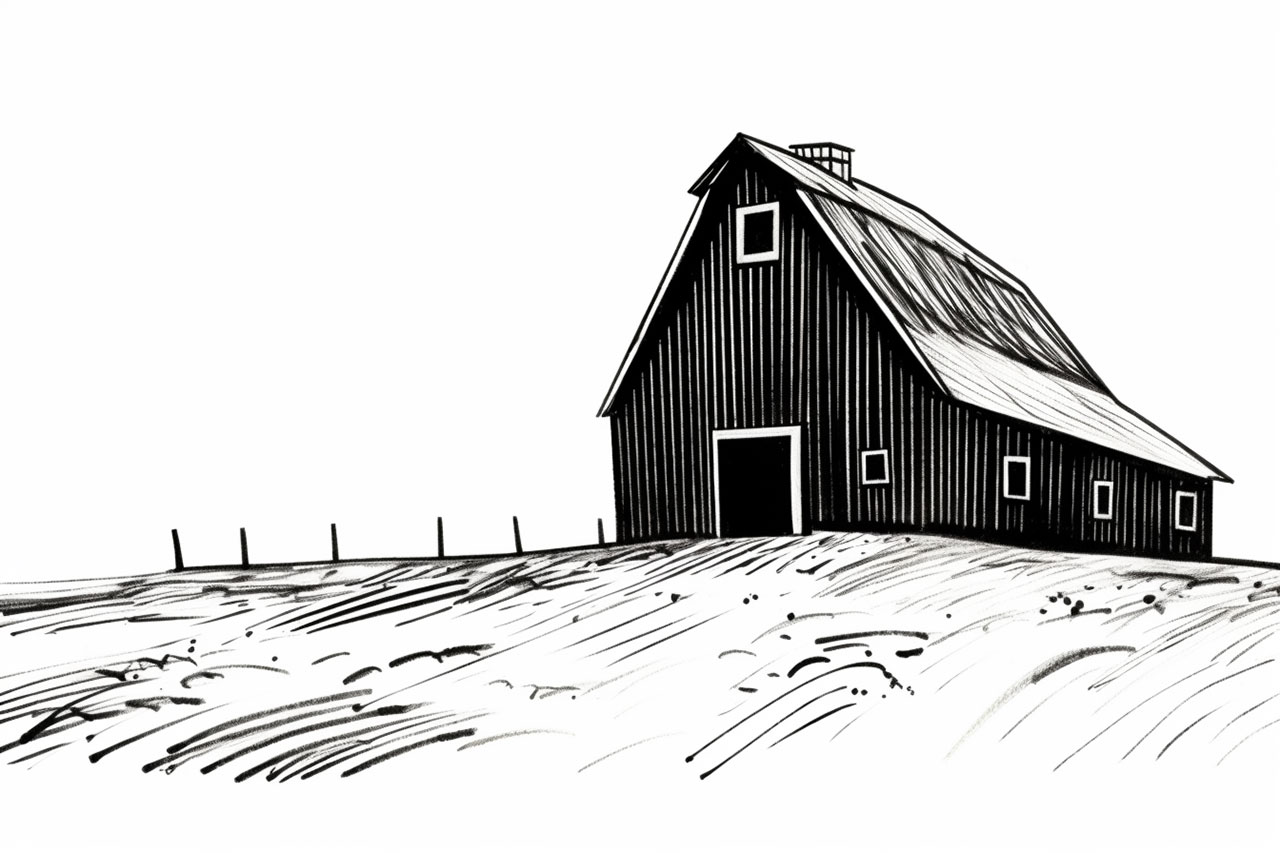
Conclusion
Congratulations! You have successfully drawn a charming barn that brings the countryside to your paper. With practice and creativity, you can draw a variety of barns with different styles and designs. So, grab your pencil and let your imagination run wild as you create your own picturesque farm scenes with this “How to Draw a Barn” tutorial.