Learning how to draw something complex like machinery can seem intimidating, but every artist starts somewhere. In this tutorial, we will learn how to draw a tractor in a simple, step-by-step process. By following the steps carefully and practicing your skills, you can create an impressive tractor sketch in no time at all!
Step 1: Draw the Body
Start by drawing a large rectangle for the body of the tractor. This rectangle should take up a good portion of your drawing paper. Then, add a smaller square on top of the rectangle to represent the cabin where the driver sits.
Step 2: Draw the Wheels
Next, let’s add the wheels. Draw two large circles on either side of the bottom of the rectangle. These are the rear wheels of the tractor. Inside each big circle, draw another smaller circle to represent the hub of the wheel. Then, draw a slightly smaller circle on the front side of the rectangle for the front wheel of the tractor, with another smaller circle inside it for the hub.
Step 3: Add Details to the Wheels
Now, it’s time to add some details to the wheels. Draw a series of lines radiating out from the hub circles in the wheels. These lines represent the spokes of the tractor wheels. Then, draw a wavy pattern along the outer edge of the wheels to represent the tire treads.
Step 4: Draw the Cabin
Let’s add some details to the driver’s cabin. Draw a rectangular front window on the cabin, and another rectangular side window. Then, draw a line to split the front window into two parts. This line represents the windshield wiper.
Step 5: Draw the Hood and the Grille
Move on to the front of the tractor and draw a slanted rectangular shape that connects the cabin to the smaller front wheel. This is the hood of the tractor. Then, draw a rectangular grille at the front of the hood. Draw several vertical lines inside this rectangle to represent the slats of the grille.
Step 6: Add Final Details
To finalize your tractor, add some smaller details to make it look realistic. Draw a curved line on top of the cabin to represent the roof. You can also add a couple of rectangular shapes at the back of the tractor to form the mudguards over the rear wheels. Lastly, don’t forget to add the exhaust pipe and the headlights.
Step 7: Color Your Tractor
After you’ve completed all the steps above and are happy with your sketch, it’s time to add some color. You can color your tractor any way you like. Most tractors are red, green, or blue, but you can use your creativity here.
Congratulations! You’ve now learned how to draw a tractor. Keep practicing this process, and over time, your drawing skills will continue to improve. Remember, the key to becoming a good artist is patience and persistence. Don’t be discouraged if your first few attempts don’t turn out perfect. With practice, you’ll improve.
Drawing a tractor is a fun way to practice your sketching skills while also learning about the world around us. Thank you for following this tutorial on “How to Draw a Tractor.” Keep practicing, keep exploring, and most importantly, keep creating! Next, you can learn to draw a barn to house your tractor on the farm.
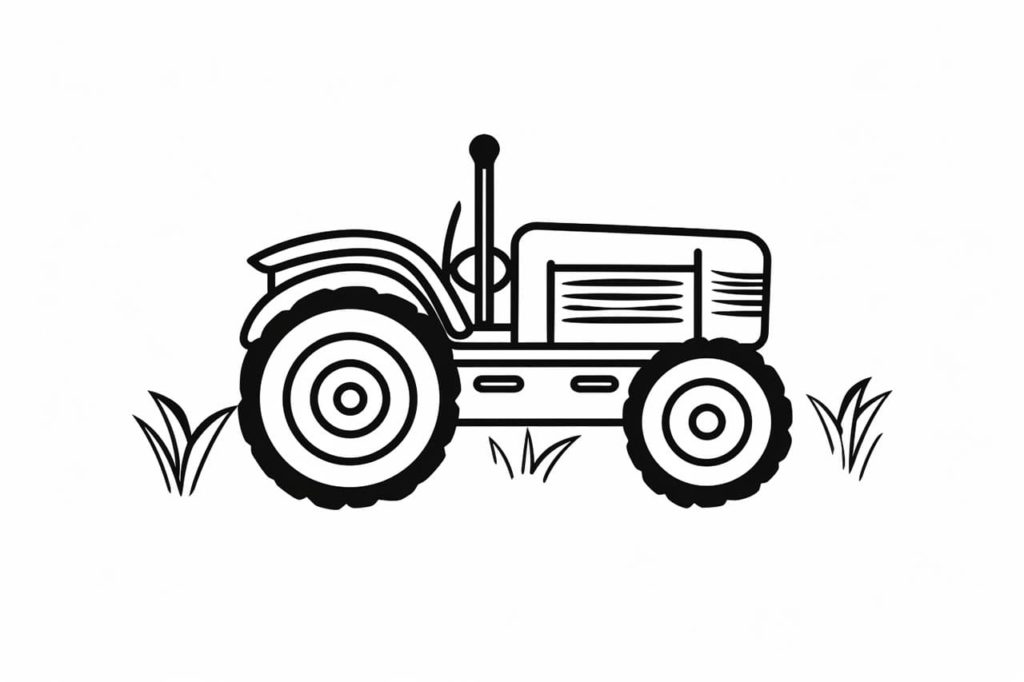
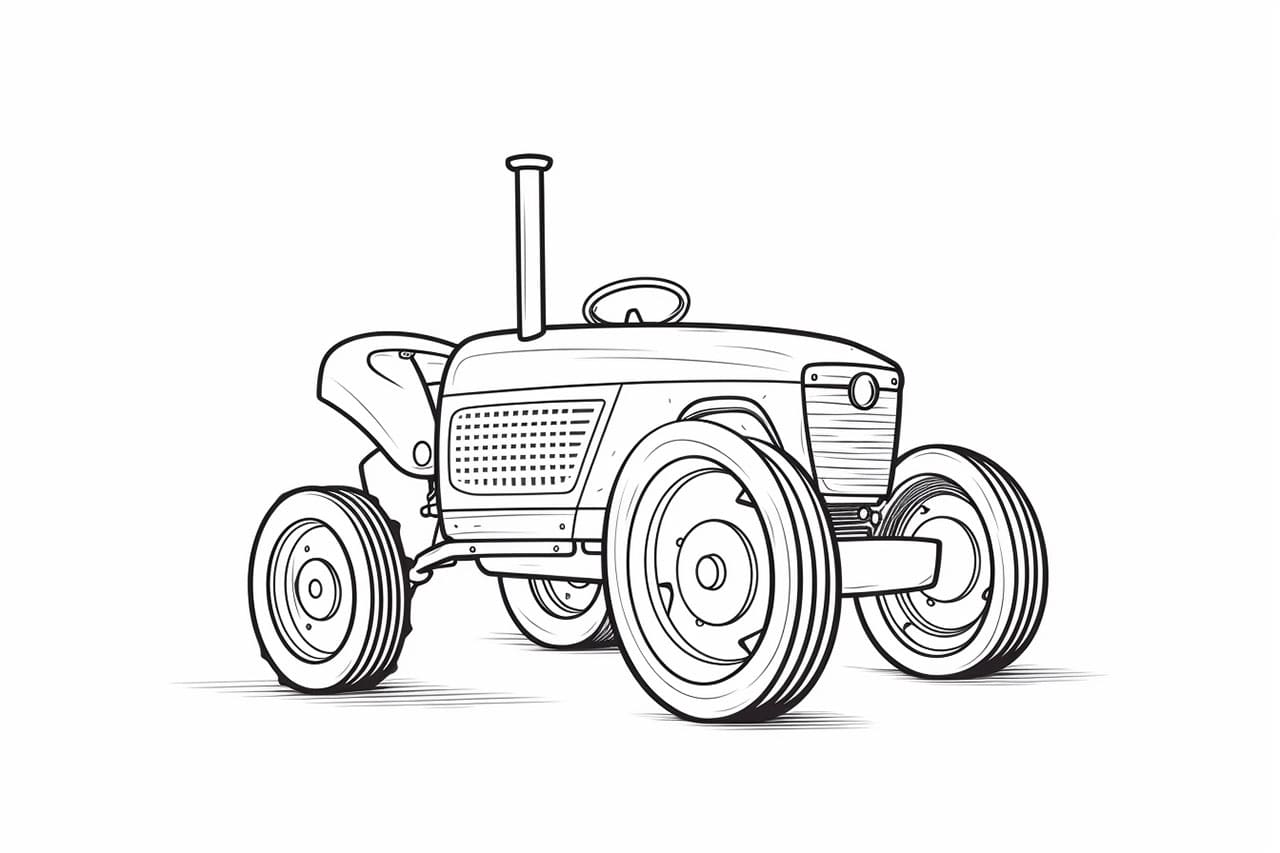
Gallery of Tractor Drawings