Welcome to this step-by-step tutorial on how to draw a garbage truck. Whether you’re a beginner or an experienced artist, this guide will help you create a detailed and realistic drawing of this essential vehicle. Garbage trucks, also known as waste collection vehicles, are often seen on the streets, providing an important service to our communities. So, let’s grab our drawing materials and get started!
Materials Needed
To follow along with this tutorial, you will need the following materials:
- Drawing paper or sketchbook
- Pencil
- Eraser
- Fine-tip black marker or pen
- Colored pencils or markers (optional)
Now that we have everything we need, let’s dive into the steps of drawing a garbage truck.
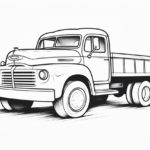
Step 1: Shape the Body
Start by drawing a rectangle in the center of your paper. This will serve as the main body of the garbage truck. Make sure the proportions are accurate by measuring the height and width with your pencil.
Step 2: Add the Cab
On the front end of the rectangle, draw a smaller rectangle slightly tilted. This will be the cab of the truck, where the driver sits. Make sure to leave enough space at the front for the windshield.
Step 3: Define the Windshield and Doors
Within the smaller rectangle, draw a trapezoid shape near the top for the windshield. Then, add two small rectangles on each side for the doors of the cab. These rectangles should align with the height of the main body.
Step 4: Depict the Wheels
Draw two large circles at the bottom corners of the main body. These circles represent the front wheels. Then, draw two more circles slightly behind the front wheels for the rear wheels. Make sure the sizes of the wheels are proportional to the body of the truck.
Step 5: Outline the Chassis
Connect the wheels by drawing a curved line on each side of the main body. These lines will form the chassis of the garbage truck. Pay attention to the angles and proportions to maintain a consistent and realistic look.
Step 6: Add the Details
Now it’s time to add some details to our garbage truck. Draw a horizontal line above the wheels to represent the bottom edge of the truck’s rear compartment. Then, draw a series of vertical lines within this area to indicate the panels or compartments where the garbage is stored.
Step 7: Design the Front Bumper
At the front of the truck, draw a curved line to create the bumper. Then, add a horizontal line above it to form the grille. You can add smaller details like headlights and a logo if you’d like to make it more realistic.
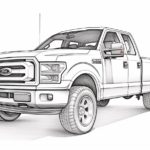
Step 8: Refine the Body
Take your fine-tip black marker or pen and carefully go over the main lines of your drawing. This will make the garbage truck stand out and give it a finished look. When you’re done with the outline, let the ink dry, and erase any remaining pencil marks.
Step 9: Coloring (Optional)
If you want to add some color to your drawing, now is the time. Use colored pencils or markers to shade and color different parts of the garbage truck. You can refer to reference images online or create your own color scheme.
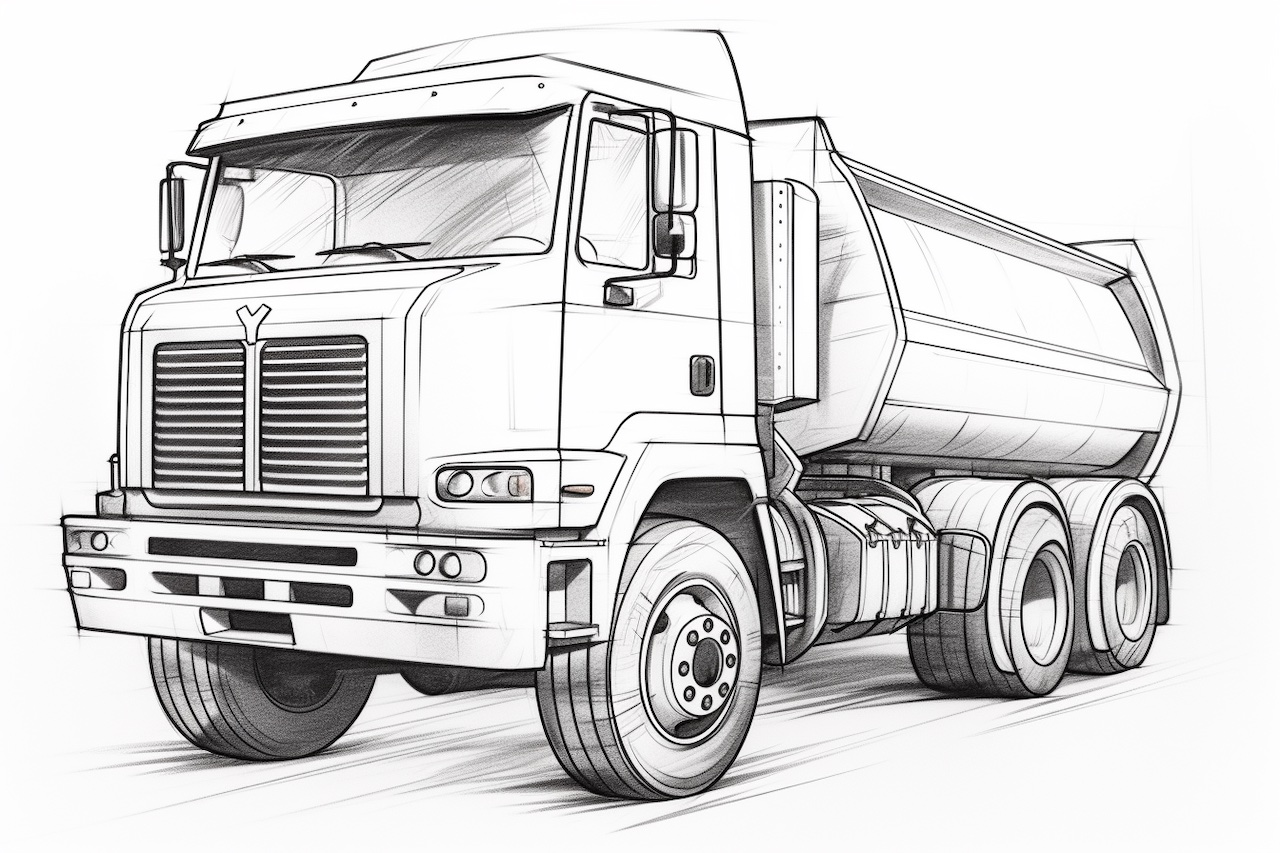
Conclusion
Congratulations! You have successfully learned how to draw a garbage truck. By following the step-by-step instructions in this tutorial, you were able to create a detailed and realistic representation of this important vehicle. Remember to practice regularly to improve your skills and experiment with different styles and techniques. Keep up the great work!