How to Draw a World Map
Learn how to draw a world map with this step-by-step tutorial. Follow the instructions to create a beautiful and accurate representation of our planet.
Materials You'll Need
- Pencil
- Paper
- Eraser
The world map is a fascinating subject that captures the imagination of travelers, students, and artists alike. Not only does it provide a bird's-eye view of our planet's continents, countries, and oceans, but it also represents the interconnectedness of cultures and the vastness of Earth itself. Learning how to draw a world map can deepen your appreciation for geography and help you visualize the world in a creative and personal way. Whether you want to enhance your school project, design custom artwork, or simply explore the art of cartography, a hand-drawn world map is a rewarding achievement to display your skills and knowledge.
While the idea of drawing all the continents and details might seem intimidating, this tutorial on how to draw a world map breaks down the process into approachable, step-by-step instructions. You don't need to be an expert to get started—just a willingness to observe shapes carefully and some patience as you outline coastlines, sketch mountain ranges, and add defining borders. This project is perfect for beginners looking to practice basic drawing and observation skills, and also offers room for advanced artists to practice proportion, shading, and creative embellishments. By the end of this guide, you'll discover that with the right techniques and persistence, anyone can create a beautiful and recognizable map of our world. So gather your materials and let's embark on this artistic journey together—your very own world map is just a few steps away!
Materials Required
Before we begin, let's gather the materials you will need:
- Drawing paper
- Pencil
- Eraser
- Ruler
- Compass
- Fine-tipped pens or markers
- Colored pencils or markers (optional)
With these materials on hand, you are ready to embark on your artistic journey.
Step 1: Outline the Contours
Start by drawing a rough outline of the continents on your drawing paper. Begin with a light pencil sketch, focusing on the basic shapes and proportions. Use reference materials such as maps or globes to ensure accuracy. Remember to keep the scale in mind, as the size of continents and countries may vary.
Step 2: Add the Mountains and Rivers
Once you have outlined the continents, it's time to add the mountains and rivers. Use your pencil to sketch the mountain ranges and the major rivers around the world. Pay attention to the natural curves and contours of these features. This step adds depth and detail to your map.
Step 3: Define the Coastlines
Next, go over the pencil outline of the continents with a fine-tipped pen or marker to define the coastlines. Pay attention to the jagged edges and irregularities that give each coastline its unique character. Take your time and be precise, as this step sets the foundation for the rest of your drawing.
Step 4: Label the Countries and Cities
Now it's time to add the names of countries and major cities. Use a fine-tipped pen or marker to neatly write the names in their respective locations. You can refer to a map or an atlas for accurate labeling. If you prefer, you can use colored pencils or markers to differentiate between countries or add vibrancy to your map.
Step 5: Add the Equator and Meridians
To make your world map more accurate, draw the equator and the meridians. Use a ruler to create straight lines that divide the world into hemispheres. The equator should be a horizontal line across the middle, while the meridians should be vertical lines that converge at the North and South poles. These lines will help with orientation and navigation on your map.
Step 6: Fill in the Oceans
To complete your world map, fill in the oceans with a light blue color. You can use colored pencils or markers for this step. Gradually layer the color to achieve a smooth and natural look. Be mindful of the coastline edges, ensuring that the blue color does not overlap onto the land.
Step 7: Final Touches
Once the oceans are filled in, take a moment to review your world map. Make any necessary adjustments, such as reinforcing lines or adding additional details. You can also use colored pencils or markers to enhance the countries' colors or add shading to the mountains. Take your time and experiment until you are satisfied with the final result.
Congratulations! You have successfully drawn your own world map. Display it proudly or use it as a reference for future projects or studies.
Tip: To achieve a more accurate representation of the world map, start by lightly sketching a grid over your drawing paper, using a ruler to keep your lines straight and evenly spaced. This grid will help you maintain proper proportions as you transfer the shapes of continents and countries from a reference image to your paper. Once your grid is in place, focus on one continent at a time, outlining the general shapes before adding details like coastlines and borders. Use a range of pencils—start with a harder pencil (like 2H) for the initial outlines and switch to a softer pencil (like 2B or 4B) for shading and detailing. Don't hesitate to erase and adjust as you go; this is a natural part of the artistic process! Remember, the key is to take your time and enjoy the journey of creating your map.
Conclusion
Drawing a world map may seem like a complex task, but breaking it down into steps becomes an achievable project for artists of all levels. Remember to gather your materials, outline the continents, add mountains and rivers, define coastlines, label countries and cities, add the equator and meridians, fill in the oceans, and add any final touches. Following these steps can create a beautiful and accurate representation of our planet. Enjoy the process and have fun exploring the world through art.
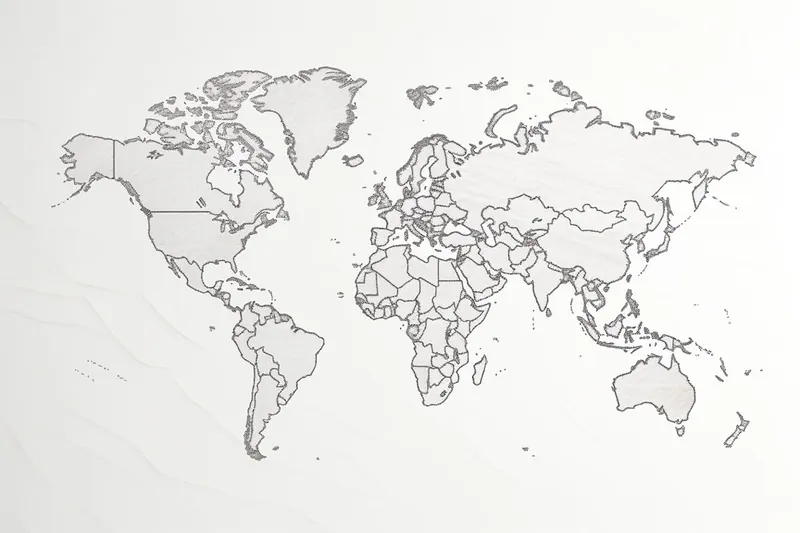
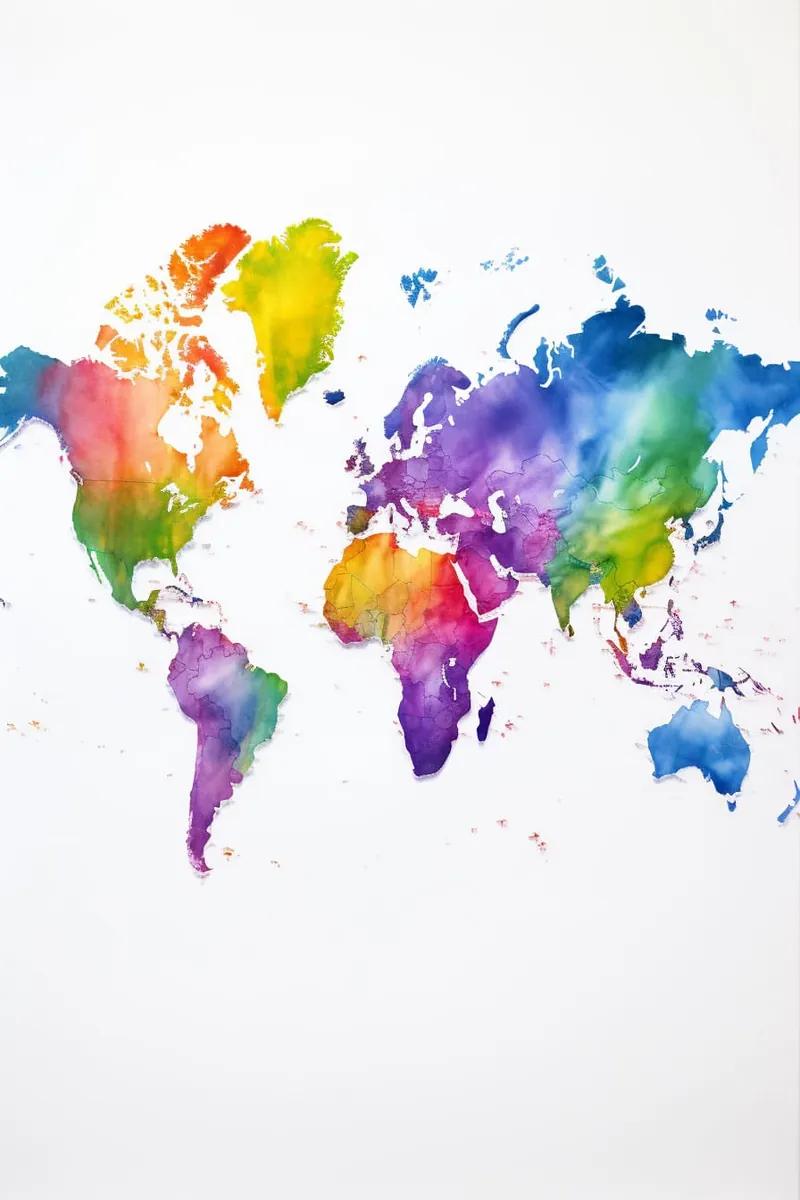
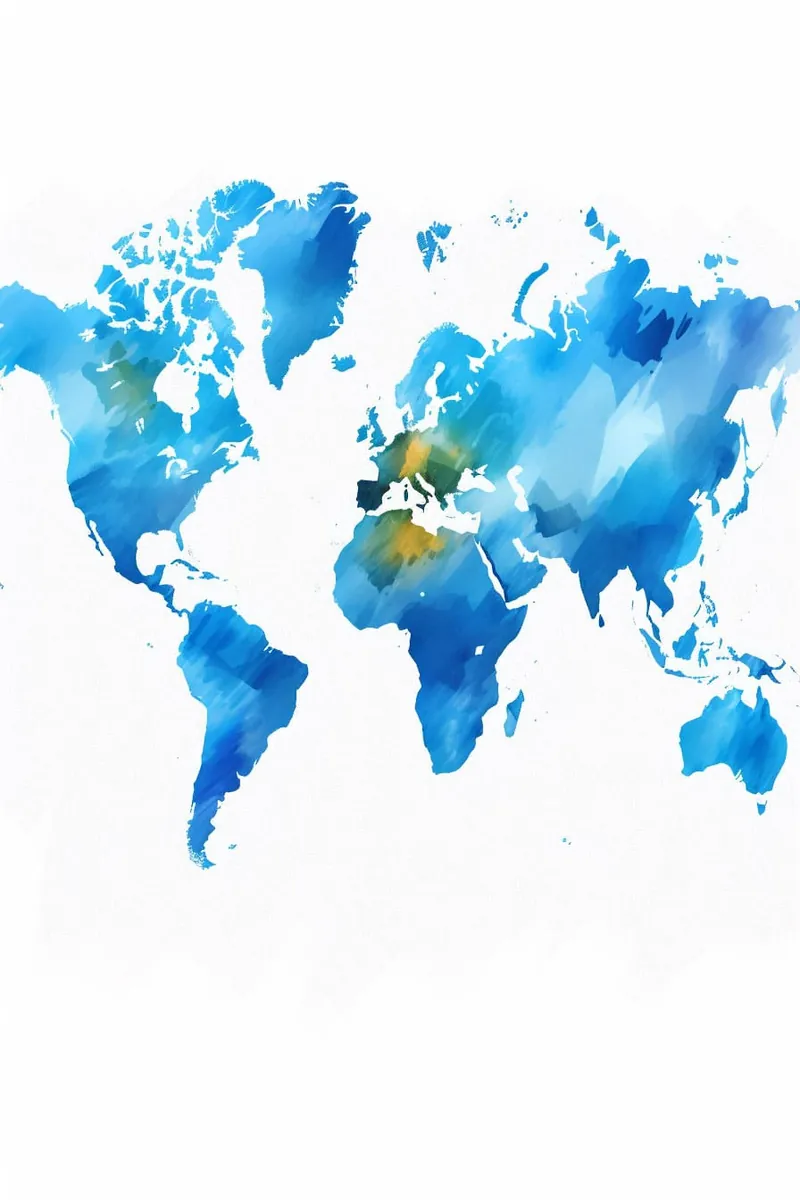
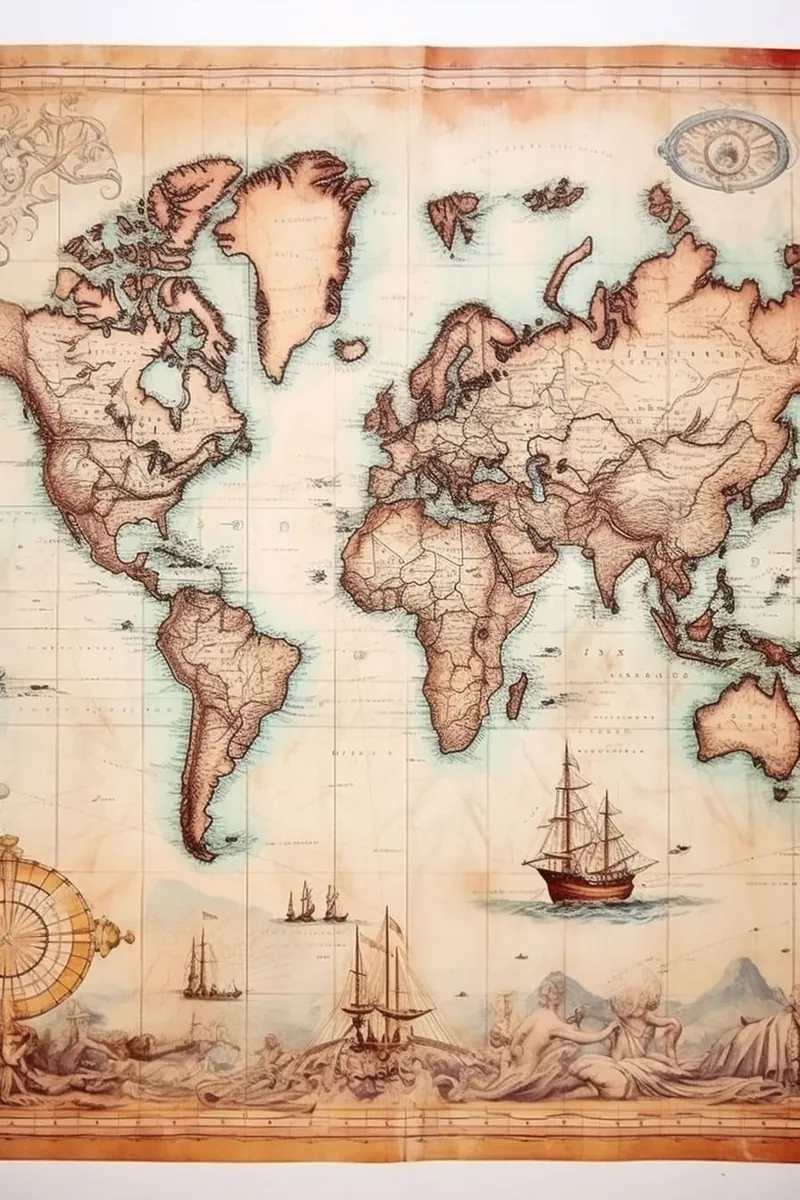
Gallery of World Map Drawings
Fun Facts About World Map
- The oldest known world map, the Babylonian Imago Mundi, dates back to the 6th century BCE and is housed at the British Museum.
- The most widely used world map projection, the Mercator projection, was created by Gerardus Mercator in 1569 and is explained by the National Geographic Society.
- World maps often distort the size of continents due to the challenge of representing a spherical Earth on a flat surface, as detailed by Encyclopaedia Britannica.
- Antarctica appears much larger on many world maps than it actually is, a phenomenon discussed by NASA.
- The International Date Line, which zigzags across the Pacific Ocean, is a key feature on world maps and is described by the Time and Date website.
- There are over 200 countries depicted on most modern world maps, as recognized by the United Nations.
- The Peters projection map, introduced in 1974, aimed to present countries in their true proportion to one another, as explained by Britannica.
- World maps have been used for centuries in navigation, trade, and exploration, as chronicled by the Library of Congress.
- Some world maps include both political and physical features, showing borders as well as mountains, rivers, and deserts, as described by National Geographic.
Suggestions for Scenes and Settings for World Map Drawings
- [Draw a fantasy world map with invented continents, oceans](https://yonderoo.com/how-to-draw-the-ocean/), and mysterious islands—add your own place names and legendary landmarks.
- Create a vintage-style world map with ornate borders, compass roses, and sea monsters lurking in the oceans.
- Illustrate the world as seen from space at night, highlighting glowing cities and illuminated coastlines.
- Design a world map focused on natural wonders, marking famous mountains, waterfalls, rainforests, and deserts with artistic icons.
- Draw a map showing the world's major climate zones, using colors and textures to represent tundra, rainforest, desert, and temperate regions.
- Make an illustrated map of famous cultural landmarks, such as the Eiffel Tower, Great Wall of China, and Machu Picchu, positioned on their continents.
- Sketch a map that shows historical exploration routes, such as those of Magellan, Columbus, or the Silk Road, with paths traced across the globe.
- Depict the world's oceans in detail, filling them with stylized waves, ship routes, and illustrations of marine life unique to each ocean.
- Create a map highlighting endangered species and their native habitats around the world, using animal drawings as markers.
- Draw a whimsical upside-down or distorted world map, challenging the usual perspective and encouraging viewers to see geography differently.