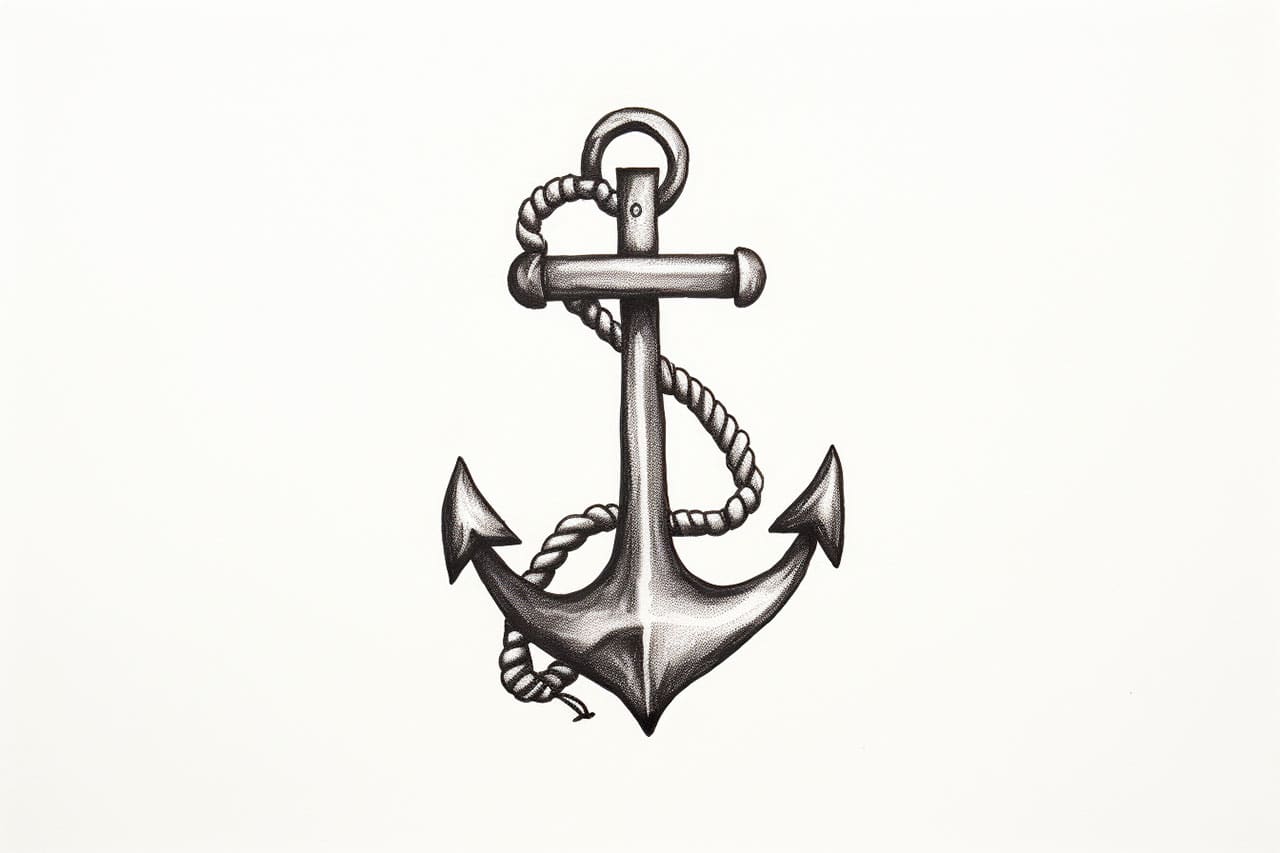
An anchor is a classic symbol that represents stability, strength, and maritime adventures. Whether you want to include an anchor in your artwork or you simply want to improve your drawing skills, this step-by-step guide will teach you how to draw an anchor with ease. So grab your pencil and paper, and let’s get started!
Materials Required
Before we begin, make sure you have the following materials:
Having these materials on hand will ensure that you have everything you need to create a beautiful anchor drawing.
Step 1: Draw a Vertical Line
To start, draw a straight vertical line in the center of your paper. This will serve as the main body of the anchor. Adjust the length of the line according to your desired anchor size.
Step 2: Add the Flukes
At the bottom of the vertical line, draw two curved lines that taper towards the end. These lines will form the flukes, which are the pointed parts of the anchor that dig into the seabed. Ensure that the flukes are evenly spaced and symmetrical.
Step 3: Connect the Flukes
Now, connect the ends of the curved lines from Step 2 by drawing a straight horizontal line across. This line represents the stock, which is the horizontal bar of the anchor connecting the flukes.
Step 4: Draw the Arms
Next, add two curved lines on either side of the stock to create the anchor’s arms. These lines should curve upwards and then slightly downwards, resembling a smooth “C” shape. Make sure the arms are equal in length and symmetrically positioned.
Step 5: Add the Anchor Crown
Above the arms, draw a small horizontal line that connects the two curved lines. This forms the anchor crown, which is the top part of the anchor where the arms join together. The crown is typically shaped like a narrow rectangle.
Step 6: Sketch the Anchor Shank
To complete the anchor’s structure, draw a diagonal line connecting the bottom of the vertical line to the bottom of the anchor crown. This line represents the shank, which is the long stem of the anchor. Ensure that the shank is centered and aligned with the rest of the anchor.
Step 7: Add Details and Texture
Now that you have the basic shape of the anchor, it’s time to add some details and texture to make it more realistic. You can start by drawing small horizontal lines across the anchor crown and arms to give them a textured appearance. You can also add small circular shapes or dots along the shank and flukes to represent bolts or rivets.
Step 8: Refine and Erase
Take a moment to review your drawing and make any necessary adjustments. Use an eraser to remove any unwanted lines or smudges, and refine the shapes to your liking. This is your opportunity to add more definition or smooth out any rough edges.
Step 9: Ink or Shade
If you prefer a clean and finished look, you can ink over your pencil lines using a pen or marker. Start by tracing over the final lines of your anchor, emphasizing the key features and details. Once the ink has dried, erase any remaining pencil marks for a crisp finished drawing. Alternatively, you can choose to shade your drawing with pencils or markers to add depth and dimension.
Congratulations! You have successfully drawn an anchor. With practice, you will be able to create anchors of different designs and variations, adding your personal touch to each one. Anchors can be incorporated into various artworks, such as illustrations, tattoos, or even as standalone pieces.
Conclusion
Drawing an anchor may seem daunting at first, but with this step-by-step guide, you can easily create your own anchor artwork. Remember to take your time, practice regularly, and have fun with the process. Anchors are not only visually appealing but also hold symbolic meaning, making them a great addition to your artwork. So grab your drawing materials and start exploring the art of drawing anchors!