Welcome to this step-by-step tutorial on how to draw a paint brush! Whether you’re an aspiring artist looking to improve your drawing skills or just want to have fun with a pencil and paper, this guide will help you create a realistic representation of a paint brush. So, grab your drawing materials and let’s get started!
Materials Required:
Now that you have all your materials ready, let’s dive into the steps of drawing a paint brush.
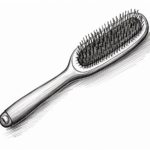
Step 1: Draw the Handle
Start by drawing a vertical line in the middle of your paper. This line will represent the center of the paint brush’s handle. Then, draw two parallel lines on either side of the center line, creating the shape of the handle. Make sure to leave enough space at the top for the bristles.
Step 2: Add Details to the Handle
To make the handle look more realistic, add some details. Draw short horizontal lines across the handle to represent sections or ridges. You can also draw a small curved line at the top of the handle to show where it connects to the bristles.
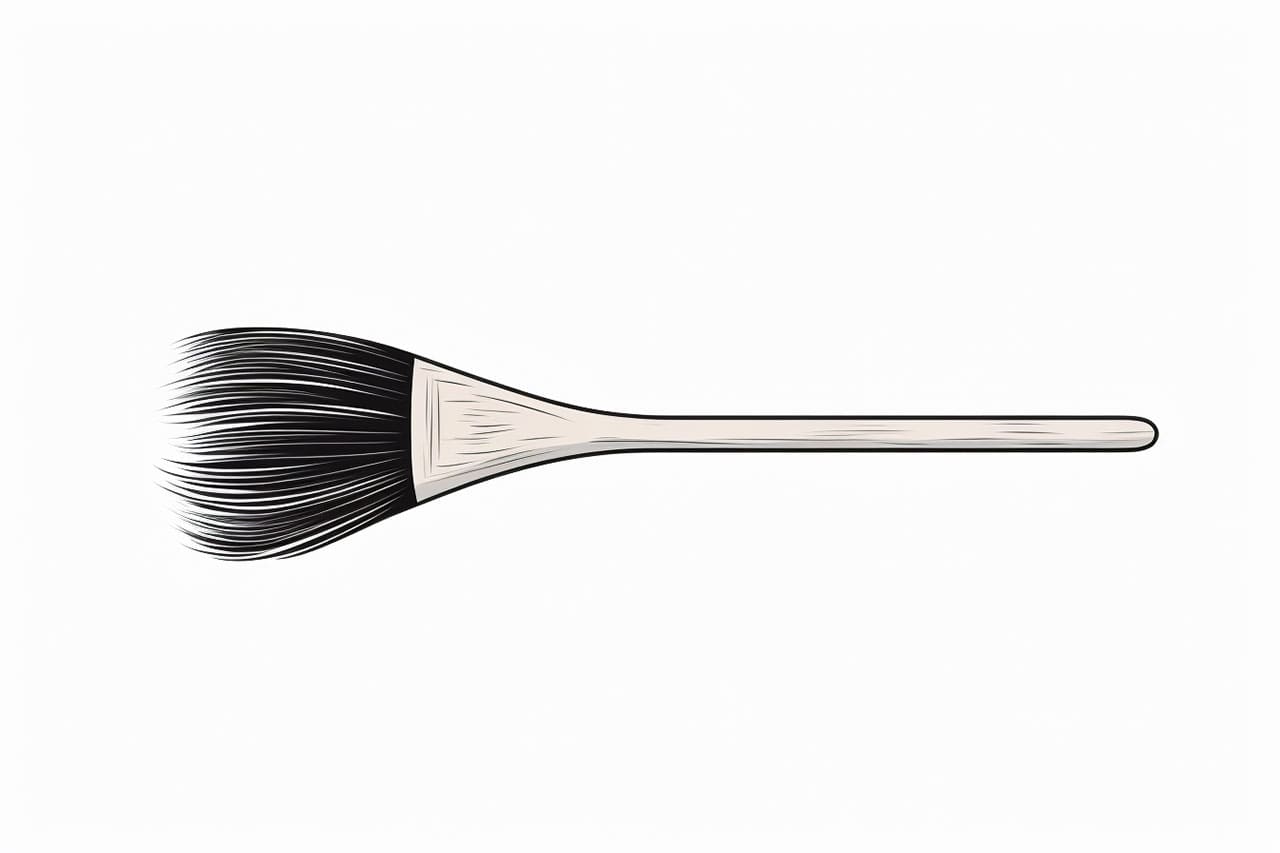
Step 3: Draw the Ferrule
The ferrule is the metal part that holds the bristles together and attaches them to the handle. On the top of the handle, draw a curved line that connects to both sides of the handle. Then, draw two more curved lines beneath it, one on each side, to create a three-dimensional shape.
Step 4: Outline the Bristles
Now it’s time to draw the bristles. Start by drawing a slightly curved line extending from the bottom of the ferrule. This line will represent the top edge of the bristles. Then, draw short, curved lines below the bristle line to create the individual bristles. Vary the length and direction of the lines to make the bristles look more natural.
Step 5: Add Shading and Texture
To give your paint brush drawing more depth and dimension, it’s time to add shading and texture. Use your pencil to lightly shade the areas of the handle and ferrule that would be in shadow. You can also add some texture to the handle by drawing small lines or dots to represent wood grain.
If you’re using colored pencils or markers, you can add more vibrant colors to the ferrule and handle.
Step 6: Refine and Erase
Take a step back and evaluate your drawing. Are there any areas that need refinement or adjustment? Use your pencil to make any necessary changes. Once you’re satisfied with the overall look of your paint brush, use an eraser to gently remove any stray lines or smudges.
Step 7: Finalize the Details
Now it’s time to add the finishing touches to your paint brush drawing. Use your pencil or colored pencils to add any additional details, like reflections or highlights on the ferrule or handle. Pay attention to the different textures of the materials and add shading accordingly.
Finishing up with how to draw a Paint Brush
Congratulations! You’ve successfully learned how to draw a paint brush. With practice, you’ll be able to create more detailed and realistic drawings of paint brushes and other objects. Remember to experiment with different pencil techniques and shading styles to make your drawings unique.
Drawing is a wonderful way to relax, express your creativity, and improve your artistic skills. So, keep practicing, have fun, and let your imagination run wild!