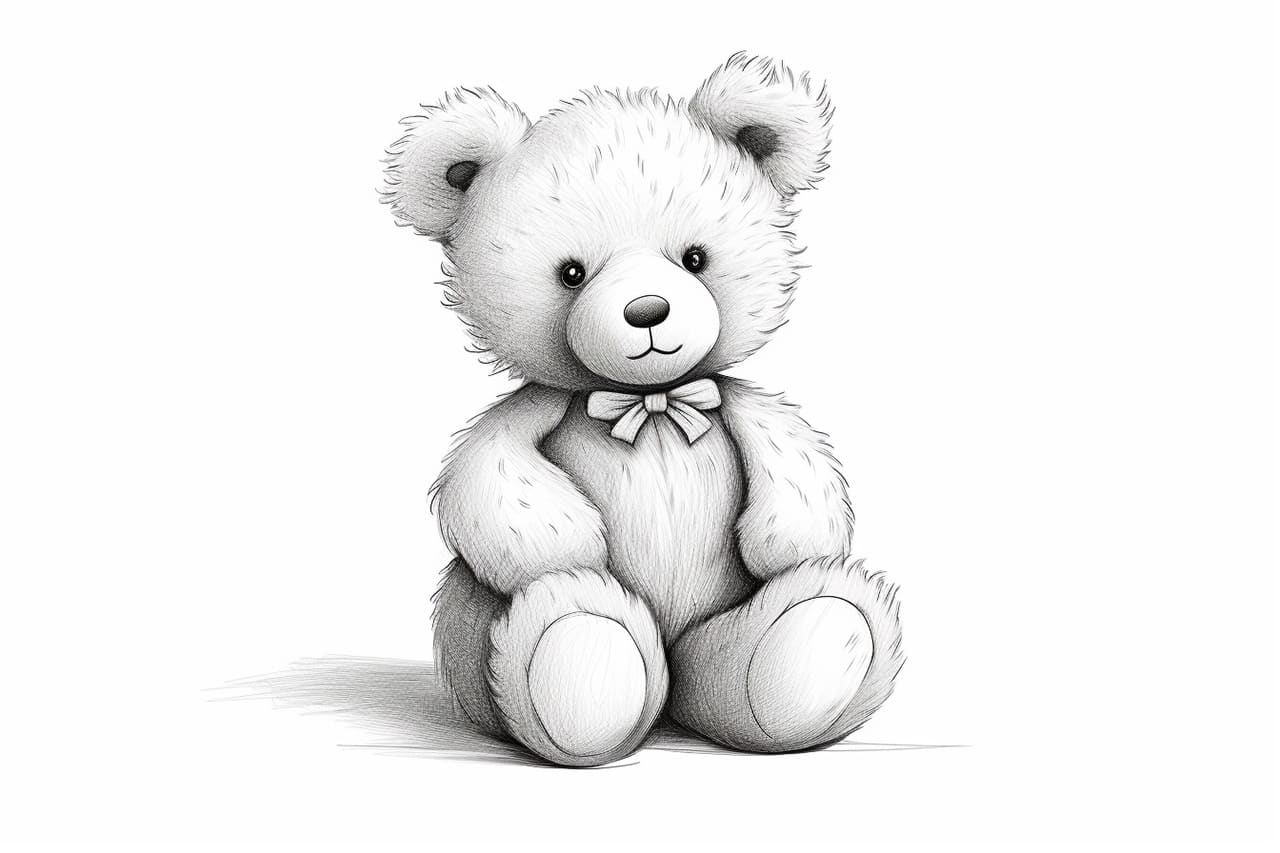
Welcome to this step-by-step guide on how to draw a cute and cuddly teddy bear! Whether you’re an aspiring artist or just looking for a fun activity, drawing a teddy bear is a great way to tap into your creativity. In this tutorial, we’ll break down the process into simple and easy-to-follow steps. So grab your pencils, paper, and let’s get started!
Materials Required
Before we begin, make sure you have the following materials:
- Pencil
- Eraser
- Paper
- Coloring tools (optional)
Now that you have everything you need, let’s start drawing!
Step 1: Basic Outline
To begin, lightly sketch a large oval shape for the body of the teddy bear. This will serve as the foundation for the bear’s shape. Next, draw a smaller oval shape for the head, directly above the body. Connect the two ovals with curved lines to form the bear’s neck.
Step 2: Ears and Face
Now, let’s focus on the details of the face. Draw two small circles on top of the head to represent the bear’s ears. Inside the head oval, draw two small ovals for the eyes. Add a small circle in each eye to represent the bear’s pupils. Just below the eyes, draw a small triangular shape for the bear’s nose. Finally, add a curved line for the mouth, creating a gentle smile.
Step 3: Arms and Legs
Moving on to the bear’s limbs, draw two curved lines extending from the sides of the body for the arms. At the end of each arm, draw a smaller oval shape for the paws. For the legs, draw two straight lines extending downwards from the bottom of the body. Add smaller ovals at the end of each leg to represent the bear’s feet.
Step 4: Fur and Details
Now that we have the basic structure, let’s add some fur and refine the details. Start by adding small curved lines all over the body and head to represent the bear’s fur. Be sure to follow the contour of the body to create a fluffy appearance. Next, add small curved lines on the arms and legs to mimic the teddy bear’s fur texture. You can also add some additional details, such as a collar or a bowtie, to give your bear some extra personality.
Step 5: Finalize and Refine
Once you’re satisfied with the overall shape and details of your teddy bear, darken the lines to make them more prominent. Use an eraser to remove any unnecessary guidelines or stray lines. Take your time and pay attention to the little details, such as the shape of the eyes, the positioning of the ears, and the overall proportions. Make any adjustments necessary to ensure a well-balanced and appealing teddy bear drawing.
Step 6: Coloring (Optional)
If you’d like to add some color to your teddy bear drawing, you can use colored pencils, markers, or any other coloring tools of your choice. Start by selecting the colors you’d like to use. Traditionally, teddy bears are colored in shades of brown, but feel free to get creative and experiment with different colors. Use light, gentle strokes to fill in the various parts of the bear, adding depth and dimension to your drawing.
Conclusion
Congratulations! You’ve successfully learned how to draw a teddy bear step-by-step. By following these simple instructions, you’ve created your very own adorable teddy bear drawing. Remember to be patient and have fun throughout the process. Drawing is a wonderful way to express your creativity and imagination. So why not continue exploring your artistic skills and try drawing other animals or objects? The possibilities are endless! We hope you enjoyed this tutorial and happy drawing!