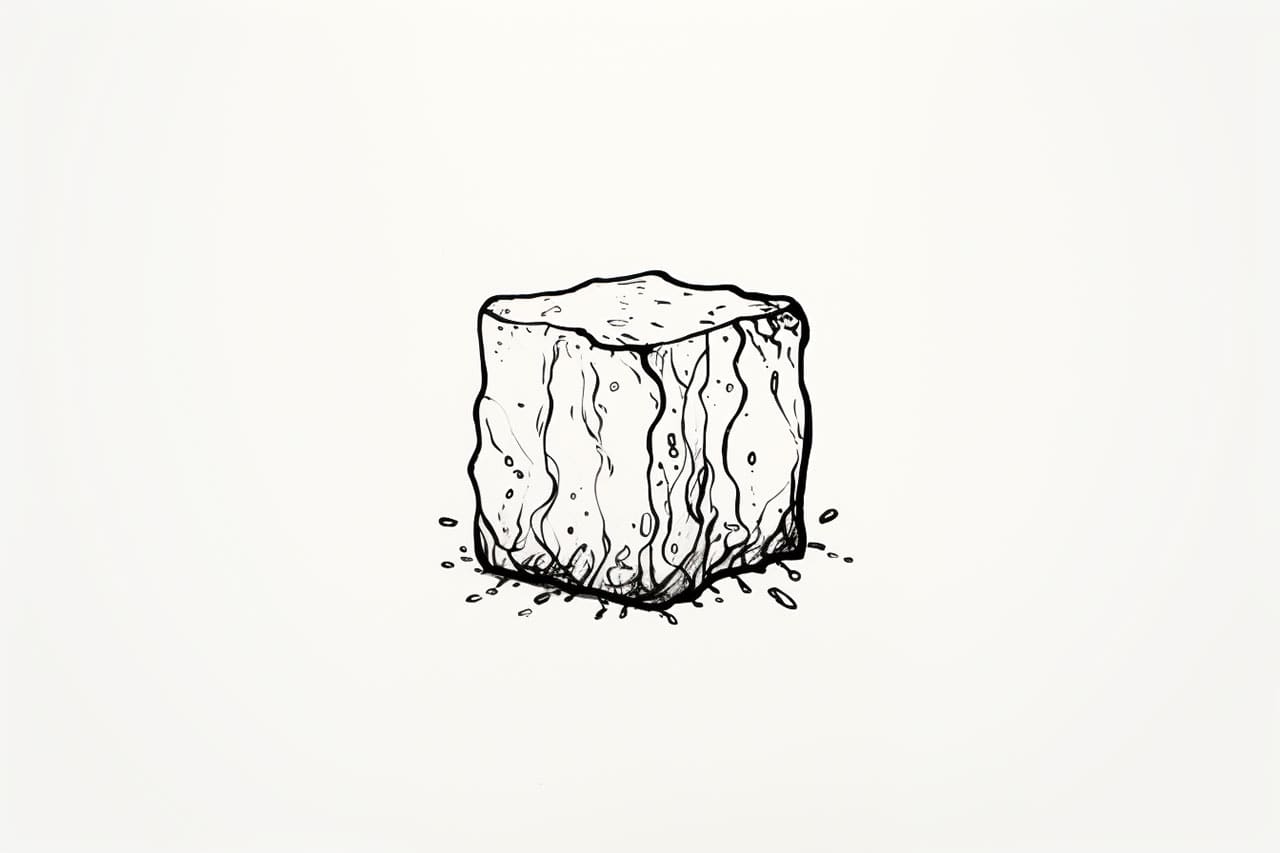
Welcome to this step-by-step guide on drawing an ice cube. In this tutorial, I will walk you through the process of creating a realistic and three-dimensional representation of an ice cube. Drawing an ice cube may seem simple, but capturing its translucent and reflective qualities can be a bit challenging. By following these instructions and using some essential materials, you will be creating stunning ice cube drawings in no time.
Materials Required
Before we begin, let’s gather the necessary materials:
- Drawing paper: Choose a smooth and sturdy paper that can withstand the use of different techniques and materials.
- Pencil: Use a graphite pencil with a medium or soft lead for sketching and shading.
- Eraser: Have a kneaded eraser or a soft eraser handy for making corrections and adjustments.
- Ruler: A straight ruler will help you draw precise lines and edges.
- Drawing compass: This tool is useful for creating perfect circles if you prefer not to freehand them.
- White ink or gel pen: Optional, but adding highlights to the ice cube can enhance its realism.
Now that you have everything you need, let’s dive into the step-by-step process of drawing an ice cube.
Step 1: Sketch the Cube
Start by lightly sketching a square on your paper using a pencil and a ruler. Ensure that the square is equal on all sides to establish the shape of the cube accurately.
Step 2: Add Perspective
To create a three-dimensional illusion, add perspective lines to the cube. Draw two converging lines diagonally from each corner of the square towards the vanishing point, which should be positioned slightly above the center of the square.
Step 3: Outline the Cube
Using the sketch and perspective lines as a guide, outline the cube. Emphasize the edges by making them slightly darker and more defined than the rest of the drawing. Pay attention to the angle of the lines and keep them parallel to the corresponding edges of the square.
Step 4: Add the Ice Texture
Now comes the fun part – adding the icy texture to the cube. Start by lightly shading the entire surface of the cube, keeping it lighter towards the center and gradually darker towards the edges. This shading technique will create a sense of depth and volume.
Step 5: Create the Reflections
To make the ice cube appear more realistic, we need to add reflections. Observe your reference image or visualize the direction of light source. Lightly shade the areas where the light hits the ice cube, leaving some areas untouched to represent the reflective spots.
Step 6: Darken the Edges
Increase the contrast and enhance the cube’s three-dimensional effect by darkening the edges. Use your pencil to carefully shade along the outside edges of the cube, making them darker than the rest. This will create the illusion of cast shadows and help define the shape.
Step 7: Add Final Details
Take a step back and assess your drawing. Look for any areas that need adjustment or refinement. Use an eraser to lighten or correct any mistakes. If desired, use a white ink or gel pen to add highlights along the edges and reflective spots to make the ice cube shine.
Conclusion
Congratulations! You have successfully learned how to draw an ice cube. By following these step-by-step instructions and using your creativity, you can create beautiful and realistic ice cube drawings. Remember to practice regularly, experiment with different shading techniques, and keep observing real-life ice cubes to improve your skills. Have fun and enjoy the process of creating stunning artworks!

