Introduction
Drawing a map can be a fascinating and useful skill. Whether you want to create a simple map for a school project or a detailed map for a fantasy world, this step-by-step tutorial will guide you through the process. With some basic drawing techniques and attention to detail, you can create a clear and accurate map that serves its purpose effectively. Let’s get started with this “How to Draw a Map” tutorial!
Materials Required
- Pencil
- Eraser
- Drawing paper
Step 1: Plan Your Map
Before you start drawing, take some time to plan your map. Decide on the area you want to represent, whether it’s a real-world location or a fictional place. Consider what features you want to include, such as mountains, rivers, cities, and landmarks. Plan the scale and orientation of your map, and think about the level of detail you want to achieve.
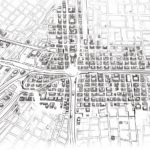
Step 2: Draw the Outline
Start by drawing the outline of the map. Use a light pencil to sketch the basic shape of the landmass or area you’re representing. Pay attention to the proportions and ensure that your map fits well within the paper. You can use a ruler or a compass to create straight lines or smooth curves, depending on the shapes you need.
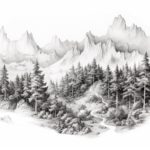
Step 3: Add the Landforms
Next, add the landforms to your map. Draw mountains, hills, and valleys using a combination of lines and shading to create depth and perspective. For rivers and lakes, draw wavy lines to represent the flowing water, and add shading to show depth. Use hatching or stippling techniques for forests and other areas with dense vegetation.
Step 4: Mark the Cities and Landmarks
Now, mark the cities and landmarks on your map. Use small dots or symbols to represent cities and towns, and label them with their names. For landmarks such as castles, temples, or important buildings, draw them with more detail and add labels as needed. Don’t forget to include a key or legend to explain the symbols you use on your map.
Step 5: Draw the Borders and Labels
To complete your map, draw the borders of different regions or countries, if applicable. Use dashed or dotted lines for borders and add labels for each region. You can also draw a compass rose to indicate the orientation of your map. Add any other labels or text you need to provide information and context for your map.
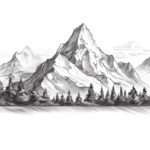
Step 6: Add Shading and Texture
To make your map more visually appealing and informative, add shading and texture. Use light shading to create hills and elevation changes, and darker shading for mountains and forests. Use a variety of line weights and patterns to represent different types of terrain and land use.
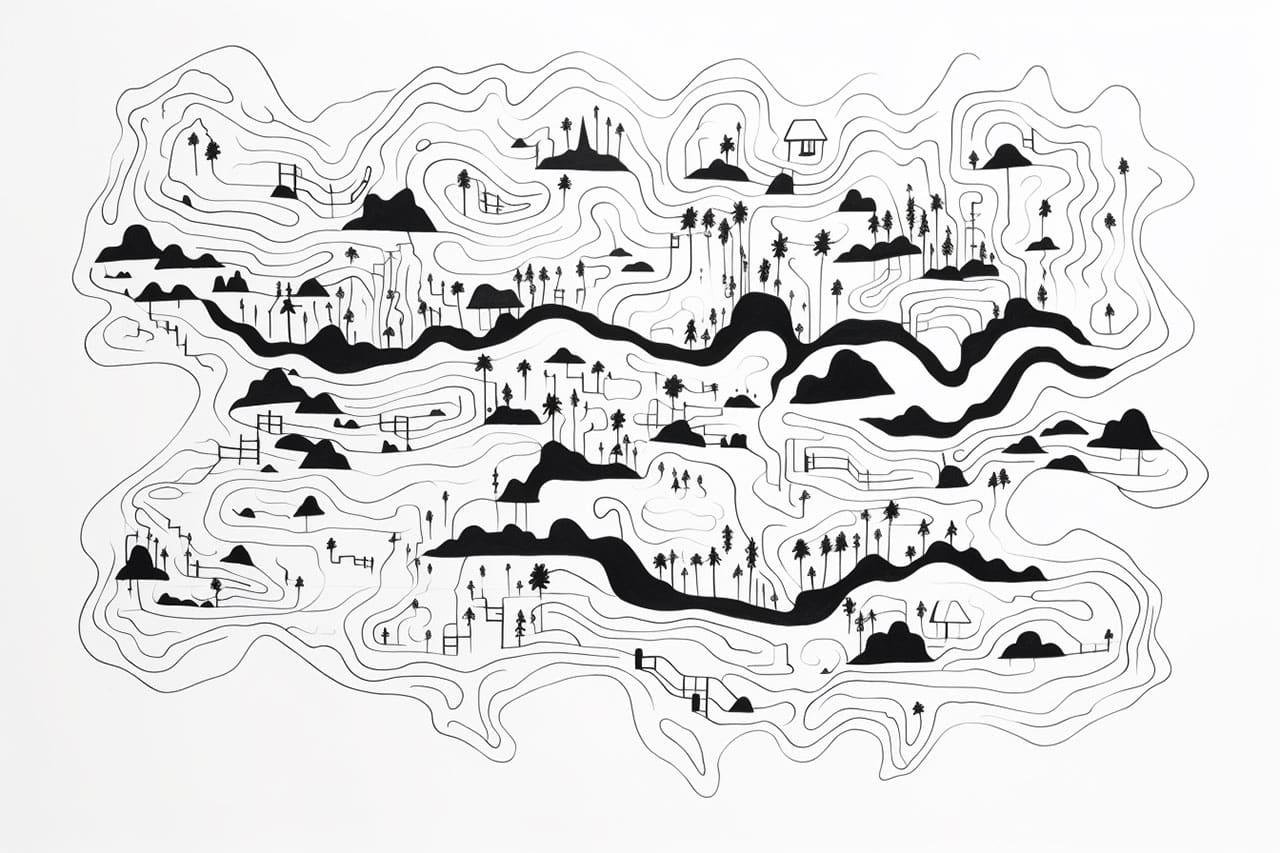
Conclusion
Congratulations! You have successfully drawn a map that can serve as a guide and representation of a specific area. Drawing a map requires attention to detail and some basic drawing skills, but with practice, you can create maps that are both accurate and aesthetically pleasing. Whether you’re exploring real-world geography or creating a map for a fictional world, this “How to Draw a Map” tutorial can be a valuable resource for your artistic endeavors.