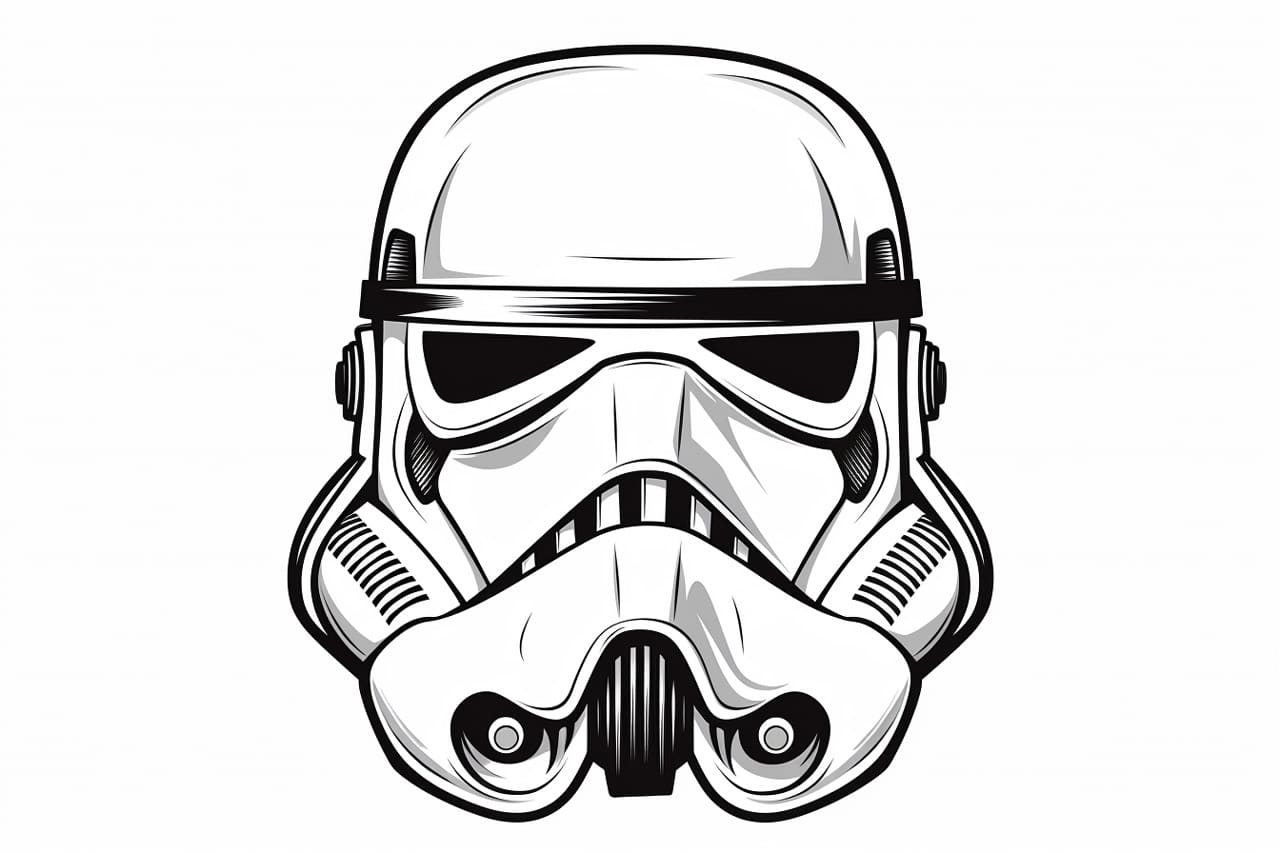
Whether you’re an avid Star Wars fan or simply looking to improve your drawing skills, learning how to draw a Stormtrooper helmet can be a fun and rewarding experience. The iconic design of the helmet, with its clean and symmetrical lines, makes it a great subject for practicing precision and attention to detail. In this step-by-step tutorial, I will guide you through the process of drawing a Stormtrooper helmet, from the initial sketch to the final details. So grab your pencil, eraser, and paper, and let’s get started!
Materials Required
Before we dive into the steps of drawing a Stormtrooper helmet, let’s make sure you have all the necessary materials. Here’s what you’ll need:
- Drawing paper: A blank sheet of paper is essential for your drawing.
- Pencil: Choose a pencil with a soft lead, such as a 2B or 4B, for easier shading and sketching.
- Eraser: A kneaded eraser or a soft plastic eraser will help you correct any mistakes and clean up your drawing.
- Ruler: A straight edge ruler will come in handy for drawing precise lines and measuring proportions.
- Compass or circular objects: To draw the circular shapes of the helmet, you can use a compass or any circular objects of different sizes.
Now that you have all your materials ready, let’s begin the drawing process.
Step 1: Basic Construction Lines
Start by sketching the basic construction lines to establish the shape and proportions of the Stormtrooper helmet. Begin with a vertical line that represents the center of the helmet. Then, draw a horizontal line crossing the vertical one, slightly above the center. These intersecting lines will serve as your guiding framework.
Step 2: Outline the Head Shape
Using the construction lines as a reference, sketch the outline of the helmet’s head shape. Start from the top, curving the lines outward to create the round shape of the helmet. Pay attention to the angles and curves, taking your time to get the shape just right.
Step 3: Add the Faceplate
Next, draw a horizontal line across the bottom part of the head shape, slightly above the horizontal construction line. This will serve as the guide for the faceplate of the helmet. From this line, draw two vertical lines extending downward to create the sides of the faceplate. Then, connect the sides with a curved line at the bottom to complete the faceplate shape.
Step 4: Draw the Eye Openings
Now it’s time to draw the eye openings on the faceplate. Start by sketching two horizontal lines that are parallel to the top edge of the faceplate. These lines should be evenly spaced and located near the upper portion of the faceplate. Then, draw two vertical lines connecting the horizontal lines to form rectangles. These rectangles will serve as the eye openings.
Step 5: Refine the Details
With the basic structure in place, it’s time to refine the details of the Stormtrooper helmet. Add small circles on either side of the faceplate to represent the earpieces. Then, sketch a horizontal line above the eye openings to create the brow of the helmet. Add another curved line below the faceplate to define the chin area. Take your time to carefully observe the reference image or helmet prop to capture the distinct features of the helmet.
Step 6: Shading and Texture
To give your drawing depth and realism, it’s important to add shading and texture. Start by identifying the areas of shadow on the helmet, such as the sides, bottom, and the areas under the brow and chin. Use your pencil to gently shade these areas, gradually building up the darkness. Pay attention to the subtle variations in value and shading, as this will bring your drawing to life. Use your eraser to lighten certain areas, creating highlights and adding texture to the helmet’s surface.
Step 7: Final Touches
Lastly, take a step back and evaluate your drawing. Look for any areas that need refinement or adjustment. Make any necessary corrections and add any final details to enhance the overall appearance of the Stormtrooper helmet. Take your time with this step and don’t be afraid to experiment and make changes as needed.
And there you have it! You’ve successfully drawn a Stormtrooper helmet. With practice, your drawing skills will continue to improve, allowing you to tackle more complex subjects and create impressive artwork.
Remember, drawing is all about practice and patience. Don’t be discouraged if your first attempt doesn’t turn out exactly as you envisioned. Keep practicing, experimenting, and refining your skills, and you will see progress over time.
I hope you’ve enjoyed this tutorial on how to draw a Stormtrooper helmet. May the Force be with you as you continue your artistic journey!
Conclusion
In this step-by-step tutorial, we explored the process of drawing a Stormtrooper helmet. By following these steps, you can create a detailed and realistic representation of this iconic Star Wars symbol. Remember to practice regularly and be patient with yourself as you develop your artistic skills. With time and dedication, you’ll be able to create impressive drawings of not only Stormtrooper helmets but also a wide range of subjects. So keep that pencil moving and may the creativity be with you!