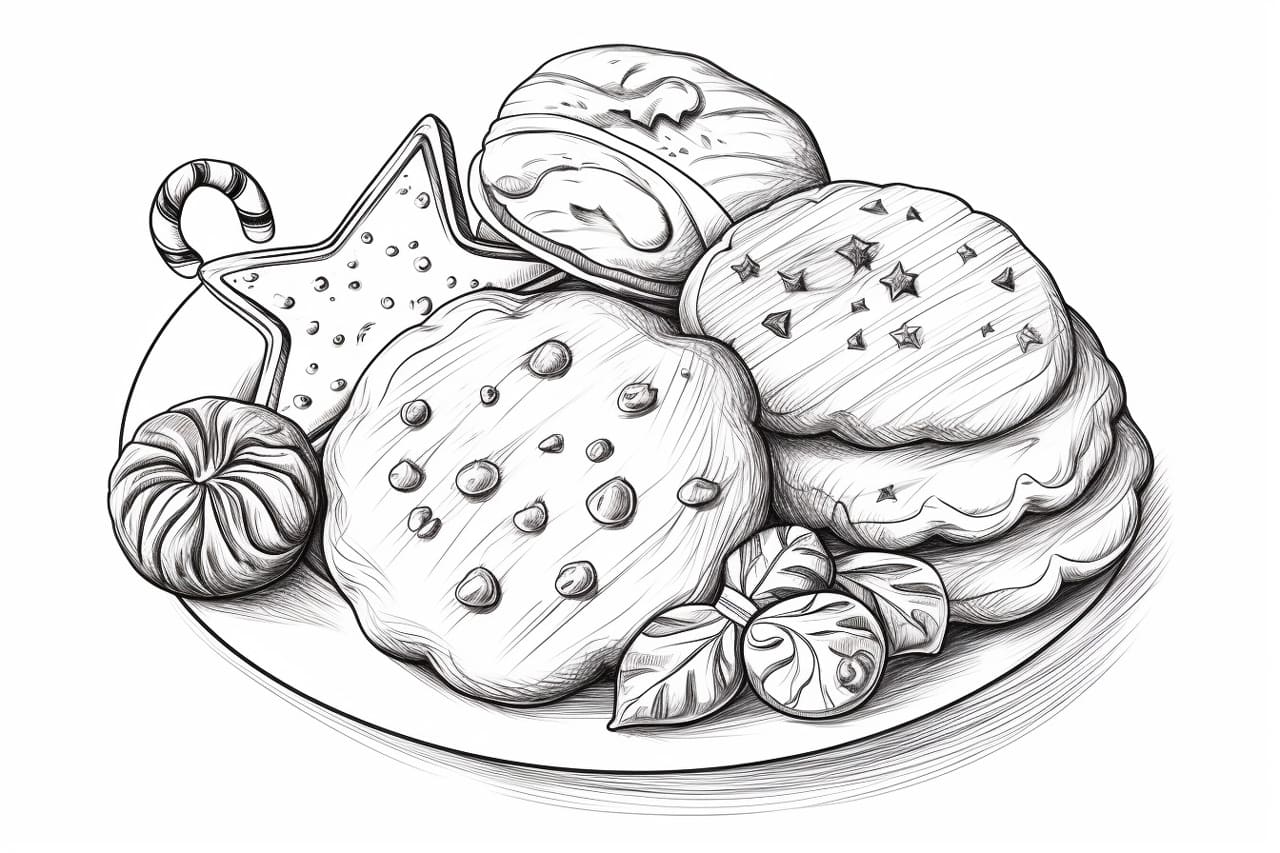
Who doesn’t love the sweet and festive spirit that Christmas cookies bring? Whether you want to create a fun illustration or capture the joy of the holiday season, drawing Christmas cookies is a delightful activity that anyone can enjoy. In this step-by-step guide, I will walk you through how to draw Christmas cookies, from the basic shapes to the final details. So grab your pencils, and let’s get started!
Materials Required:
Before we begin, make sure you have the following materials handy:
- Drawing paper or sketchbook
- Pencils (preferably a range of different hardness)
- Eraser
- Colored pencils or markers (optional)
- Reference images of Christmas cookies (for inspiration)
Now that we have all the necessary materials let’s dive into the step-by-step process of drawing Christmas cookies.
Step 1: Sketch the Basic Shapes
Start by lightly sketching the basic shapes of the cookies. Christmas cookies come in various shapes, like circles, stars, gingerbread people, and Christmas trees. Choose one or multiple shapes to draw. Keep the lines loose, and don’t worry about perfection at this stage.
Step 2: Add Texture and Patterns
Next, add texture and patterns to the cookies. Use your imagination or refer to the reference images for inspiration. Common patterns include icing designs, sprinkles, or even tiny dots. Bring your cookies to life with gentle strokes by adding these delightful details.
Step 3: Outline the Cookies
Once you’re satisfied with the shapes and patterns, it’s time to outline the cookies with more defined lines. Use a slightly darker pencil or a fine-liner pen to trace over the sketch. Pay attention to the curves and edges to make your cookies more realistic.
Step 4: Decorate with Icing
Christmas cookies often have colorful icing decorations. Draw squiggly lines, dots, or any other icing designs you like on your cookies. Remember to make the icing look three-dimensional by adding shading and highlights.
Step 5: Color the Cookies (Optional)
If you want to add color to your drawings, now is the time. Using colored pencils or markers, carefully fill in the shapes of the cookies. Be playful and experiment with different color combinations to make your Christmas cookies look more festive.
Step 6: Add Shadows and Highlights
Add shadows and highlights to make your cookies appear more realistic and three-dimensional. Determine the direction of the light source and shade one side of the cookies accordingly. Add highlights on the opposite side to create depth and dimension.
Step 7: Incorporate Background Elements
To complete your Christmas cookie illustration, consider adding some background elements. You can draw a plate or a festive tablecloth to place your cookies on. Or, you can create a whimsical scene with snowflakes, Christmas lights, or other holiday-themed elements.
Step 8: Final Touches and Details
Take a step back and evaluate your drawing. Are there any areas that need refinement or additional details? Make any necessary adjustments or add final touches to make your Christmas cookies perfect.
Conclusion
Drawing Christmas cookies is a delightful way to embrace the festive spirit and showcase creativity. You can create beautiful illustrations of these sweet treats by following these step-by-step instructions. Remember to start with the basic shapes, add texture and patterns, outline the cookies, and decorate them with icing. If you choose to color your cookies, remember to add shadows and highlights for a realistic touch. Finally, consider incorporating background elements and adding final touches to complete your drawing. There are so many wonderful Christmas items you can include in the background, like a Christmas tree, or Christmas lights. So, gather your materials, let your imagination run wild, and have fun drawing delicious Christmas cookies!