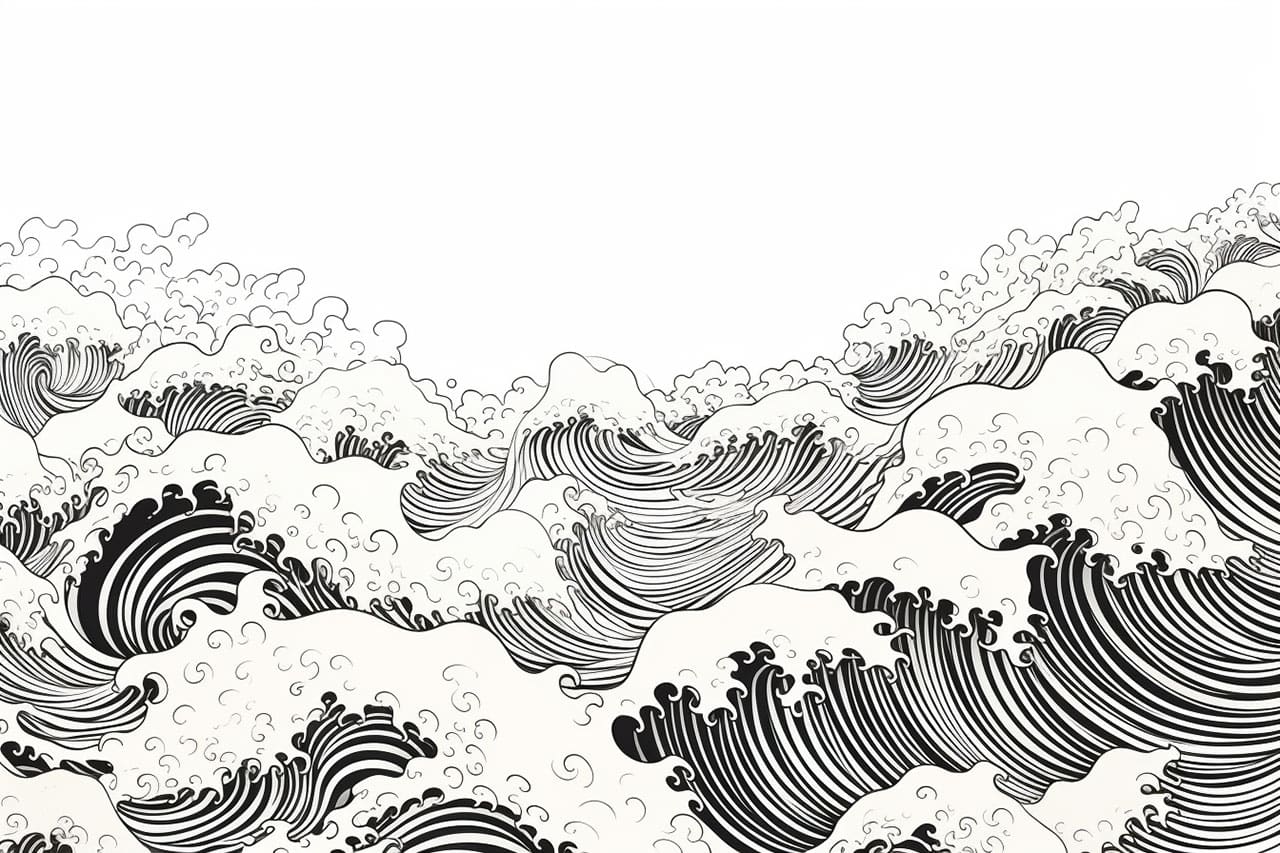
Are you looking to capture the beauty and serenity of the ocean in your artwork? Drawing the ocean can be a challenging yet rewarding experience. In this step-by-step guide, we will walk you through the process of how to draw the ocean, from creating the basic shape of the waves to adding the intricate details of the water. By the end of this tutorial, you will have the skills to create a stunning ocean scene on any canvas.
Materials Required
Before we begin, let’s gather the materials you will need for this drawing tutorial:
- Pencil
- Eraser
- Paper
- Drawing pen (optional)
- Watercolor paints or colored pencils (optional)
Now that we have our materials ready, let’s dive into the process of drawing the ocean!
Step 1: Sketch the Horizon Line
Start by lightly sketching a straight line across your paper to represent the horizon. This line will help us maintain a consistent perspective throughout the drawing.
Step 2: Create the Basic Shape of the Waves
Using curved lines, sketch the basic outline of the waves. Remember, waves are not uniform, so play around with different shapes and sizes to create a realistic ocean surface. Don’t worry about adding too much detail at this stage, as we will be refining the waves later.
Step 3: Add Depth to the Waves
To give the waves depth and dimension, add contour lines inside the wave shapes. These lines will represent the overlapping and folding of the waves, creating a sense of movement and volume.
Step 4: Refine the Wave Shapes
Now it’s time to refine the shapes of the waves. Take your pencil and carefully observe the reference images or your imagination. Pay attention to how the waves curve, crest, and break. Use short, curved lines to add more definition to the waves, capturing their dynamic nature.
Step 5: Shade the Waves
To add realism to your ocean drawing, we need to shade the waves. Begin by determining the direction of light in your scene. Then, using a light shading technique, start shading the areas of the waves that are facing away from the light source. Gradually build up the shading to create a smooth transition from light to dark.
Step 6: Add Foam and Spray
Waves often create foam and spray as they crash against the shoreline or other objects. Use your pencil or a fine-tipped pen to add these intricate details to your drawing. Focus on capturing the textures and patterns of the foam and spray, as they can greatly enhance the realism of your ocean scene.
Step 7: Enhance the Details
Now that the main elements of the ocean are complete, it’s time to add more details to your drawing. You can include seagulls flying in the distance, surfers on surfboards, boats on the horizon, or even a lighthouse in the background. These details will bring life and interest to your artwork.
Step 8: Choose Your Medium (Optional)
If you want to take your ocean drawing to the next level, consider using watercolor paints or colored pencils to add vibrant colors to your artwork. Experiment with different techniques to achieve the desired effect. Remember to let each layer of color dry before adding the next to prevent smudging.
Conclusion
With this step-by-step guide, you now have the knowledge and skills to confidently draw the ocean. Remember to start with a basic sketch, gradually add details, and pay attention to shading and textures. Don’t be afraid to let your creativity shine through and experiment with different mediums. So grab your pencils, paper, and imagination, and start capturing the beauty of the ocean on your canvas! Want to go underwater? Try drawing a coral reef, some seaweed, or a sponge.


