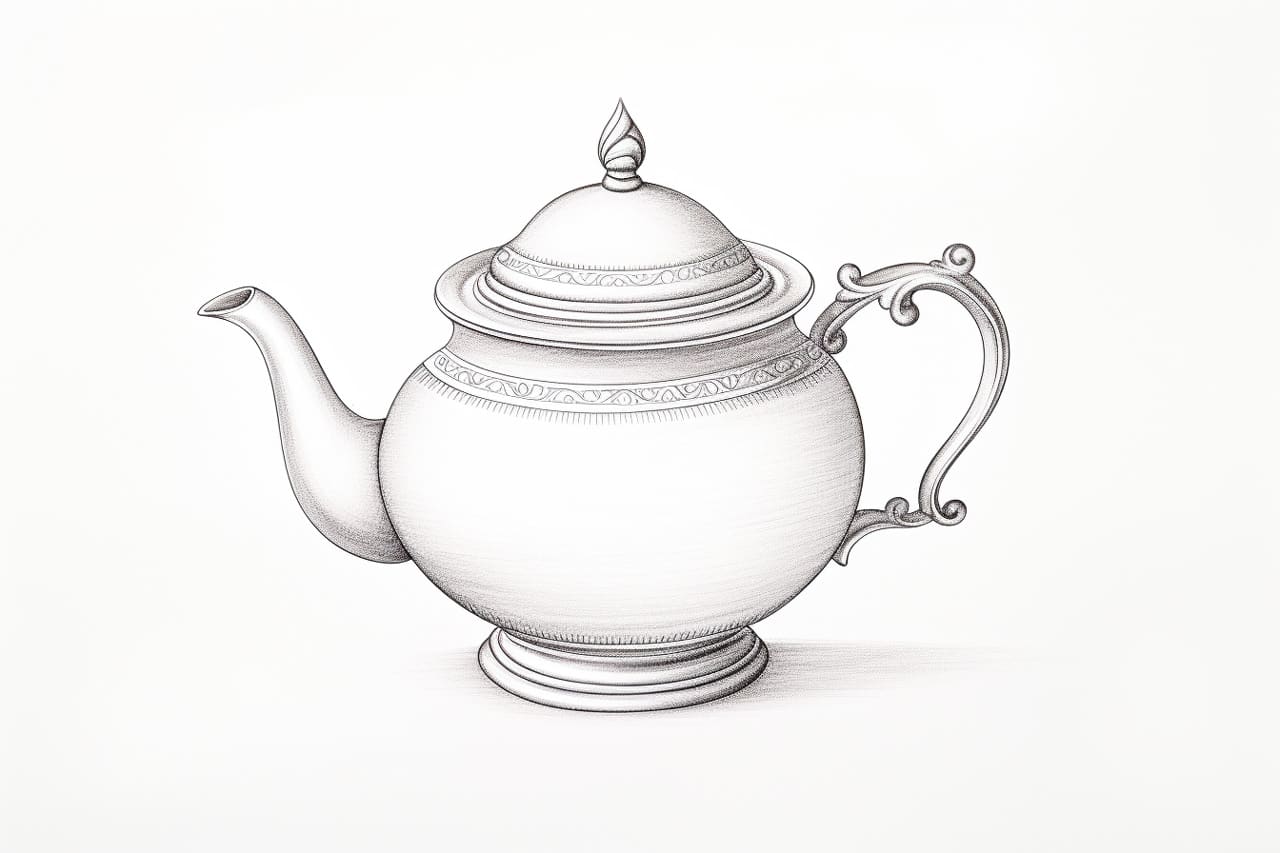
Welcome to this step-by-step guide on how to draw a teapot. Whether you are a beginner or an experienced artist, this tutorial will walk you through the process of creating a realistic and detailed teapot drawing. With a few simple materials and some basic drawing techniques, you’ll be able to bring this classic kitchen essential to life on paper. So grab your pencils and let’s get started!
Materials Required
Before we begin, gather the following materials:
- Drawing paper (preferably a heavier weight or sketchbook)
- Pencils (preferably a range of graphite pencils such as HB, 2B, and 4B)
- Eraser (preferably a kneaded or soft eraser)
- Ruler
- Compass
- Reference photo (optional, but helpful for accuracy)
Now that you have your materials ready, let’s dive into the steps of drawing a teapot.
Step 1: Draw the Basic Shape
Start by drawing a large oval shape on your paper. This will form the body of the teapot. Make sure to draw it lightly, as you will be refining and adding details later on. Use your ruler to help you create a symmetrical oval shape.
Step 2: Add the Handle
To the right side of the oval shape, draw a curved line that slightly angles downwards. This line will form the handle of the teapot. Make sure it is positioned correctly in relation to the body of the teapot. You can use your ruler to help you measure and align the handle.
Step 3: Draw the Spout
On the opposite side of the handle, draw another curved line that angles slightly upwards. This line will form the spout of the teapot. Ensure that it is positioned correctly and is aligned with the handle. Take your time to get the shape just right, as the spout is a defining feature of a teapot.
Step 4: Refine the Shape
Now that you have the basic structure of the teapot, it’s time to refine the shape. Use your pencil to darken the outline of the teapot, making it more distinct. Pay attention to the curves and proportions, making sure they are accurate and pleasing to the eye.
Step 5: Add Details and Patterns
Teapots often have decorative details and patterns, so now is the time to add them. Look at your reference photo or use your imagination to create a design that suits your teapot. You can add lines, dots, flowers, or any other patterns that you like. Take your time with this step and have fun experimenting with different designs.
Step 6: Shade and Add Texture
To give your teapot drawing depth and dimension, it’s important to add shading and texture. Start by identifying the light source in your drawing. This will determine where the light and shadows fall on the teapot. Use your graphite pencils to add shading, starting with lighter tones and gradually building up to darker ones. Pay attention to the curves and contours of the teapot, shading accordingly to create a three-dimensional effect.
Step 7: Refine and Erase
Now that your teapot drawing is taking shape, take a step back and assess the overall composition. Are there any areas that need refining or adjusting? Use your eraser to make any necessary corrections or lighten areas that may have become too dark. Take your time with this step, as it can significantly enhance the overall quality of your drawing.
Step 8: Finalize the Drawing
Once you are satisfied with the overall look of your teapot drawing, it’s time to finalize it. Go over the outline and details, making sure they are clean and crisp. Add any final touches and adjustments to bring your drawing to a polished finish.
Conclusion
Congratulations! You have successfully completed your teapot drawing. By following these step-by-step instructions, you have learned how to create a realistic and detailed representation of a teapot. Remember to practice regularly to enhance your drawing skills and explore different styles and techniques. Drawing teapots can be a great exercise in observation and precision, and with time and practice, you’ll be able to tackle even more complex subjects. So keep creating and enjoy the process!