Have you ever wanted to capture the enchantment of a witch hat on paper? Whether you’re preparing for a spooktacular Halloween celebration or simply indulging in a bit of creative fun, drawing a witch hat can be a delightful artistic endeavor. The sharp silhouette and whimsical design of a witch hat evoke a sense of magic and mystery, making it a favorite subject for artists of all ages.
In this comprehensive tutorial, we’ll take you through the entire process of drawing a witch hat step by step. From the brim to the cone, you’ll learn how to create your own unique version of this iconic accessory. So, gather your materials, unleash your imagination, and let’s embark on this creative journey together! Whether you’re a seasoned artist or a beginner, you’ll find that drawing a witch hat can be both enjoyable and fulfilling.
Materials Required
To draw a witch hat, you will need the following materials:
- Paper
- Pencil
- Eraser
- Fine-tipped marker or pen
- Colored pencils, markers, or any coloring medium of your choice (optional)
Now that you have your materials ready, let’s begin our witch hat drawing!
Step 1: Draw the Brim
To start, draw a slightly curved horizontal line near the bottom of your paper. This line will serve as the brim of the witch hat. Make sure the line is smooth and even.
Step 2: Shape the Cone
From the center of the brim, draw a long, slightly curved line going upwards. This line will represent the cone or body of the witch hat. Make sure the line tapers as it goes up to create a conical shape.
Step 3: Add Details to the Cone
Next, draw a curved line inside the cone, closer to the brim. This line will represent the crease of the hat. Make the line slightly curved to give the hat some dimension.
Step 4: Refine the Brim
Now, it’s time to refine the brim of the hat. Start by adding some wavy lines along the brim to give it a more natural, flowing appearance. You can add as many or as few waves as you like, depending on your preference.
Step 5: Enhance the Cone
To make the cone of the hat more interesting, draw some vertical lines from the top of the cone to the bottom. These lines will represent folds in the fabric of the hat and add some texture to your drawing.
Step 6: Erase Unnecessary Lines
Carefully erase any unnecessary lines, such as the initial guideline you drew for the shape of the hat. Make sure to keep the essential lines that define the shape of the brim and cone.
Step 7: Outline the Hat
Using a fine-tipped marker or pen, outline the final shape of the witch hat, emphasizing the brim and cone. This will make your drawing more defined and polished.
Step 8: Add Details
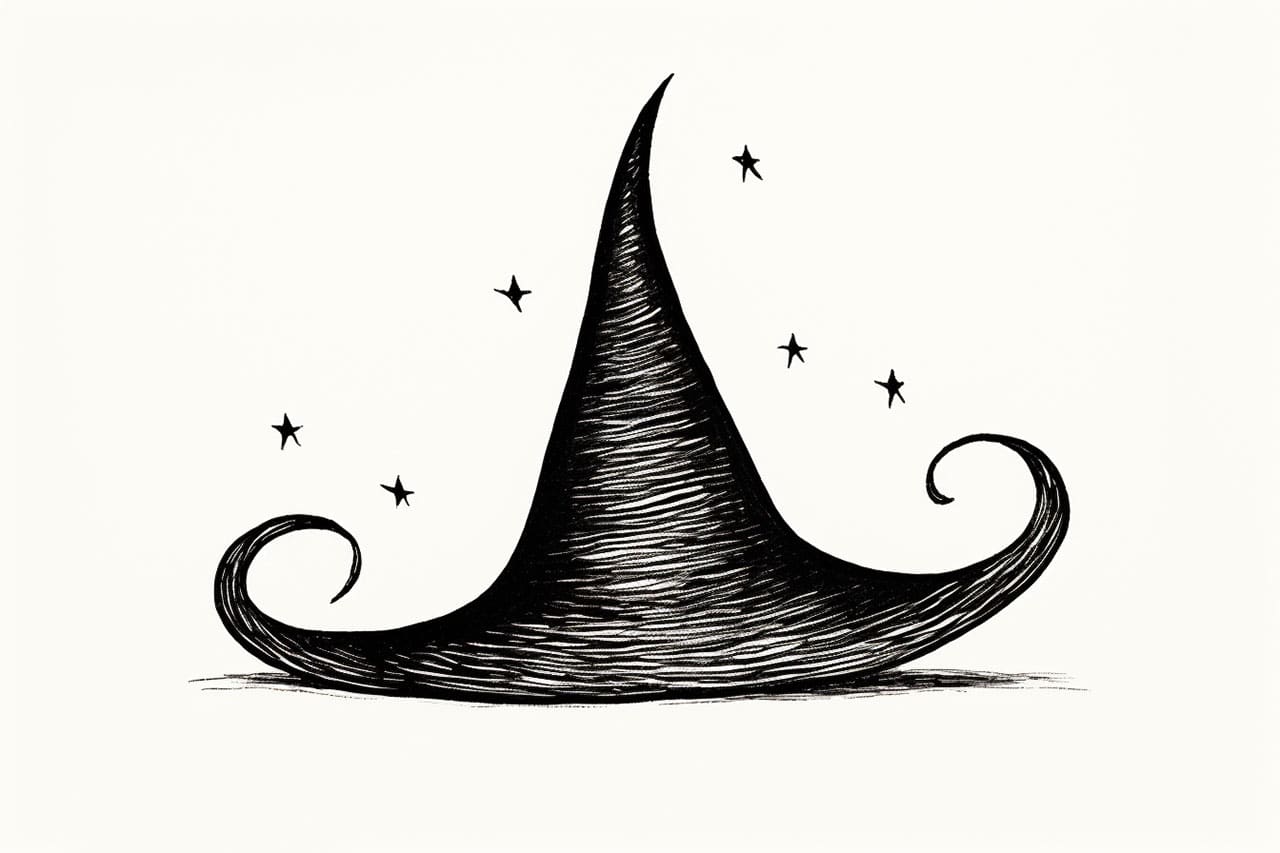
Now it’s time to add some fun details to your witch hat. You can draw a buckle or band around the base of the cone, or even add some decorative elements like stars or spider webs. Feel free to get creative and personalize your hat!
Step 9: Color Your Drawing
If you want to add some color to your witch hat drawing, grab your colored pencils, markers, or any coloring medium of your choice. You can make your hat black or go for any color combination that inspires you. Experiment with shading and highlights to bring your drawing to life.
Step 10: Finalize Your Drawing
Once you’re satisfied with the coloring, take a moment to review your drawing. Make any necessary adjustments or touch-ups to ensure the lines and colors are neat and clean.
Conclusion
Congratulations! You have successfully drawn a witch hat. With this step-by-step tutorial, you can create spooktacular witch hat drawings to enhance your Halloween decorations (such as a pumpkin or a cornucopia) or simply have fun with your artistic skills. Remember, practice makes perfect, so keep drawing and exploring your creativity. We hope you enjoyed this guide on how to draw a witch hat, and may your artistic journey continue to flourish!
Fun Facts About Witch Hats
- Witch hats are traditionally cone-shaped with a wide brim, often depicted in black.
- The iconic cone-shaped design likely evolved from medieval and Renaissance headgear styles.
- Witch hats often symbolize magic and mystery, making them staple accessories in Halloween costumes.
- Initial depictions of witches wearing pointy hats appear in art from the 15th century.
- In some folklore, witch hats are thought to amplify a witch’s magical power by directing energy.
- Many modern variations of witch hats exist, featuring embellishments like feathers, lace, and ribbons.
- Cultural portrayals of witch hats have varied, appearing in films, literature, and comics.
- In some cultures, the conical hat was worn for protection against evil spirits or misfortune.
- Witch hats have been part of sorcerer and wizard iconography long before they became associated solely with witches.
- A range of popular fictional witches from the Wizard of Oz’s Wicked Witch to Harry Potter’s Professor McGonagall have reinforced the hat’s iconic status.
Suggestions for Scenes and Settings for Witch Hat Drawings
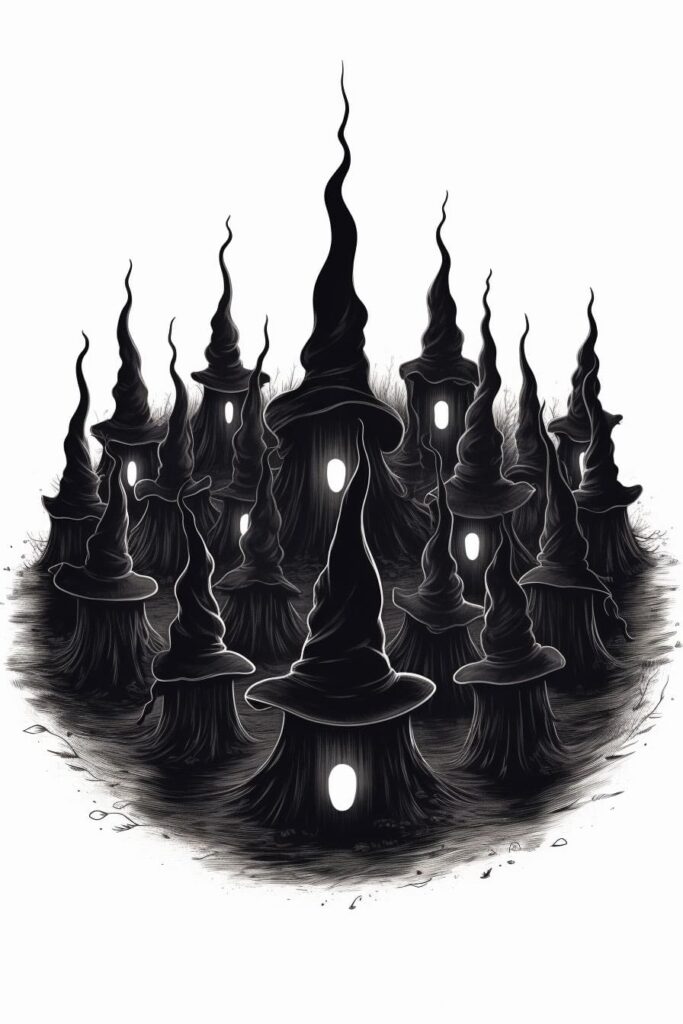
- Moonlit Gathering: Illustrate a circle of witch hats beneath a full moon, surrounded by whispering shadows and flickering candlelight.
- Halloween Parade: Draw a bustling street scene with individuals wearing an array of witch hats, each with unique colors and decorations.
- Enchanting Forest: Create a scene of witch hats afloat among ethereal lights in a mystical forest clearing, surrounded by enchanted creatures.
- Witch’s Workshop: Depict a cluttered workbench filled with bubbling potions, spells, and witch hats hung on the walls like trophies.
- Ancient Library: Design a setting with towering bookshelves, where witch hats rest on book stacks, and spectral hands flip pages.
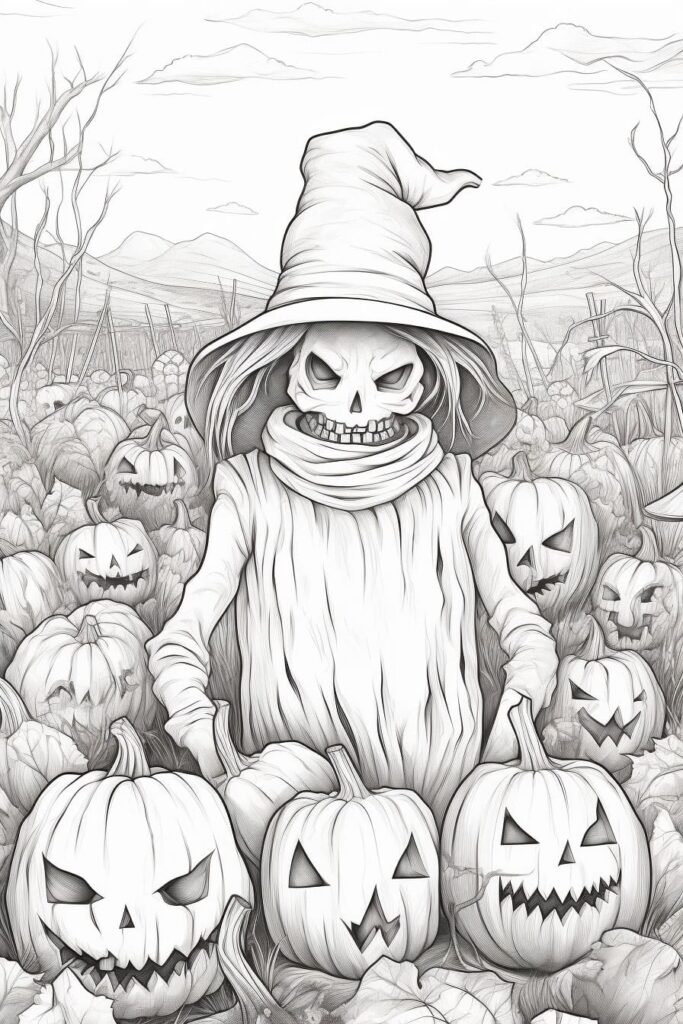
- Scarecrow’s Secret: Illustrate a field bordered by mountains, where scarecrows don witch hats, guarding a crop of enchanted pumpkins.
- Stormy Sky: Picture witch hats flying through stormy clouds above a medieval village, carried by a powerful wind.
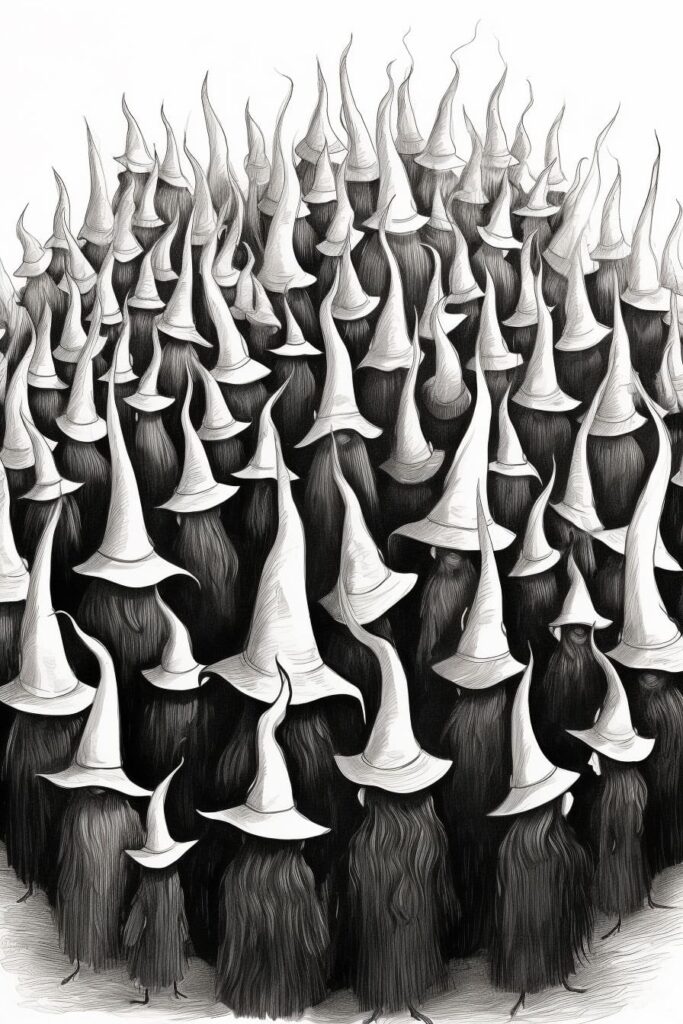
- Witches’ Convention: Imagine a bustling hall filled with witches of diverse backgrounds, each with a distinct witch hat to match their personality.
- Timeless Tower: Draw a scene of an ancient tower under a starry sky, its silhouette crowned with a giant witch hat.
- Midnight Tea Party: Conceive a whimsical garden setting where witch hats join for tea, floating above a table set with magical treats.