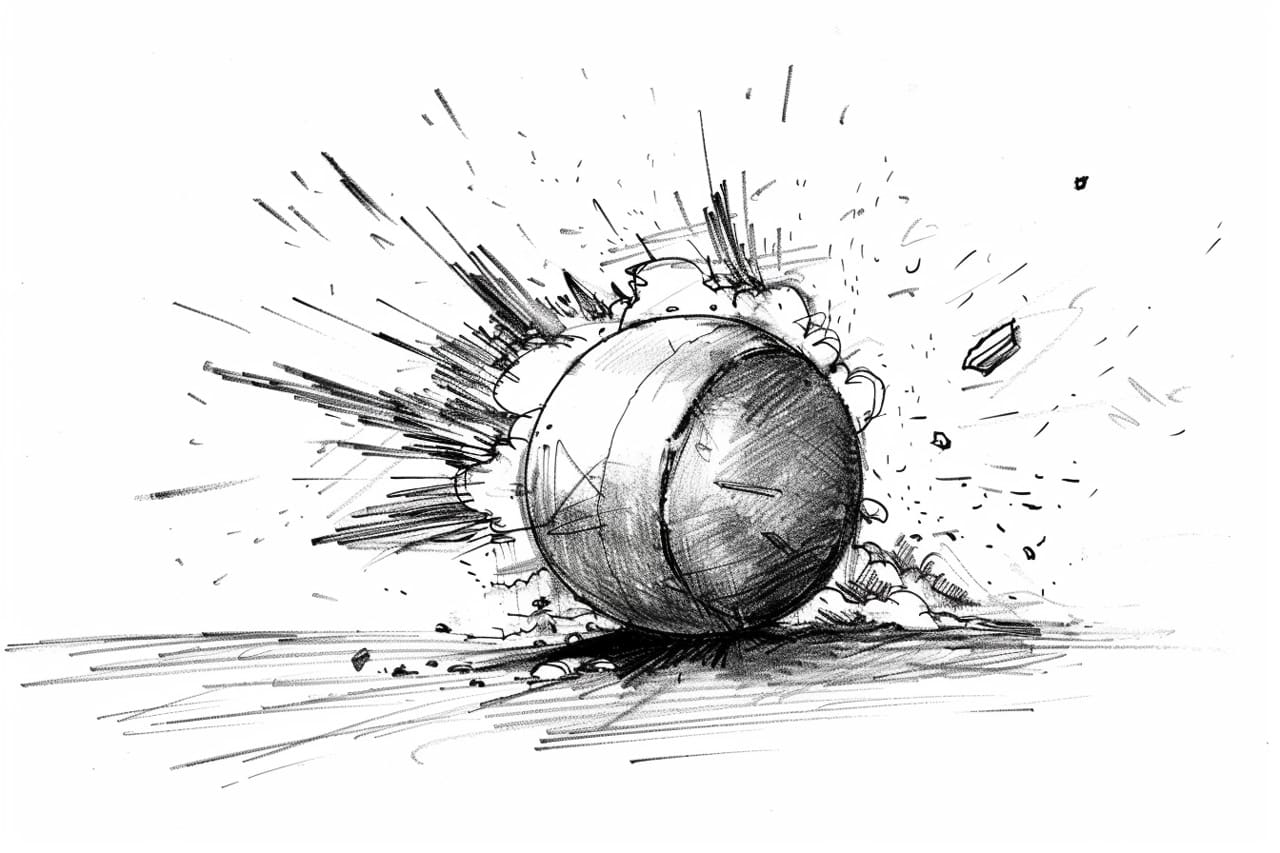
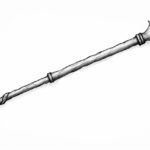
Drawing a bomb may seem like a challenging task, but with a little guidance and practice, anyone can learn how to create this explosive image. In this step-by-step tutorial, we will explore the process of how to draw a bomb from scratch. So grab your pencil and paper, and let’s get started!
Materials Required:
- Pencil
- Eraser
- Drawing paper
- Black pen or marker (optional)
- Coloring materials (optional)
Now that we have our materials ready, let’s begin creating our bomb drawing.
Step 1: Sketch the Basic Shape
Start by drawing a large oval shape in the center of your paper. This oval will serve as the main body of the bomb. Take your time to ensure the shape is symmetrical and proportionate.
Step 2: Add the Fuse
At the top of the oval, sketch a small rectangle shape vertically. This will represent the fuse of the bomb. You can choose to make it short or long, depending on your preference.
Step 3: Define the Shell
Around the oval shape, draw a slightly irregular, jagged line to represent the outer shell of the bomb. This will give it a more realistic and explosive appearance. Use quick, light strokes to create the jagged edges.
Step 4: Detail the Fuse
Now it’s time to add some detail to the fuse. Draw a circle or oval shape at the end of the fuse to give it a burned look. You can also add a thin, curved line near the base of the fuse to create a more realistic texture.
Step 5: Draw the Metal Bands
To make our bomb drawing look more authentic, we need to add some metal bands around the body. Draw a horizontal line across the oval, slightly below the middle. Then, sketch two diagonal lines that intersect the horizontal line, creating a band across the bomb. Repeat this step to add more bands, depending on the level of detail you desire.
Step 6: Add the Ignition Button
At the bottom of the bomb, draw a small circle or rectangle to represent the ignition button. This button is usually red or black and adds to the overall visual appeal of the bomb.
Step 7: Erase Unnecessary Lines
Take your eraser and carefully remove any unnecessary guidelines or construction lines. This will help clean up your drawing and make it look more polished.
Step 8: Ink the Drawing (optional)
If you prefer a more defined and bold look, you can use a black pen or marker to trace over the pencil lines. Be sure to let the ink dry completely before erasing any remaining pencil marks.
Step 9: Color Your Drawing (optional)
Now comes the fun part – coloring! Use your preferred coloring materials to bring your bomb drawing to life. You can opt for realistic colors or get creative and add your own unique twist.
Conclusion
Drawing a bomb might seem like a challenging task, but by following these step-by-step instructions, you can create an explosive masterpiece. Remember to start with the basic shape, add details such as the fuse, shell, metal bands, and ignition button, and finally, ink and color your drawing if desired. With practice, you’ll be able to create realistic and captivating bomb drawings in no time.
So, grab your pencil and let your creativity detonate as you draw your own bomb masterpiece!

