Drawing an axe can be a fascinating and challenging endeavor for artists of all levels. Axes have a rich history and symbolism, representing strength, power, and craftsmanship. Capturing the intricate details of an axe, from its sharp blade to its sturdy handle, requires attention to perspective, shading, and textures.
In this guide, we will explore the techniques and tips for drawing an axe that will help you bring this iconic tool to life on paper. Whether you are a beginner looking to improve your drawing skills or an experienced artist seeking a new subject to master, learning how to draw an axe can be a rewarding experience. So grab your pencils, sharpen your skills, and dive into the world of drawing the mighty axe!
Materials Required
To draw an axe, you will need the following materials:
- Drawing paper or sketchbook
- Pencils (different grades for shading and detailing)
- Eraser
- Sharpener
- Ruler (for straight lines)
- Reference image of an axe (optional but helpful for accuracy)
- Pen or fine liner (for outlining)
- Colored pencils or markers (optional for adding color or details):
How to Draw an Axe: a Step-by-step Guide
Step 1: Gather Your Materials
Gather all the necessary materials for drawing an axe. You will need a pencil, eraser, paper, and any desired coloring tools, such as markers, colored pencils, or crayons.
Step 2: Start with the Basic Shape
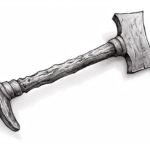
Begin by drawing the basic shape of the axe head. Draw a rectangle with slightly curved edges for the blade of the axe. Add a smaller rectangle on top for the back of the axe head.
Step 3: Add Details to the Blade
Add details to the blade of the axe. Draw a line down the blade’s center to represent the cutting edge. Add small lines along the edges to show the sharpness of the blade.
Step 4: Create the Axe Handle
Draw a long, straight line below the axe head to create the axe’s handle. Add a slightly curved line at the bottom to indicate the knob at the end of the handle.
Step 5: Add Texture and Details
Add texture to the handle by drawing lines along its length to represent the wood grain. You can add details such as metal bands or rivets for a more realistic look.
Step 6: Refine and Erase
Go over your drawing, refining any lines or details as needed. Use your eraser to remove unnecessary or stray lines to clean up the drawing.
Step 7: Add Shading and Color
To add depth and dimension to your drawing, consider adding shading to create a sense of light and shadow. You can also color your drawing using shades of brown for the handle and grey for the blade to make it more realistic.
Step 8: Final Touches
Finally, add any final touches or details to complete your drawing of an axe. You can add a background, shadows, or any additional elements to enhance the overall composition.
Step 9: Practice and Experiment
Practice drawing axes from different angles and perspectives to improve your skills. Experiment with different styles and techniques to develop your unique approach to drawing axes.
Conclusion
Great job on completing your drawing of an axe! Your attention to detail and use of shading bring the object to life on the page. Remember, practice makes perfect, so keep honing your skills and experimenting with different techniques. Your hard work and dedication will continue to pay off as you progress on your artistic journey. Keep up the great work, and never stop creating!
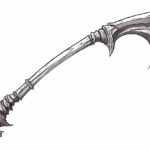
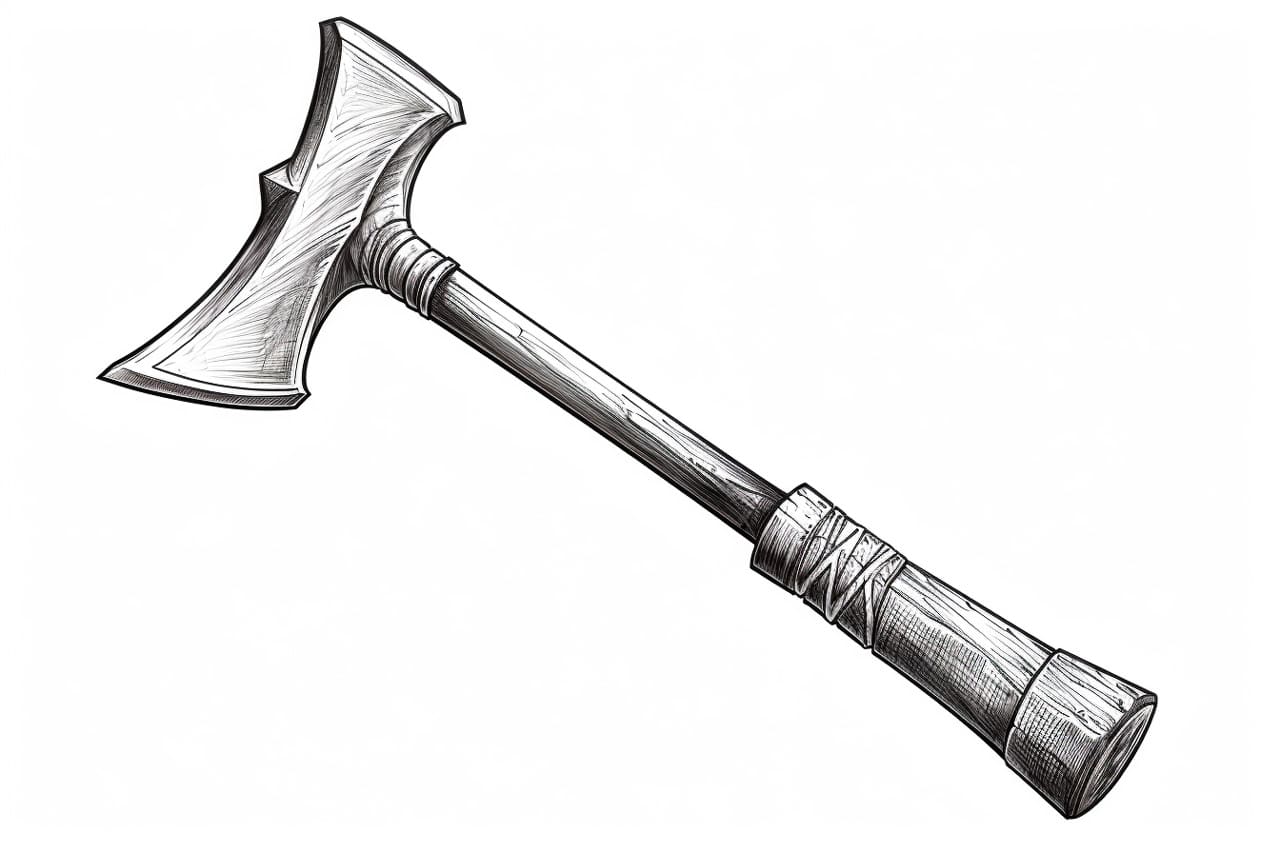
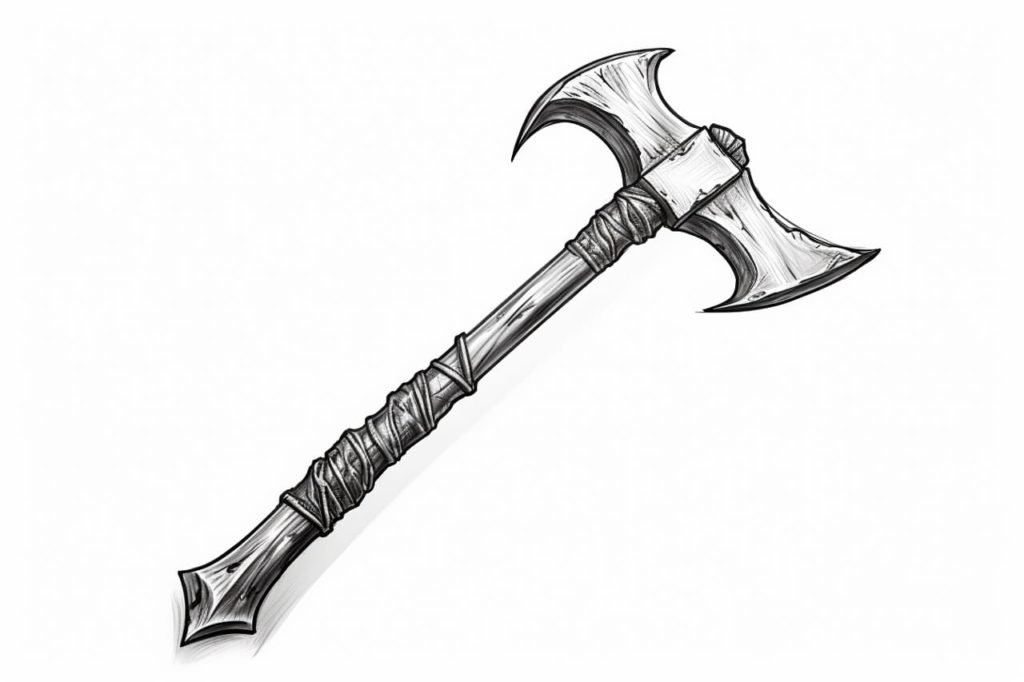
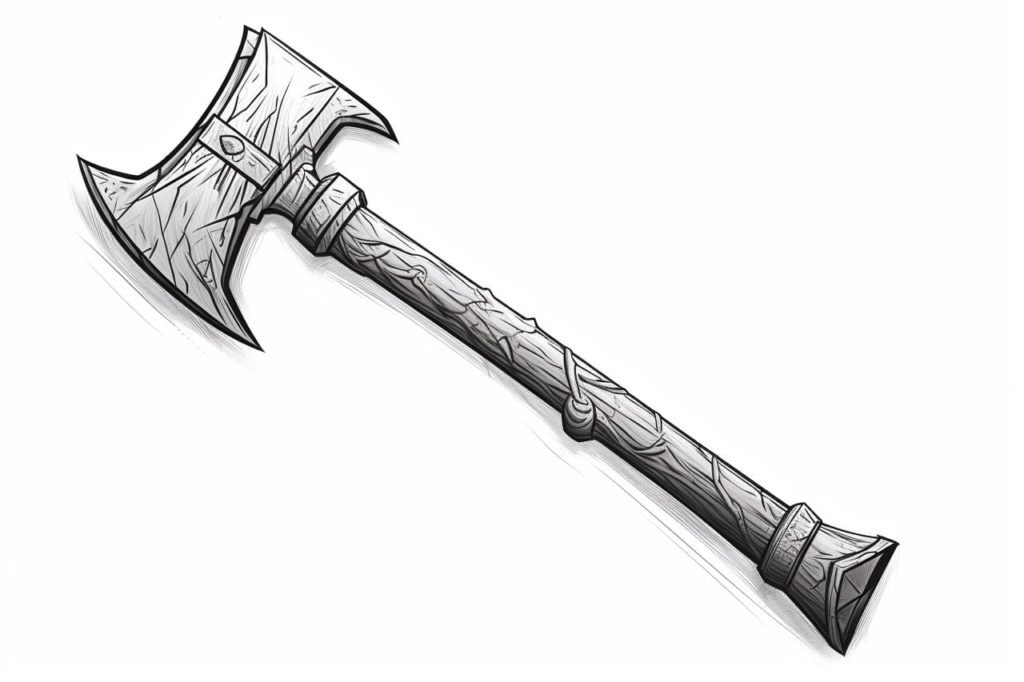
Gallery of Axe Drawings


Fun Facts About Axes
- Axes have been used as tools and weapons for thousands of years, dating back to the Stone Age.
- The modern axe design we are familiar with today, with a wooden handle and a metal blade, has been around since the Middle Ages.
- Axes come in various shapes and sizes, with different types designed for specific tasks such as chopping wood, felling trees, or splitting logs.
- The sharp edge of an axe blade is typically made of steel, which can be hardened and tempered to hold a sharp edge.
- Axes are commonly associated with loggers and forestry work but are also used in activities like camping, hiking, and bushcraft.
- The weight of an axe head can vary significantly, with some lightweight axes designed for one-handed use and heavier axes for two-handed use.
- Axes are versatile tools that can be used for tasks beyond cutting wood, such as hammering, prying, and shaping materials.
- Traditional axe-making techniques are still practiced by skilled craftsmen worldwide, preserving the art of hand-forging and shaping axe heads.
- Axes have symbolic and cultural significance in many societies, representing strength, craftsmanship, and the connection to nature.
- The term “double-bitted axe” refers to an axe with cutting edges on both sides of the blade, allowing for different cutting angles and versatility.
Suggestions for Scenes and Settings for Axe Drawings
Certainly! Here are some specific suggestions for scenes and settings for drawings of an Axe:
- Forest clearing: Place the Axe in a serene clearing with dappled sunlight filtering through the trees. Include fallen leaves, rocks, and a small stream in the background.
- Campsite: Show the Axe leaning against a log next to a crackling campfire under the starry night sky. Include camping gear like a tent, backpack, and lantern to add to the atmosphere.
- Viking ship: Depict the Axe on the deck of a majestic Viking longship, surrounded by fierce warriors and billowing sails. Add details like dragon carvings on the boat and crashing waves.
- Fantasy kingdom: Place the Axe in a grand throne room of a fantasy kingdom adorned with intricate tapestries, suits of armor, and a majestic throne. Include a royal crown nearby to hint at a royal connection.
- Mountain summit: Show the Axe embedded in a rocky mountain summit, with sweeping views of valleys and snow-capped peaks in the distance. Add a touch of drama with storm clouds gathering overhead.
- Ancient ruins: Place the Axe amidst overgrown ruins of an ancient civilization, with crumbling pillars and vines creeping up the walls. Include hints of mystery and history in the background.
- Fairytale forest: Depict the Axe in a whimsical fairytale forest filled with colorful mushrooms, magical creatures, and sparkling fireflies. Add a sense of wonder and enchantment to the scene.
- Desert oasis: Show the Axe propped up against a palm tree in a tranquil desert oasis, with a shimmering pool of water and lush greenery contrasting with the sandy dunes. Include a camel or nomadic tents for added visual interest.
Feel free to use these suggestions as inspiration for your drawings of an Axe in different scenes and settings!