Welcome to this step-by-step guide on how to draw a storm! In this tutorial, we will explore techniques and tips to create a realistic and dramatic representation of a storm through drawing. Whether you are a beginner or an experienced artist, this tutorial will help you capture the essence and energy of a storm on paper. So grab your materials and let’s get started!
Materials Required
- Graphite pencils (ranging from 2H to 6B)
- Drawing paper or sketchbook
- Soft eraser
- Blending stump or tortillon
- Charcoal pencils (optional)
- White charcoal or pastel pencil (optional)
- Kneaded eraser (optional)
Now that we’ve gathered our materials, let’s dive into the step-by-step process of drawing a storm.
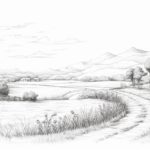
Step 1: Sketch the Composition
Start by lightly sketching the basic composition of your storm on the drawing paper. Decide where you want the focal point to be—a crashing wave, a turbulent sky, or a lone tree battling the elements. Use simple shapes and lines to outline the major elements of your storm. Remember, this is just a rough guide, so don’t worry about making it perfect at this stage.
Step 2: Define the Sky
Focus on the sky first. Use your softest pencil (6B) to create a dark, stormy atmosphere. Begin by shading in the areas where the clouds will be, using quick, loose strokes to capture the movement and energy of the storm. Pay attention to the direction of the wind and let it influence the shape and flow of your clouds.
Step 3: Add Depth to the Clouds
To create depth and volume in the clouds, use a combination of lighter and darker tones. Use a blending stump or tortillon to blend the shaded areas, creating a soft and smooth transition between tones. Remember that storms often have patchy clouds with areas of light breaking through, so don’t be afraid to leave some areas lighter while keeping others darker.
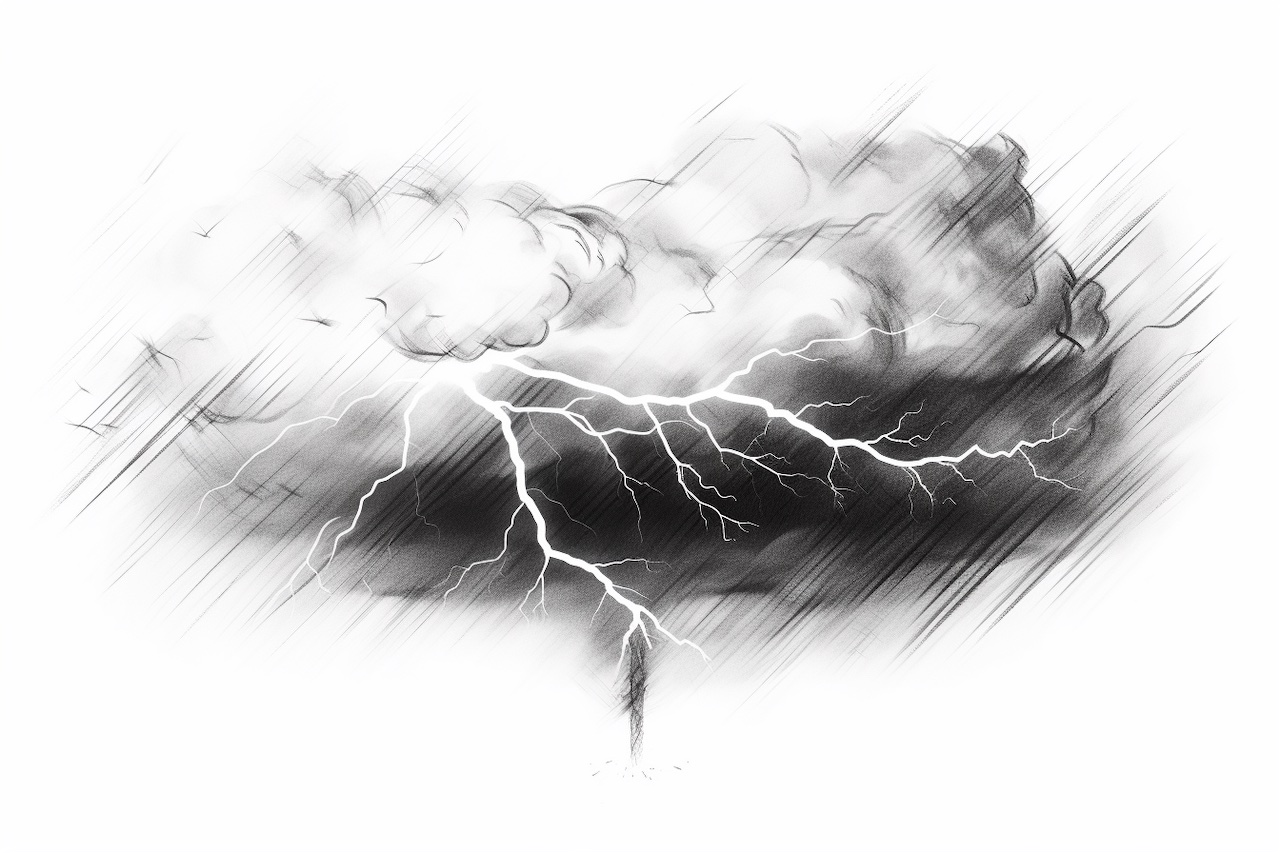
Step 4: Emphasize the Lightning
To make your storm more dramatic, add lightning bolts in the sky. Use a harder pencil (2H or 2B) to lightly sketch in the general shape of the lightning. Then, use a softer pencil (4B or 6B) to darken and enhance the lightning bolts. Add some jagged edges and irregular shapes to make it look more natural and energetic.
Step 5: Bring the Storm to Life
Now it’s time to bring the rest of the scene to life. If you have other elements in your composition, such as crashing waves or trees in the foreground, start by adding the basic shapes and outlines. Use lighter pencils for the initial sketch, gradually adding darker tones as you refine the details.
Step 6: Create Atmospheric Effects
To enhance the stormy atmosphere, add some atmospheric effects. Use a softer pencil to lightly shade the areas around the storm, creating a sense of mist or rain. Pay attention to the direction of the wind and let it influence the direction and flow of your strokes. Use your eraser to lift off some graphite and create highlights where the rain or mist catches the light.
Step 7: Add Texture and Details
To add texture to your drawing, use different pencil techniques such as cross-hatching or stippling. These techniques can help create the illusion of depth and detail in various elements of your storm, such as the waves, trees, or rocks. Experiment with different marks and strokes to achieve the desired texture and level of detail.
Step 8: Finalize the Composition
Take a step back and assess your drawing as a whole. Make any necessary adjustments to the composition, values, and details to create a cohesive and visually appealing artwork. Pay attention to the overall balance of the elements, ensuring that the focal point stands out and commands attention.
Conclusion
Drawing a storm can be an exciting and challenging experience. By following these step-by-step instructions, you can create a dynamic and realistic representation of a storm on paper. Remember to practice and experiment with different techniques to develop your artistic style. So grab your pencils, let your imagination soar, and capture the power and beauty of a storm in your next drawing!