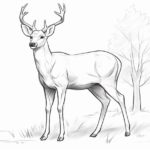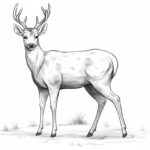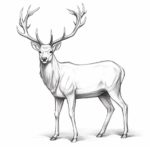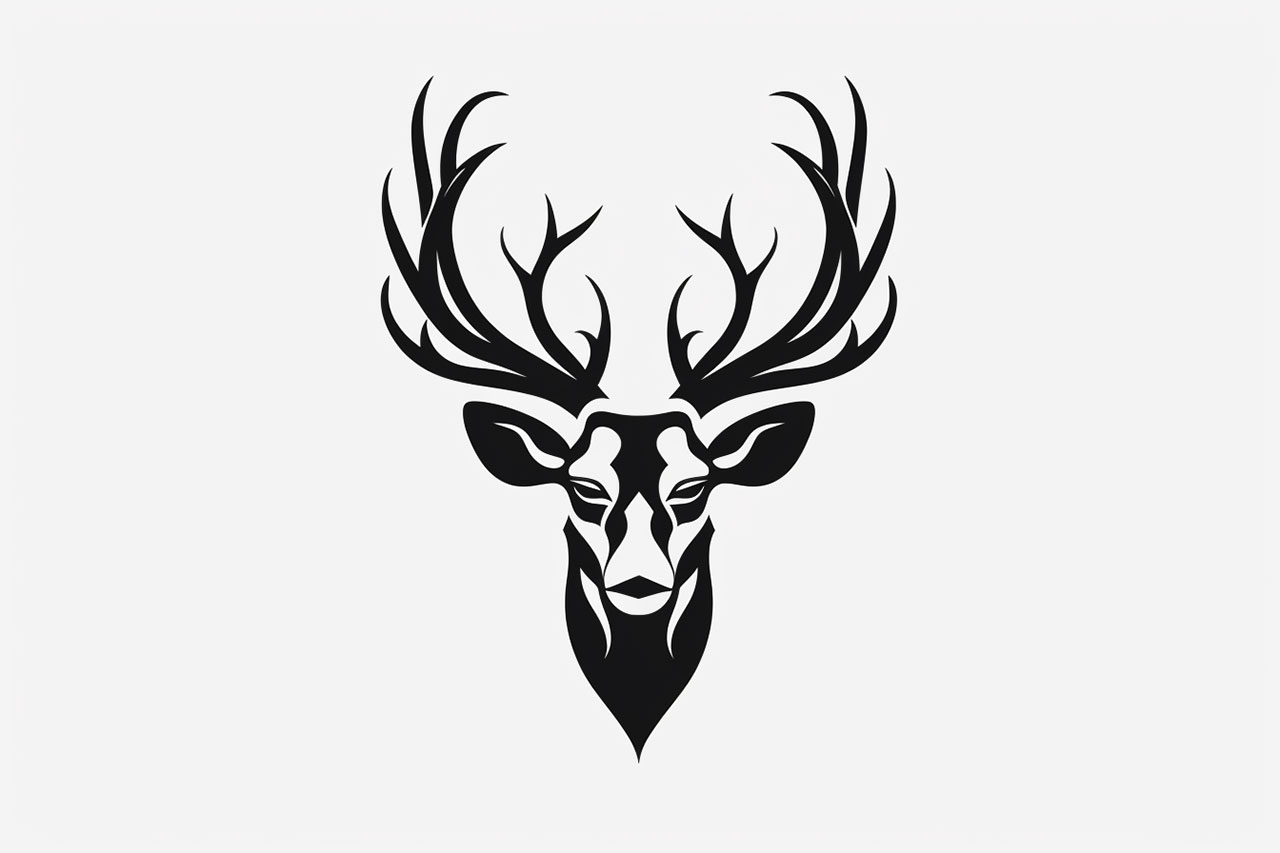
Welcome to the wonderful world of drawing! In this step-by-step tutorial, I will guide you through the process of drawing a detailed and realistic deer head. Whether you’re a beginner or an experienced artist, I’m here to help you bring this majestic creature to life on paper. Read on to learn how to draw a deer head!
Materials Required
Before we begin, gather the following materials:
- Sketchbook or drawing paper
- Pencils (HB, 2B, 4B)
- Eraser
- Blending stump or tortillon
- Reference image of a deer head
Now that you have everything you need, let’s dive into the drawing process.
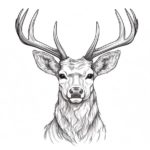
Step 1: Basic Shapes
Begin by sketching the basic shapes that will form the foundation of your deer head drawing. Start with an oval shape for the head and add a smaller circle on one side for the muzzle. Connect these shapes with curved lines to create the neck.
Step 2: Antlers
Deer are known for their impressive antlers, so let’s focus on drawing them next. Start by sketching two curved lines above the head for the main branches of the antlers. From these branches, add smaller lines that branch out further to create the final shape of the antlers.
Step 3: Eyes and Ears
Now, let’s bring the deer to life by adding the eyes and ears. Sketch almond-shaped eyes just below the muzzle, leaving a small space for the nose. Add details such as the iris and eyelashes. For the ears, draw two curved lines emerging from the top of the head and connect them with smaller curved lines to form the shape of the ears.
Step 4: Nose and Mouth
Next, focus on the details of the deer’s nose and mouth. Sketch a small oval shape for the nose at the tip of the muzzle. Add a curved line below the nose to represent the mouth. Within the nose, draw two small nostrils for added realism.
Step 5: Facial Features
To make your deer head drawing more realistic, pay attention to the details of the face. Add a small line above each eye to represent the eyebrow ridge. Sketch a few curved lines around the eyes to create wrinkles or furrows. You can also add a few lines below the mouth to indicate the chin and jawline.
Step 6: Fur Texture
Now it’s time to add texture to the deer’s fur. Start by lightly sketching short, curved lines throughout the head and neck. Follow the contours of the deer’s form and add more lines in areas where the fur appears thicker or more defined.
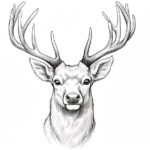
Step 7: Shading and Shadows
To give your drawing depth and dimension, it’s important to incorporate shading and create realistic shadows. Begin by identifying the light source in your reference image. Imagine the light hitting the deer from a particular direction and use that as a guide. Shade the darker areas of the deer’s head, such as the sides and beneath the antlers. Use your blending stump or tortillon to smooth out the shading and create a more seamless transition between light and dark areas.
Step 8: Refine and Finalize
Take a step back and assess your drawing. Look for any areas that need refinement or additional detail. Use your eraser to lighten or correct any mistakes. Pay attention to the proportions and make adjustments if necessary. Once you’re satisfied with your drawing, use a darker pencil (such as a 4B) to strengthen the lines and add any final touches.
Congratulations! You have successfully drawn a deer head. With practice, you will continue to improve your skills and capture the beauty of nature in your artwork.
Conclusion
Drawing a deer head can be a rewarding and enjoyable experience. By following these step-by-step instructions, using the right materials, and practicing regularly, you will be able to create stunning drawings of deer heads. Remember, patience and perseverance are key in developing your artistic abilities. So, grab your pencils and start bringing these majestic creatures to life on paper!