As an expert artist and drawing instructor, I will guide you through the process of how to draw a diamond step-by-step. Diamonds are often associated with elegance and luxury, and being able to draw one can add a touch of glamour to your artwork. So, let’s get started and create a stunning diamond!
Materials Required
Before we begin, make sure you have the following materials:
- Drawing paper
- Pencil
- Eraser
- Ruler
- Compass
Using these basic materials, you’ll be able to create a beautiful diamond drawing.
Step 1: Draw a Square
To start, draw a square in the center of your paper. This will act as the base shape for your diamond. Use your ruler to ensure that all four sides of the square are equal in length and that the corners are at right angles.
Step 2: Divide the Square into Triangles
Next, draw two diagonal lines inside the square, intersecting each other at the center. These lines will divide the square into four triangles. Take your time to ensure the lines are straight and accurately positioned.
Step 3: Add the Diamond’s Top and Bottom
Now, draw two horizontal lines above and below the square. The length of these lines will determine the height of your diamond. Ideally, the distance between the upper and lower lines should be slightly shorter than the length of the square’s sides.
Step 4: Connect the Lines
To give the diamond its shape, connect the ends of the upper and lower lines to the corresponding corners of the square. These lines should be diagonal and slant outward from the center of the square.
Step 5: Refine the Shape
At this stage, your diamond’s shape should be taking form. Use your eraser to carefully remove any unnecessary construction lines, leaving only the outline of the diamond. Take your time to clean up the drawing and achieve a crisp shape.
Step 6: Add the Facets
Now, let’s add the facets that make a diamond sparkle. Start by drawing a vertical line through the center of the diamond, from top to bottom. Then, draw two diagonal lines from the top and bottom corners of the square to the center line, creating a “V” shape at the top and bottom of the diamond.
Step 7: Add More Facets
To enhance the diamond’s brilliance, draw additional diagonal lines on each side of the center line. These lines should start at the top and bottom corners of the square and taper towards the center line. Repeat this process on both sides to create a symmetrical pattern of facets.
Step 8: Shade the Diamond
To give your diamond a three-dimensional look, add shading. Determine the direction of the light source and imagine where the shadows would fall on the facets. Use your pencil to gently shade the areas that would be darker, creating a sense of depth and dimension.
Step 9: Add Highlights
To make your diamond truly shine, add highlights. Identify the areas of the facets that would catch the most light and lightly erase those sections. This will create a subtle gleaming effect, adding realism to your drawing.
Conclusion
Congratulations! You have successfully drawn a beautiful diamond. By following these step-by-step instructions, you were able to create a stunning artwork that captures the elegance and brilliance of a diamond. Keep practicing and experimenting with different shading techniques to further refine your skills. Now, go ahead and showcase your diamond drawing skills to the world!
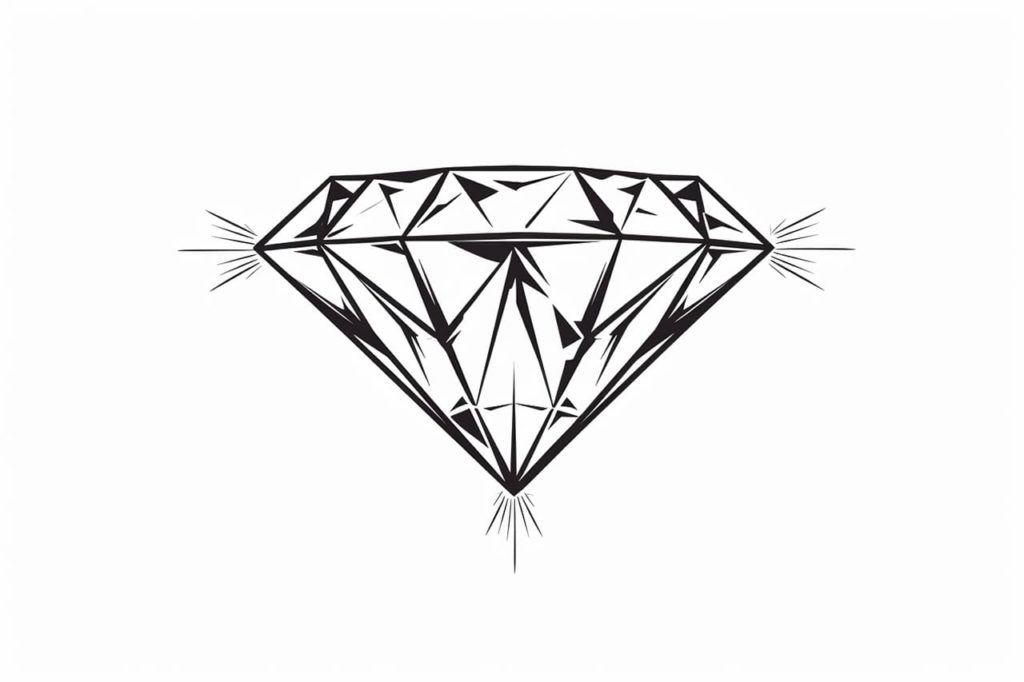
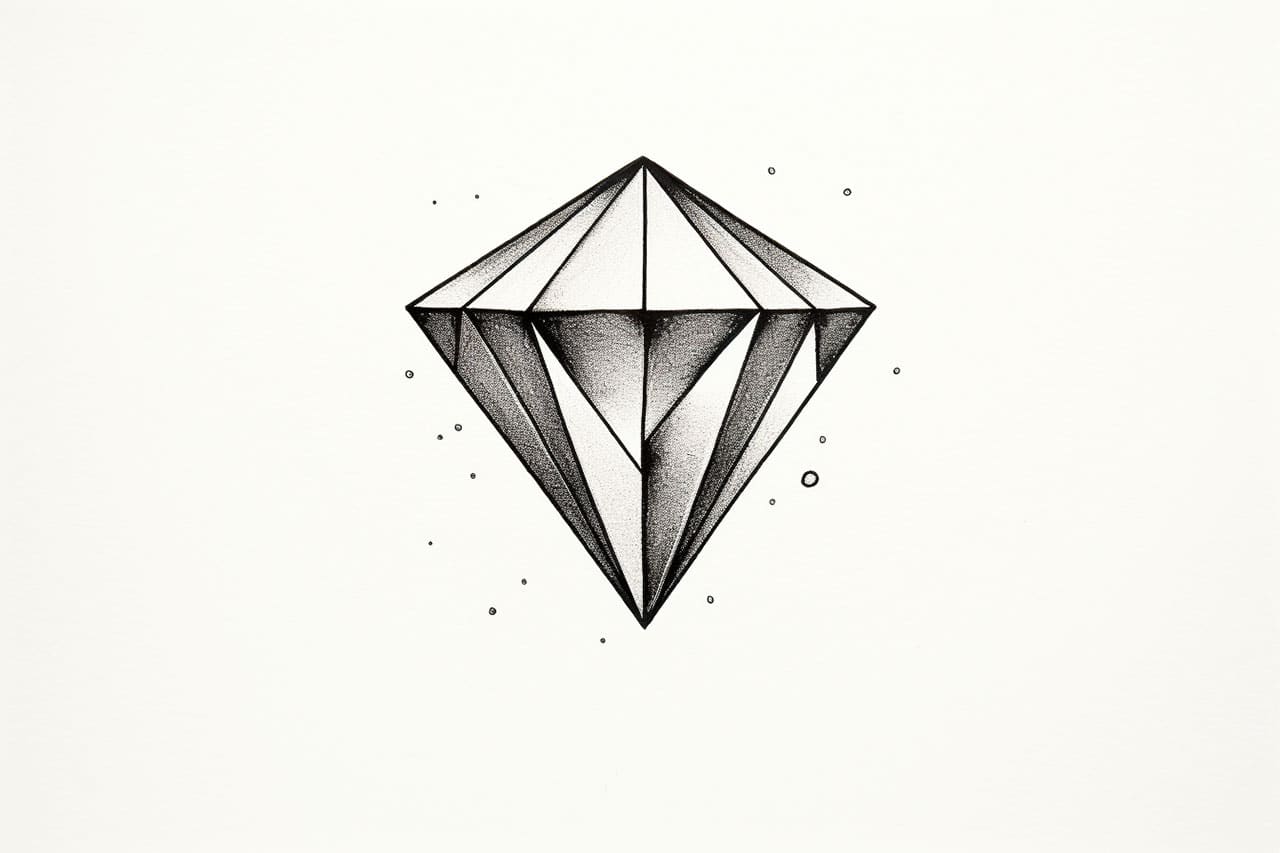
Gallery of Diamond Drawings