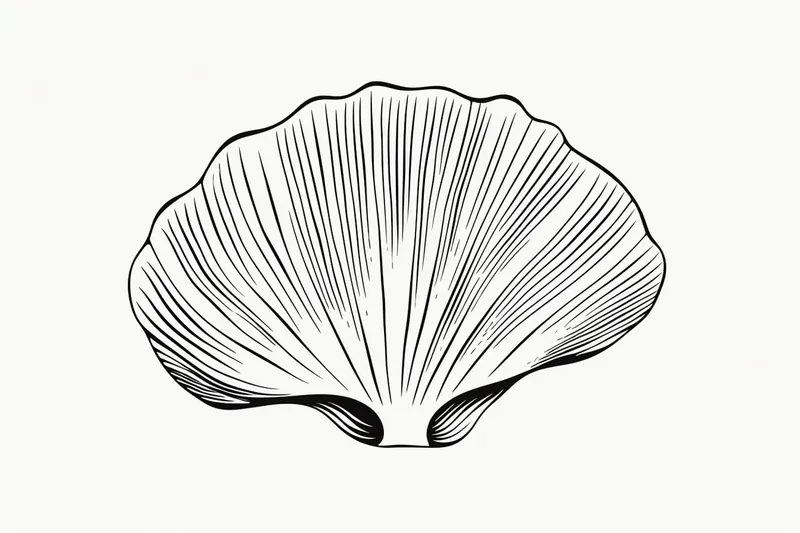
How to Draw a Shell
Learn how to draw a shell with this step-by-step tutorial. Explore the techniques to capture the unique features and textures of shells in your artwork.
Materials You'll Need
- Pencil
- Paper
- Eraser
Shells are some of nature's most beautiful and intricate treasures, found scattered across beaches and shorelines around the world. Their graceful curves, unique patterns, and captivating textures have inspired artists for centuries, making them an ideal subject for drawing. Learning how to draw a shell not only allows you to capture the essence of your seaside memories but also helps you appreciate the delicate details and natural symmetry that make each shell unique. Whether you're drawn to the spirals of a conch or the ridges of a clam shell, studying and rendering these forms can be both relaxing and rewarding.
People often choose shells as drawing subjects because they offer a gentle challenge—balancing smooth lines with subtle textures, and practicing shading to convey depth and realism. Drawing a shell can enhance your observation skills, improve your understanding of organic shapes, and help you practice techniques like contour drawing, hatching, and blending. This tutorial on how to draw a shell is designed for artists of all levels, from beginners eager to try their hand at a natural object, to more experienced artists looking for a calming sketching exercise. With step-by-step guidance, you'll learn to break down the shell's structure, add detail, and bring your drawing to life with shading and highlights.
Don't worry if you're new to drawing or if you haven't drawn shells before—this guide will walk you through every stage, offering tips and encouragement along the way. By the end, you'll not only have a beautiful shell illustration to be proud of but also new skills and confidence to tackle more natural subjects in your artwork. So gather your pencils and paper, and let's dive into the wonderful world of shell drawing together!
Materials Required
Before we begin, make sure you have the following materials handy:
- Drawing paper
- Pencil
- Eraser
- Fine-tipped black pen
- Pencil crayons or markers (optional)
- Reference photo of a shell (optional)
Now that you have your materials ready, we can proceed to the steps involved in drawing a shell.
Step 1: Sketch the Basic Shape
Start by lightly sketching the basic shape of the shell using your pencil. Shells can have various shapes, such as spiral, oval, or irregular, so choose the one you like or use a reference photo for guidance. Remember to keep your lines light and loose as you are still in the initial stages of the drawing.
Step 2: Add Details to the Shell
Now it's time to add some details to your shell drawing. Observe the shell carefully and notice any patterns, ridges, or textures present. Use your pencil to recreate these details on your drawing. Take your time and pay attention to the tiny details, as they will make your drawing more realistic and captivating.
Step 3: Refine the Outline
Next, refine the outline of the shell, using your initial sketch as a guide. Make sure the lines are clean and well-defined. You can erase any unnecessary guidelines or stray marks as you go along. Remember, a shell has a three-dimensional form, so try to capture its volume and curves accurately.
Step 4: Add Shading and Texture
To make your shell drawing more realistic, it's important to add shading and texture. Observe the way light falls on the shell and identify areas of light and shadow. Use your pencil to carefully shade these areas, gradually building up the tones. Pay attention to the direction of the lines as well, as they can add texture to your drawing. Take your time with this step and remember to blend your shading to create a smooth transition between light and shadow.
Step 5: Add Contrast and Details
Now that you have the basic shading and texture in place, it's time to add contrast and fine details. Use a fine-tipped black pen or a darker pencil to darken some areas of your drawing, such as the deep crevices or lines on the shell. This will help create depth and make your drawing more visually appealing. You can also add small dots or lines to represent tiny barnacles or other surface details found on shells.
Step 6: Review and Refine
Once you have completed the previous steps, take a step back and review your drawing. Look for any areas that need improvement or refinement. Make any necessary adjustments to ensure that your drawing accurately represents the shell's form and details. Don't be afraid to erase and redraw if needed, as practice is key to mastering the art of drawing.
Tip: When drawing shells, start by lightly sketching the overall shape using smooth, flowing lines to capture their natural curves—don't worry about details at this stage. Use an HB or 2H pencil for this initial outline, as it's easy to erase and adjust. Once you're satisfied with the proportions, observe the shell's unique ridges, spirals, or bumps, and gently map them out with short, curved lines that follow the shell's form. Remember, shading is key: use the side of a softer pencil (like a 2B or 4B) to gradually build up shadows and highlight the shell's three-dimensional quality, blending gently with a tortillon or tissue for a realistic finish.
Conclusion
Drawing a shell can be a rewarding and enjoyable artistic endeavor. By following these step-by-step instructions, you have learned how to create a realistic representation of a shell that showcases its unique features and textures. Remember to be patient with yourself and keep practicing to further enhance your drawing skills. So go ahead, grab your art supplies, and let your creativity flow as you embark on your shell-drawing adventure!
Fun Facts About Shell
- The spiral shape of many shells follows the mathematical pattern known as the golden ratio.
- Shells are made primarily of calcium carbonate, the same material found in limestone and marble.
- Some shells, like the chambered nautilus, have been around for over 500 million years.
- Shells serve as protective homes for mollusks and help defend them from predators and harsh environments.
- The largest seashell in the world is the giant clam, which can weigh over 200 kilograms.
- Shells have been used as currency in various cultures, most famously the cowrie shell in Africa and Asia.
- Many artists and architects have drawn inspiration from the intricate patterns and forms of shells throughout history.
- Some hermit crabs use discarded shells from other animals as their mobile homes.
- Shells can reveal information about past climates and ocean conditions through a science called paleoclimatology.
- Collecting shells is called conchology, and it has been a popular hobby for centuries.
Suggestions for Scenes and Settings for Shell Drawings
- A close-up study of a spiral shell, focusing on its intricate patterns and subtle color variations.
- A collection of different shells scattered across a sandy beach, with driftwood and pebbles for added texture.
- An open clam shell resting on wet sand, reflecting the sunlight and casting soft shadows.
- A shell partially buried in the sand, with gentle waves washing over it at the shoreline.
- A group of shells arranged in a decorative pattern, inspired by a mandala or nature collage.
- A shell nestled among seaweed and small marine plants, highlighting the diversity of seaside life.
- A shell with tiny barnacles and algae clinging to its surface, emphasizing natural textures and details.
- A shell balanced atop a stack of smooth beach stones, creating an interesting composition of shapes and forms.
- A still life of shells alongside other seaside treasures, such as starfish, coral, or glass beads.
- A shell illuminated by moonlight on a quiet night beach, with subtle reflections and a hint of mystery.