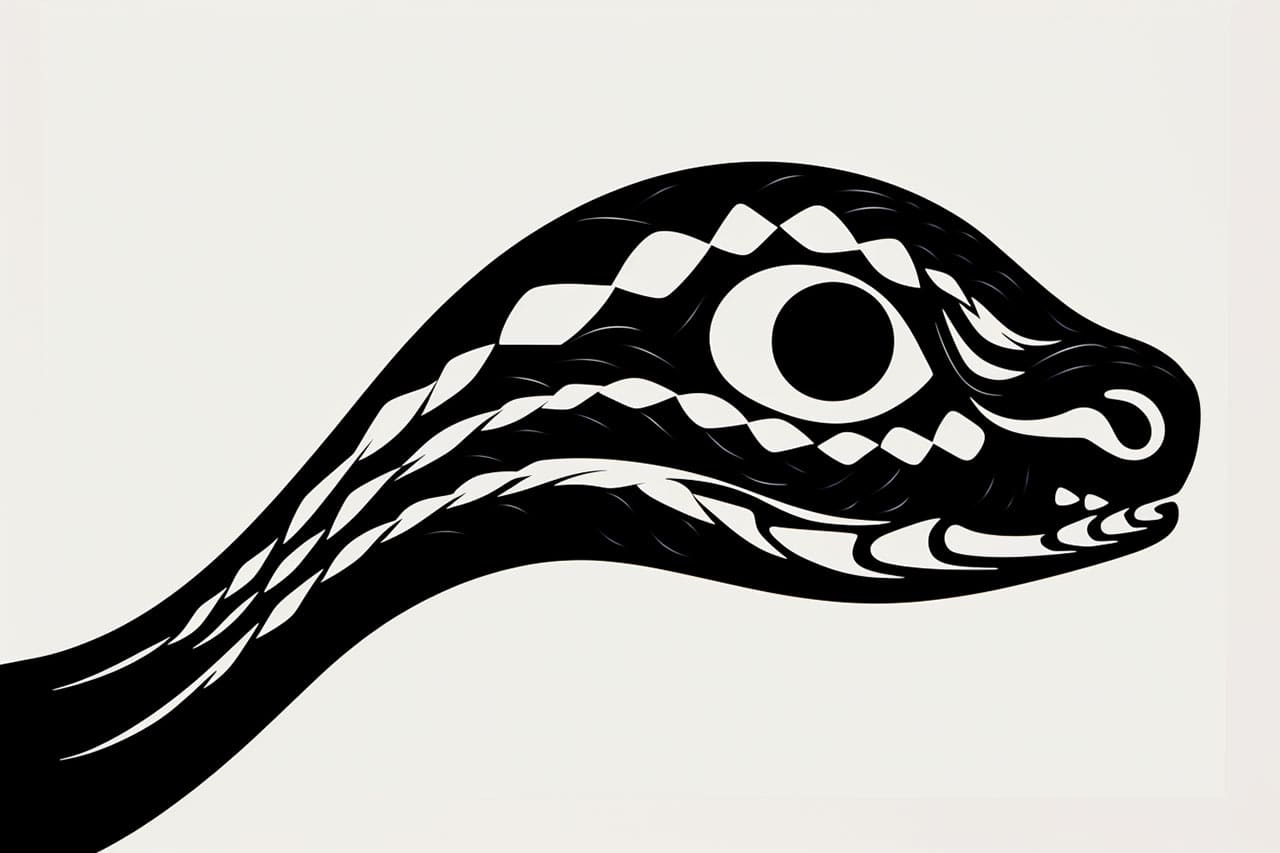
Welcome to this step-by-step guide on how to draw a snake head! Whether you are an aspiring artist or simply looking to improve your drawing skills, this tutorial will provide you with clear instructions to create a realistic and captivating snake head. So grab your pencils and let’s get started!
Materials Required
Before we begin, gather the following materials:
- Paper: Use a white sketching or drawing paper that is preferably heavyweight to prevent any smudging.
- Pencils: Get a set of graphite pencils ranging from H to 6B. The H pencils are lighter, while the B pencils are darker.
- Eraser: Have a kneaded eraser or a vinyl eraser handy to correct any mistakes.
- Sharpener: Make sure you have a sharpener to keep your pencils ready for use.
Now that you have your materials ready, let’s dive into the process of drawing a snake head!
Step 1: Sketch the Basic Shape
Start by lightly sketching an oval shape to represent the snake’s head. Keep the lines faint as they will be erased later. Place the oval horizontally in the middle of your paper.
Step 2: Outline the Jawline
From the bottom of the oval shape, sketch a curved line that extends outward to form the snake’s lower jaw. Then, connect the endpoint of the curved line to the top of the oval shape, creating a smooth outline for the snake’s head.
Step 3: Draw the Eyes
Position the snake’s eyes on either side of the head. Start by drawing elongated almond shapes with pointed ends. Leave a small space between the eyes and the outline of the head.
Step 4: Add Detail to the Eyes
Within each eye shape, draw a smaller oval to represent the iris. Add a smaller circle within the iris to depict the pupil. Leave a small white highlight in the pupil to give the eyes depth and realism. Shade the area around the eyes lightly to create depth.
Step 5: Sketch the Nostrils
Position the snake’s nostrils just above the upper jawline. Draw two small, triangular shapes on each side of the head to represent the nostrils. Ensure they are symmetrical.
Step 6: Define the Snout
Sketch the snake’s snout by drawing a curved line that connects the nostrils to the upper jawline. This will give the snake head a more defined shape.
Step 7: Detail the Scales
Begin adding texture and detail to the snake head by drawing small, curved lines within the oval shape. These lines represent the snake’s scales. Start from the top of the head and work your way down, following the contour of the oval shape. These lines should be slightly curved, giving the illusion of depth and dimension.
Step 8: Shape the Lower Jaw
To give the snake head a realistic look, add depth to the lower jaw. Start by drawing a curved line that runs from the top of the lower jawline and gradually widens towards the back of the head. This will create the snake’s characteristic triangular-shaped lower jaw.
Step 9: Define the Mouth
Within the lower jaw, add a curved line to represent the snake’s mouth. Make sure the line is slightly open to give the snake a menacing appearance. Add small, sharp teeth along the upper and lower jawlines, keeping them evenly spaced.
Step 10: Refine the Outline
Once you are satisfied with the overall structure and shape of the snake head, carefully darken the outlines using a darker pencil, such as a 2B or 4B. Erase any remaining faint guidelines to clean up the drawing.
Step 11: Add Shading and Details
To create depth and dimension, add shading to the snake head. Observe the reference image or imagine a light source, then shade the appropriate areas accordingly. Leave the scales near the top of the head lighter, while the scales around the eyes and the lower jaw can be darker. Use lighter strokes for lighter shadows and press harder for darker shadows.
Step 12: Final Touches
To enhance the realism of your snake head drawing, add highlights to the scales and eyes using an eraser. Lift off small portions of graphite to create an illusion of light reflecting on the surface. Be careful not to overdo it, as it may make the drawing look unrealistic.
Congratulations! You have successfully drawn a snake head. With practice, your snake drawings will become more refined and detailed.
Conclusion
Drawing a snake head may seem challenging at first, but with patience and practice, you can create stunning and lifelike results. Remember to start with a basic shape, add the key features, and gradually build up the details and textures. By following the step-by-step instructions in this guide, you are well on your way to becoming a skilled snake head artist. So, grab your materials, let your creativity flow, and enjoy the process of bringing a snake head to life on paper!


