Welcome to this step-by-step guide on how to draw a shell. Whether you are an aspiring artist or just looking for a fun and relaxing activity, drawing a shell can be a great way to indulge your creativity and improve your drawing skills. Shells come in a variety of shapes, sizes, and textures, making them a fascinating subject to draw. In this article, we will walk you through the process of drawing a shell, providing clear and concise instructions that will help you create a realistic and beautiful representation. So grab your art supplies and let’s get started!
Materials Required
Before we begin, make sure you have the following materials handy:
- Drawing paper
- Pencil
- Eraser
- Fine-tipped black pen
- Pencil crayons or markers (optional)
- Reference photo of a shell (optional)
Now that you have your materials ready, we can proceed to the steps involved in drawing a shell.
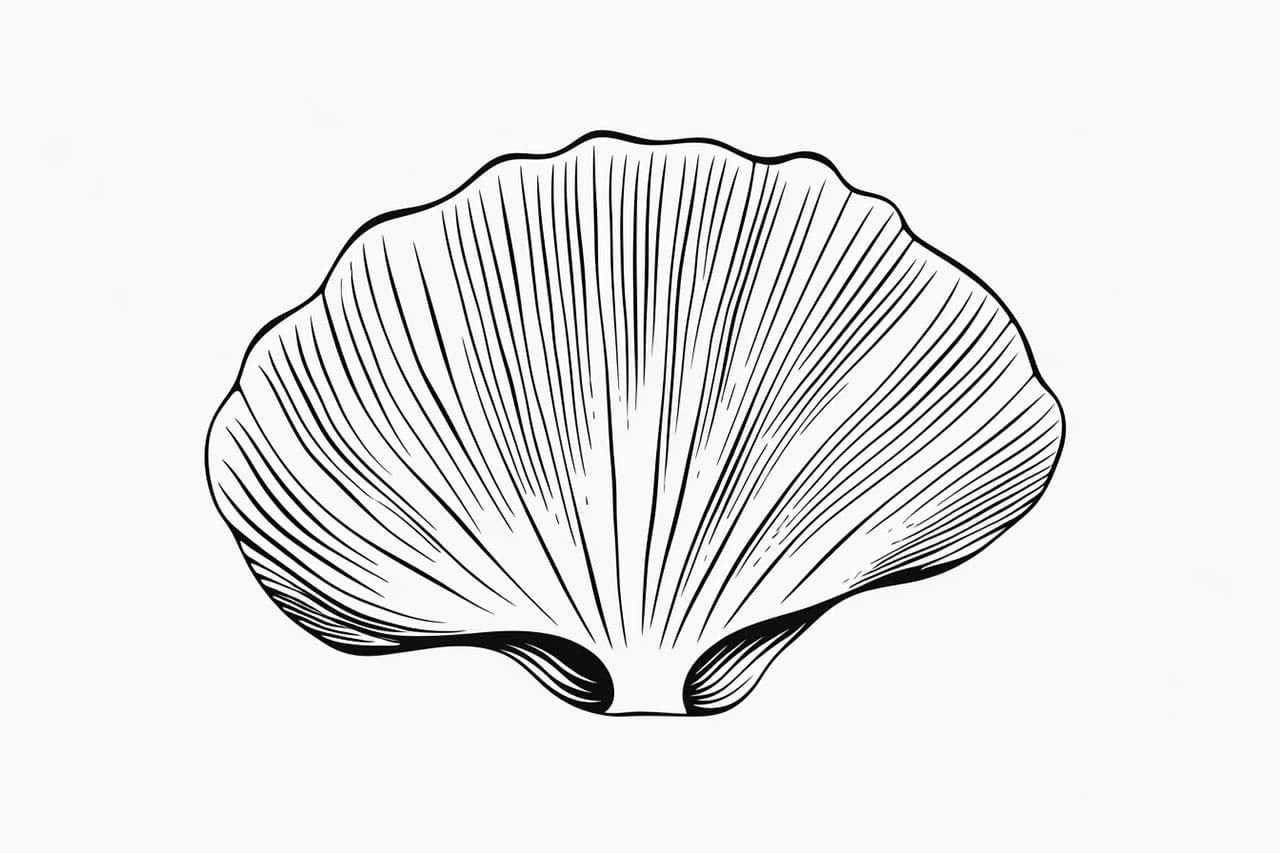
Step 1: Sketch the Basic Shape
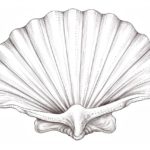
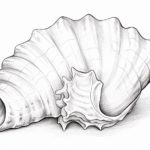
Start by lightly sketching the basic shape of the shell using your pencil. Shells can have various shapes, such as spiral, oval, or irregular, so choose the one you like or use a reference photo for guidance. Remember to keep your lines light and loose as you are still in the initial stages of the drawing.
Step 2: Add Details to the Shell
Now it’s time to add some details to your shell drawing. Observe the shell carefully and notice any patterns, ridges, or textures present. Use your pencil to recreate these details on your drawing. Take your time and pay attention to the tiny details, as they will make your drawing more realistic and captivating.
Step 3: Refine the Outline
Next, refine the outline of the shell, using your initial sketch as a guide. Make sure the lines are clean and well-defined. You can erase any unnecessary guidelines or stray marks as you go along. Remember, a shell has a three-dimensional form, so try to capture its volume and curves accurately.
Step 4: Add Shading and Texture
To make your shell drawing more realistic, it’s important to add shading and texture. Observe the way light falls on the shell and identify areas of light and shadow. Use your pencil to carefully shade these areas, gradually building up the tones. Pay attention to the direction of the lines as well, as they can add texture to your drawing. Take your time with this step and remember to blend your shading to create a smooth transition between light and shadow.
Step 5: Add Contrast and Details
Now that you have the basic shading and texture in place, it’s time to add contrast and fine details. Use a fine-tipped black pen or a darker pencil to darken some areas of your drawing, such as the deep crevices or lines on the shell. This will help create depth and make your drawing more visually appealing. You can also add small dots or lines to represent tiny barnacles or other surface details found on shells.
Step 6: Review and Refine
Once you have completed the previous steps, take a step back and review your drawing. Look for any areas that need improvement or refinement. Make any necessary adjustments to ensure that your drawing accurately represents the shell’s form and details. Don’t be afraid to erase and redraw if needed, as practice is key to mastering the art of drawing.
Conclusion
Drawing a shell can be a rewarding and enjoyable artistic endeavor. By following these step-by-step instructions, you have learned how to create a realistic representation of a shell that showcases its unique features and textures. Remember to be patient with yourself and keep practicing to further enhance your drawing skills. So go ahead, grab your art supplies, and let your creativity flow as you embark on your shell-drawing adventure!