Welcome to this step-by-step guide on how to draw a peanut! Whether you’re an aspiring artist or simply looking to improve your drawing skills, this tutorial will provide you with all the guidance you need to create a realistic peanut illustration. With clear and concise instructions, we’ll walk you through each stage of the drawing process, from the initial sketch to the final details. So grab your pencils and let’s get started on this nutty artistic adventure!
Materials Required
Before we begin, let’s gather the materials you’ll need for this drawing:
- Drawing paper: Choose a smooth and sturdy paper that can withstand pencil work.
- Pencils: Use a range of graphite pencils (e.g., HB, 2B, 4B) to create varying shades.
- Eraser: Have a good quality eraser handy for correcting mistakes and smudges.
- Blending stumps: These tools are helpful for achieving smooth shading transitions.
- Sharpener: Keep your pencils sharp to ensure precise lines and details.
Now that we have all the necessary tools, let’s jump into the step-by-step process of drawing a peanut!
Step 1: Basic Outline
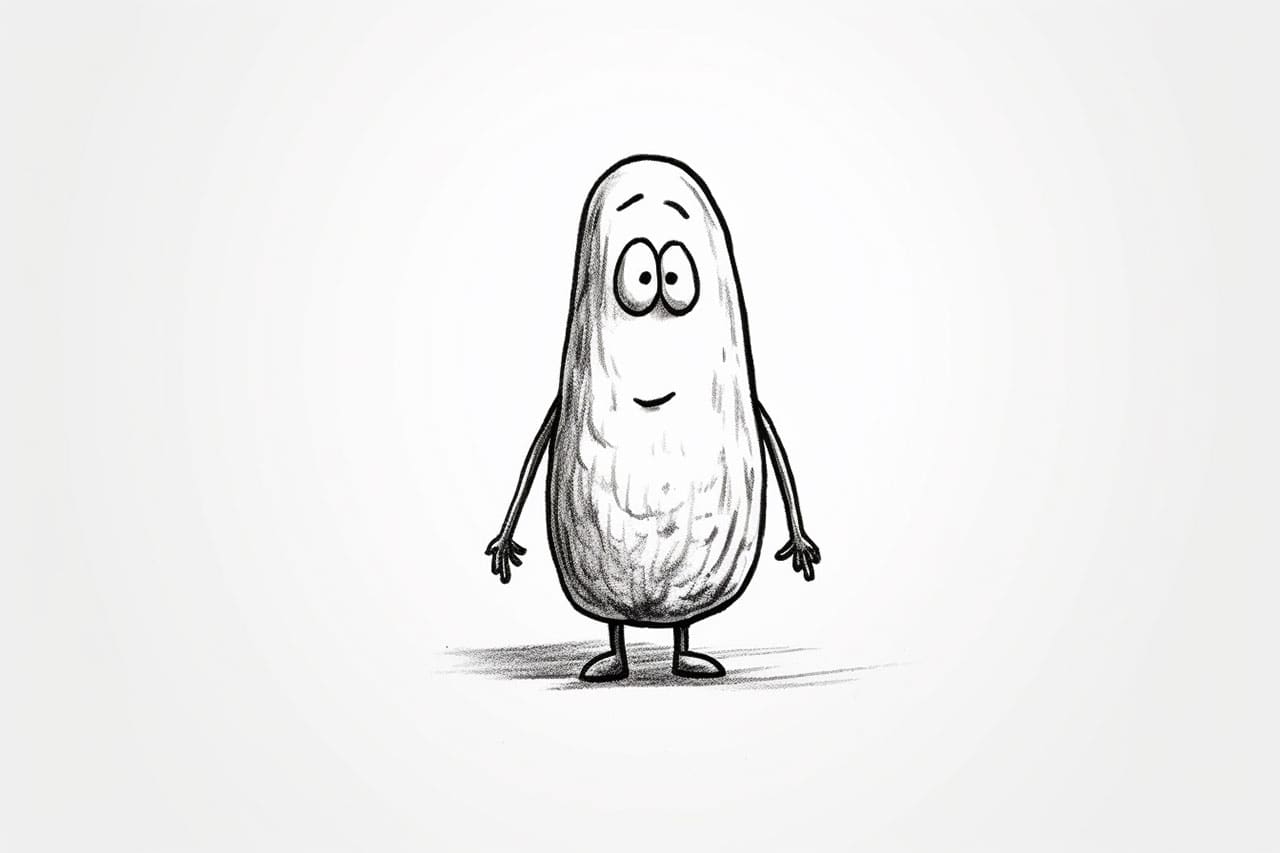
Start by lightly sketching a long oval shape in the center of your paper. This will serve as the main body of our peanut. Take your time to get the proportions right, making it slightly curved on the top and bottom.
Step 2: Dividing the Peanut
Divide the main oval into two halves by sketching a vertical line down the center. This line represents the natural split that runs through the center of a peanut.
Step 3: Shell Texture
To depict the texture of the peanut’s shell, draw intersecting curved lines across the outer surface of each half. The lines should follow the shape of the peanut and form small bumps and ridges. Keep the lines light for now, as we will refine them later.
Step 4: Contour Lines
Now, draw curved contour lines along the length of each peanut half, following the overall shape. These lines add depth and volume to the peanut, creating a three-dimensional appearance.
Step 5: Refine the Shell Texture
With a sharper pencil (such as 2B or 4B), go over the shell texture lines you drew in Step 3. Darken them slightly to make them more pronounced. Pay attention to the areas where the curves overlap, as this will enhance the realistic appearance of the peanut’s shell.
Step 6: Shading
Next, we’ll add shading to make the peanut look more three-dimensional. Start by identifying the light source in your drawing. Imagine it coming from a particular direction and consider how it would cast shadows on the peanut’s surface.
Using a pencil of your choice (preferably 2B or 4B for a darker shade), shade the side of the peanut opposite the light source. Gradually darken the shading as you move away from the light source, creating a smooth gradient of shadows.
Step 7: Highlights
To make the peanut appear more realistic, we need to add highlights. Identify the areas that would catch the most light, usually the top part of each peanut half. Using an eraser, carefully lighten those areas by gently lifting off some graphite. This will create a contrast between the shaded areas and the highlighted sections.
Step 8: Blending
To achieve a smoother and more blended look, use a blending stump or a piece of tissue paper to carefully blend the shading and highlights. This will soften any harsh lines and give your drawing a polished finish.
Step 9: Refining Details
Now that we have the basic shape and shading in place, it’s time to refine the details. Take a closer look at your drawing and add any missing lines or texture details to enhance the peanut’s appearance. Pay attention to any ridges, curves, or imperfections that may be present.
Step 10: Final Touches
Take a step back and assess your drawing as a whole. Make any necessary adjustments to the shading, texture, or proportions to ensure a balanced composition. Don’t be afraid to go back and fix any areas that may need improvement or further refinement.
Conclusion
Congratulations on completing your peanut drawing! By following these step-by-step instructions, you have successfully created a realistic illustration of a peanut. Remember, practice makes perfect, so continue to refine your skills by drawing different objects and exploring various techniques. We hope you enjoyed this tutorial and found it helpful in deepening your understanding of drawing. Stay inspired and keep creating!