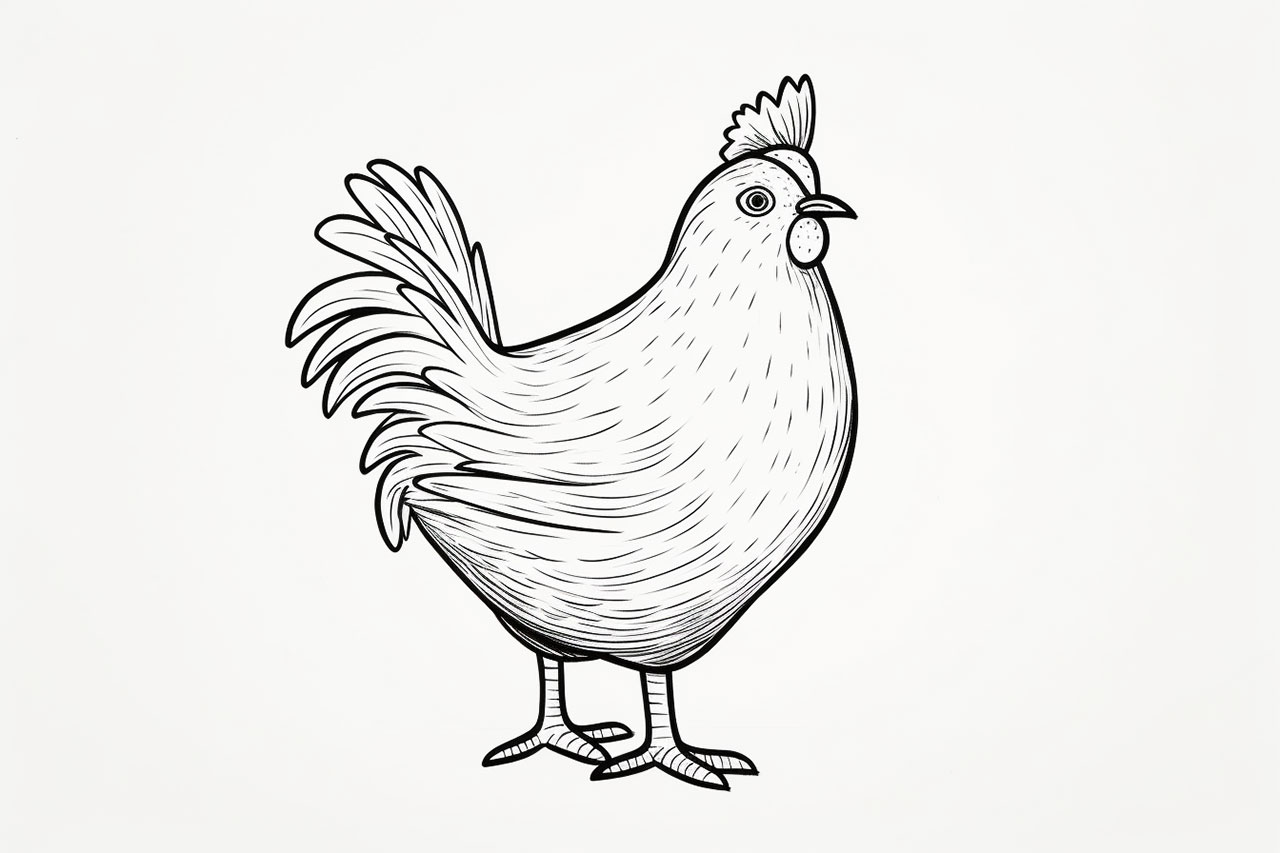
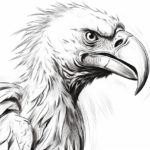
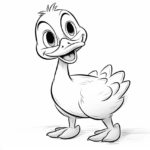
Do you want to learn how to draw a chicken? Chickens are fun and interesting animals to draw, and with a few simple steps, you can create your very own chicken drawing. In this tutorial, I will guide you through the process of drawing a chicken from scratch using easy-to-follow instructions. So grab your paper and pencils, and let’s get started!
Materials Required
To draw a chicken, you will need the following materials:
- Drawing paper
- Pencils (preferably a range of hardness, such as 2H, HB, and 2B)
- Eraser
- Sharpener
- Fine-tip black marker or pen (optional, for outlining)
- Colored pencils or markers (optional, for coloring)
Now that we have our materials ready, let’s begin with the step-by-step process of drawing a chicken.
Step 1: Basic Shapes
To start, we will begin by drawing the basic shapes that make up the chicken’s body. Begin with an oval shape for the body. This will act as a guideline for the chicken’s overall shape.
Step 2: Head and Beak
Next, let’s add the head and beak to our chicken drawing. Draw a smaller oval shape attached to the body, slightly overlapping it. This oval will represent the chicken’s head. Then, draw a small triangle shape protruding out from the head for the beak.
Step 3: Eyes and Comb
Moving on, let’s focus on the chicken’s facial features. Draw two small circles within the head for the eyes. Leave a small gap between the circles to indicate the beak. Then, above the head, draw a curved shape to represent the chicken’s comb.
Step 4: Wings and Tail
Now, let’s add the wings and tail to our chicken drawing. Draw two elongated shapes on either side of the body for the wings. Extend a few curved lines downward from the body to create the tail feathers.
Step 5: Legs and Feet
It’s time to add the chicken’s legs and feet. Draw two long, curved lines extending from the bottom of the body for the legs. At the end of each leg, draw a small oval shape for the feet.
Step 6: Details and Texture
In this step, we will focus on adding details and texture to our chicken drawing. Start by drawing curved lines on the wings and tail feathers to represent the feathers’ texture. Then, add a few lines on the beak to indicate its structure. You can also draw a few lines on the body to represent the chicken’s feathers.
Step 7: Outline and Refine
Now that we have our basic chicken shape, it’s time to outline and refine our drawing. Using a pencil or a fine-tip black marker, carefully go over the lines, making them bolder and more defined. Erase any unnecessary guidelines or stray marks as you go along.
Step 8: Color (Optional)
If you prefer, you can now add color to your chicken drawing. Use colored pencils or markers to bring your chicken to life. Chickens come in various colors, so feel free to get creative and experiment with different shades and patterns.
Conclusion
Congratulations! You have successfully learned how to draw a chicken. By following these step-by-step instructions, you can create your very own chicken drawing. Remember to practice and have fun with your artwork. Drawing is all about expressing yourself and enjoying the process. So grab your pencils and start sketching your favorite farm animal today!

