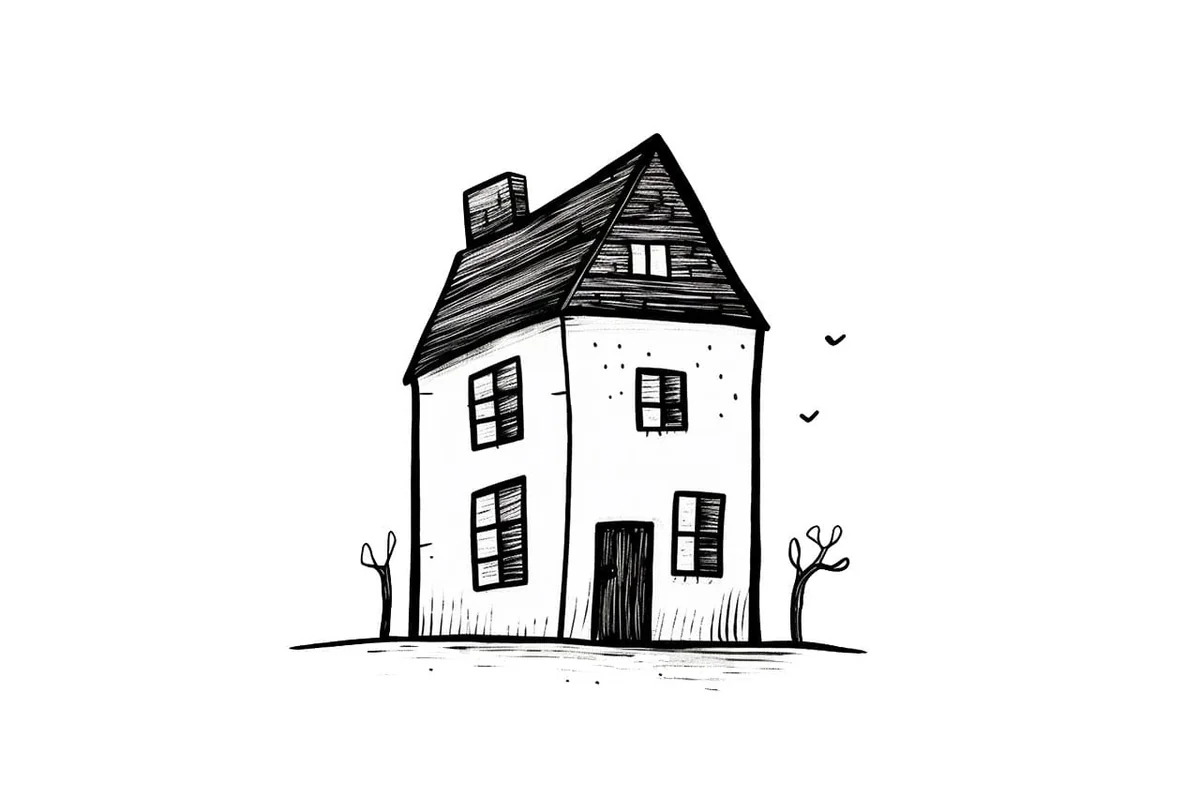
How to Draw a House in 5 Simple Steps
Want to learn how to draw a house? This easy step-by-step guide will walk you through the process of sketching a beautiful and realistic house. From basic shape
Materials You'll Need
- Drawing paper
- Pencil (HB or 2B)
- Eraser
Whether you're sketching a cozy cottage, a modern mansion, or a charming farmhouse, learning how to draw a house is a fun and rewarding artistic experience that allows you to explore perspective, structure, and creativity. Houses are more than just buildings—they tell stories, reflect personalities, and can be customized in countless ways!
Whether you're a beginner artist looking for a simple and easy house drawing or an experienced artist aiming to refine your skills, this guide will help you create a beautiful and well-proportioned house illustration.
So grab your pencil, eraser, and drawing paper, and let's start building your dream house—one sketch at a time! ✨
Materials Required
-
Eraser
-
Drawing paper
Step-by-Step Guide: How to Draw a House ✏️
Follow these easy-to-follow steps to create a realistic and well-structured house drawing. Whether you're sketching a simple home or a detailed architectural masterpiece, these steps will help you bring your vision to life!
Step 1: Sketch the Basic Shapes
To start, lightly sketch the basic geometric shapes that will serve as the foundation of your house.
✅ Draw a large rectangle for the main structure of the house.✅ Add a triangle or slanted rectangle on top to form the roof.✅ Sketch a small rectangle for the door in the center or off to one side.✅ Add two or more rectangles for windows on the walls.
At this stage, keep your lines light and loose so you can make adjustments as needed.
Step 2: Refine the Shapes and Structure
Now that the basic framework is in place, let's refine the details and shape of the house:
✅ Define the roof by adjusting its angles and adding an overhang for a more realistic look.✅ Draw a chimney if you'd like—simply add a small vertical rectangle on top of the roof.✅ Outline the walls and foundation, ensuring the house looks well-proportioned.✅ Use curved lines or subtle angles to add a more natural and dynamic look to the edges of the house.
At this stage, your house should start taking shape with a clearer structure.
Step 3: Add Details and Features
Now, let's bring the house to life by adding architectural details:
✅ Windows: Sketch the windowpanes, frames, and even curtains or shutters for extra charm.✅ Door: Add a doorknob, keyhole, and paneling to make it more detailed.✅ Roof Details: Sketch roof shingles, tiles, or a simple flat surface, depending on the house style.✅ Siding or Bricks: Draw horizontal or vertical lines to represent wooden siding, or sketch small rectangles for a brick pattern.✅ Pathway & Landscaping (Optional): Add a simple pathway, front yard, bushes, or trees to create a cozy setting for your house.
Now your house has personality and structure, but there's still more we can do!
Step 4: Add Shading and Texture
To make your house look more three-dimensional and realistic, it's time to add shading and textures.
✅ Determine the light source—is the sun shining from the left or right? Shade the opposite side of the house to create depth.✅ Darken the areas under the roof, chimney, and around the windows to create realistic shadows.✅ Use short, light strokes to add texture to the roof (shingles or tiles) and walls (wooden planks or bricks).✅ Blend and smooth out shaded areas to create a more natural transition between light and shadow.
Shading helps the house look less flat and more realistic, giving it a cozy, lived-in feel.
Step 5: Final Touches and Enhancements
You're almost done! Take a step back and review your drawing to see if there are any final details to add or refine:
✅ Darken the main lines to make the house stand out.✅ Erase any unnecessary guidelines to clean up your sketch.✅ Enhance small details, such as extra bricks, roof patterns, or plants in the yard.✅ If desired, add color with colored pencils, markers, or watercolor to make your house look even more vibrant and lively.
Final Thoughts on How to Draw a House
Congratulations! You've successfully drawn a house from start to finish! Whether it's a cozy cottage, a grand mansion, or a city townhouse, you now have the skills to sketch detailed and realistic houses.
Keep practicing different architectural styles—try drawing a log cabin, a modern skyscraper, or even a haunted house! Experiment with perspective to draw houses from different angles. Add seasonal elements—snow-covered rooftops for winter or a blooming garden for spring!
The more you practice, the more confident you'll become. So grab your pencils, let your imagination run wild, and keep drawing!
Tip: When drawing a house, start by breaking it down into basic geometric shapes: squares for walls, rectangles for doors, and triangles for roofs. This simplifies the structure and helps you focus on proportions before adding details. Use a light hand with your pencil to sketch these shapes, allowing for easy adjustments as you refine your drawing. Incorporate a reference photo to guide your perspective and details, ensuring your house feels grounded and realistic. Don't forget to keep your lines clean and consistent; you can always darken them later when you're satisfied with the overall layout. Happy sketching!
Gallery of House Drawings


Fun Facts About Houses
-
The concept of a house dates back to ancient civilizations where humans first began to build structures for shelter and safety.
-
Houses can come in various forms and styles, ranging from traditional cottages to modern skyscrapers.
-
The oldest known houses are cave dwellings and were inhabited by early humans thousands of years ago.
-
In different cultures around the world, houses are designed to suit the local climate and available materials, showcasing a rich diversity in architecture.
-
The Guinness World Records notes the ""skyscraper"" house, a 10-story penthouse built on top of a luxury building in New York, as one of the highest residential buildings in the world.
-
Houses built in earthquake-prone areas often incorporate special engineering techniques to withstand seismic activity.
-
In Australia, the 'Queenslander' is a unique house style designed with elevated floors to promote airflow and keep cooler in the tropical climate.
-
The concept of a 'smart house' has gained popularity, with homes equipped with technology for remote control of appliances and systems.
-
Historically, houses were often communal structures, accommodating extended families or entire communities living under a single roof.
-
The world's smallest house, as recognized by the Guinness World Records, can be found in Germany and measures only one square meter.
House Draw Battle
Two of our community artists compete to see who can draw the better house. Who do you think won the battle? Let us know in the comments section below!
House Draw Battle
Who drew it better? Cast your vote below!

Oliver Hart
Pencil Picasso


Amelia Hayes
Crayon Conqueror

Be the first to vote in this epic Draw Battle!
Suggestions for Scenes and Settings for House Drawings
-
Cozy Cottage: Draw a charming cottage surrounded by lush gardens, complete with a winding stone path leading to the door.
-
Modern Mansion: Illustrate a sleek mansion with glass walls and a swimming pool, situated on a cliff overlooking the ocean.
-
Treehouse Retreat: Create a scene of a whimsical treehouse nestled in a lush forest, connected by a wooden suspension bridge.
-
Rustic Barn: Depict a rustic barn house on a farm, surrounded by open fields and grazing animals.
-
Urban Apartment: Draw a bustling cityscape with towering apartment buildings, capturing the vibrant energy of urban life.
-
Snow-Covered Cabin: Illustrate a cozy cabin blanketed in snow, with smoke curling up from the chimney.
-
Beach Bungalow: Create a scene of a seaside bungalow with a porch offering a panoramic view of the beach.
-
Historic Castle: Draw a majestic castle with towering spires and a moat, set against a mountainous backdrop.
-
Desert Villa: Depict a luxurious villa in the desert, with palm trees and a serene water feature in the courtyard.
-
Haunted House: Illustrate a spooky haunted house with creaky wooden floors and flickering lights, perfect for a Halloween setting.
Explore these settings to create diverse and captivating scenes in your house drawings!