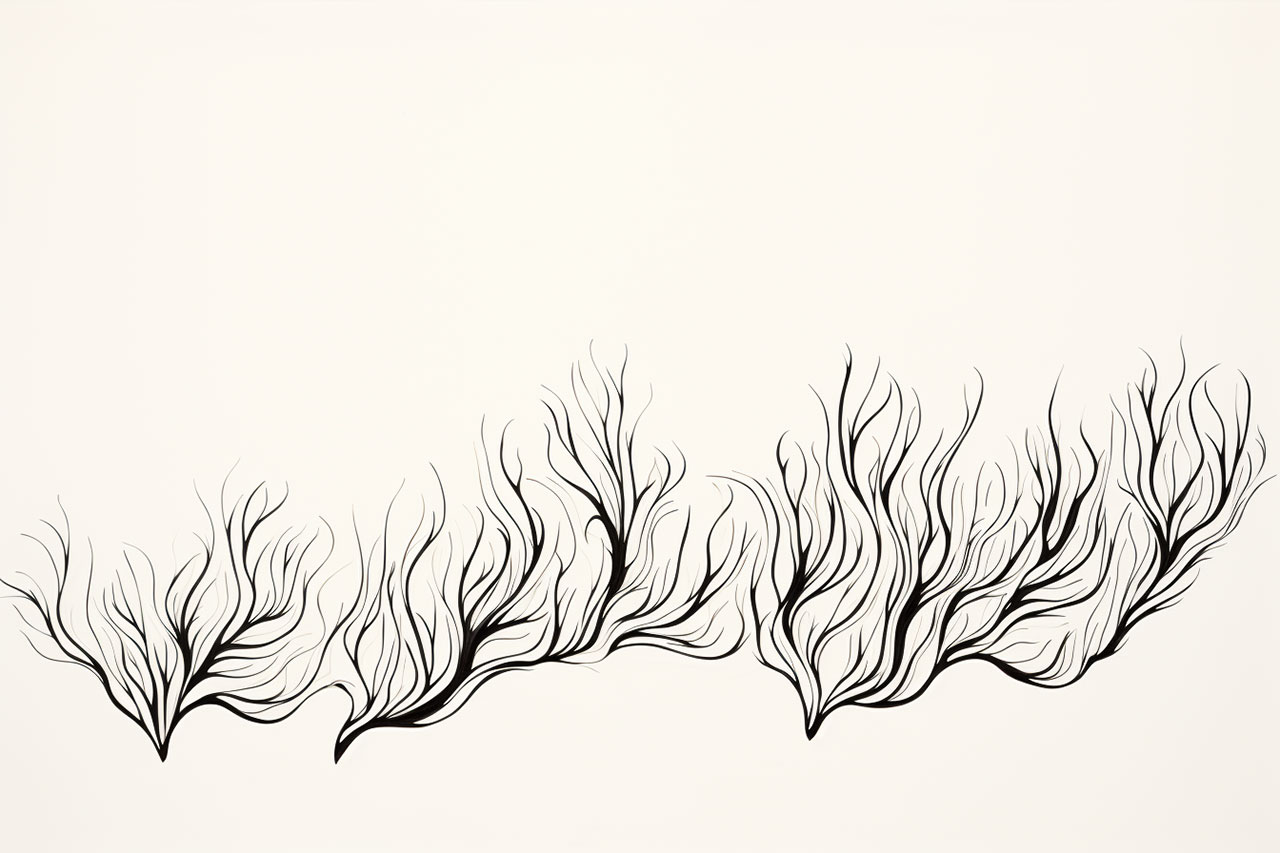
Drawing seaweed can add depth and texture to your underwater scenes, whether you’re creating a realistic artwork or a whimsical illustration. Seaweed comes in various shapes, sizes, and colors, making it a fascinating subject to explore. In this step-by-step guide, we will walk you through the process of how to draw seaweed, allowing you to bring life to the ocean floor in your art.
Materials Required
Before we start, let’s gather the materials you’ll need for this drawing tutorial:
- Sketchpad or drawing paper
- Pencil (preferably an HB or 2B)
- Eraser
- Fine-tip pens or markers
- Colored pencils or watercolor paints (optional)
Now that we have everything we need, let’s dive into the wonderful world of seaweed drawing!
Step 1: Start with Basic Shapes
To begin, lightly sketch the general shape of the seaweed using simple geometric forms. Seaweed is often long and ribbon-like, so draw curved lines or loose zig-zags to represent its flowing nature. Experiment with different shapes to add variety and interest to your composition.
Step 2: Add Details and Texture
Next, add some texture to your seaweed. Seaweed strands are usually bumpy and uneven, so use short, curved lines to create a sense of depth and dimension. Vary the lengths and thickness of the lines to give your seaweed a more natural appearance.
Step 3: Refine the Shape
Take a closer look at your sketch and refine the shape of the seaweed. Smooth out any rough edges and adjust the curves to make the seaweed look more organic. Pay attention to the flow and movement of the strands as you make these adjustments.
Step 4: Enhance with Cross-Hatching
To add more depth and realism to your drawing, consider using cross-hatching techniques. Start by adding a series of parallel lines to represent the base of the seaweed. Then, layer more lines at different angles to create shading and depth. Use lighter pressure for areas that receive more light and apply heavier pressure for shadows.
Step 5: Introduce Color (optional)
If you prefer a colorful depiction of seaweed, now is the perfect time to bring out your colored pencils or watercolor paints. Choose shades of green, brown, and even red to mimic the vibrant colors of seaweed. Begin by lightly applying the colors and gradually build up layers for a more realistic effect.
Step 6: Add Seaweed Varieties
Seaweed comes in various species, each with its own distinct characteristics. Experiment with different types of seaweed, such as kelp, bladderwrack, or sargassum, to diversify your composition. Research different seaweed varieties to understand their unique shapes and textures, and incorporate them into your drawing.
Step 7: Create Depth with Overlapping
To make your drawing appear more three-dimensional, incorporate overlapping seaweed strands. Draw some strands in front of others, allowing them to intersect and overlap. This technique adds depth to your composition and creates a sense of realism.
Step 8: Finalize the Details
Take a moment to assess your drawing and add any final touches or details. Perhaps there are smaller strands of seaweed or tiny air bubbles you’d like to include. Pay attention to the overall balance and harmony of your composition, ensuring that it captures the essence of seaweed in a visually pleasing way.
Conclusion
Drawing seaweed can be a rewarding experience, allowing you to explore the hidden beauty of the underwater world. By following these step-by-step instructions, you can create realistic and captivating seaweed drawings. Remember to experiment with different shapes, textures, and colors to make your artwork unique. So, grab your sketchpad and venture into the depths of your imagination to bring seaweed to life on paper! For even more underwater fun, try drawing a sponge, squid, or even an entire coral reef.


