Daffodils are beautiful flowers that symbolize renewal and the arrival of spring. Their bright yellow petals and unique shape make them a popular subject for artists to draw. In this step-by-step guide, you will learn how to draw a daffodil, even if you’ve never picked up a pencil before. So let’s get started and bring the beauty of these flowers to life on paper!
Materials Required
Before we begin, make sure you have the following materials on hand:
- Pencil (preferably a HB or 2B)
- Eraser
- Drawing paper or sketchbook
- Colored pencils or markers (optional)
Now that you have all the materials you need, let’s dive into the step-by-step process of drawing a daffodil.
Step 1: Outline the Stem and Leaves
Start by drawing a vertical line near the center of your paper. This line will serve as the stem of the daffodil. Then, draw two curved lines extending from the top of the stem to create the leaves. Make sure the leaves have a natural, wavy shape.
Step 2: Draw the Outer Petals
Now it’s time to draw the outer petals of the daffodil. Begin by drawing a curved line on each side of the stem, slightly above the leaves. These lines will represent the outer edges of the petals. Make sure the lines are slightly curved and meet at a point at the top.
Step 3: Add the Inner Petals
Inside the outer petals, draw another set of curved lines, similar in shape but slightly shorter. These lines will create the inner petals of the daffodil. Ensure that these petals overlap with the outer petals, giving the flower depth and dimension.
Step 4: Detail the Petals
To add more detail to the petals, draw curved lines within each petal, following their natural shape. These lines will give the petals a more realistic and three-dimensional appearance. You can also add some small curves at the edges of the petals to create a ruffled effect.
Step 5: Define the Trumpet
The trumpet of the daffodil is the central part of the flower. To draw it, start by drawing a curved line that extends from the base of the inner petals towards the center of the flower. Then, draw another curved line inside the first one, following its shape. Finally, connect the two lines at the top to create the opening of the trumpet.
Step 6: Add Texture to the Trumpet
To make the trumpet appear more realistic, add some texture to it. Draw small curved lines on the inside of the trumpet, radiating from the center. These lines will mimic the ridges and folds present in the daffodil’s trumpet.
Step 7: Refine the Stem and Leaves
Go back to the stem and leaves and add some details to make them look more realistic. Draw small, curved lines along the length of the stem to represent the veins. For the leaves, add some wavy lines to indicate their texture and give them a natural appearance.
Step 8: Erase Unnecessary Lines
Now that you have completed the basic structure of the daffodil, erase any unnecessary lines and smudges. Use your eraser to clean up the drawing and make sure only the final lines are visible.
Step 9: Add Color (Optional)
If you want to add some color to your daffodil, now is the time to do it. Daffodils are typically yellow, but you can experiment with different shades and combinations. Use colored pencils or markers to carefully fill in the petals and trumpet, and add some green to the stem and leaves.
And there you have it! You have successfully drawn a beautiful daffodil. Remember, practice makes perfect, so don’t be discouraged if your first attempt doesn’t turn out exactly as you imagined. Keep drawing and experimenting, and soon you will be able to capture the elegance of daffodils with ease.
Conclusion
Drawing a daffodil might seem daunting at first, but with a little practice and patience, anyone can do it. By following these step-by-step instructions, you have learned how to create a stunning daffodil on paper. So grab your pencils, unleash your creativity, and enjoy the therapeutic process of bringing a daffodil to life through art.
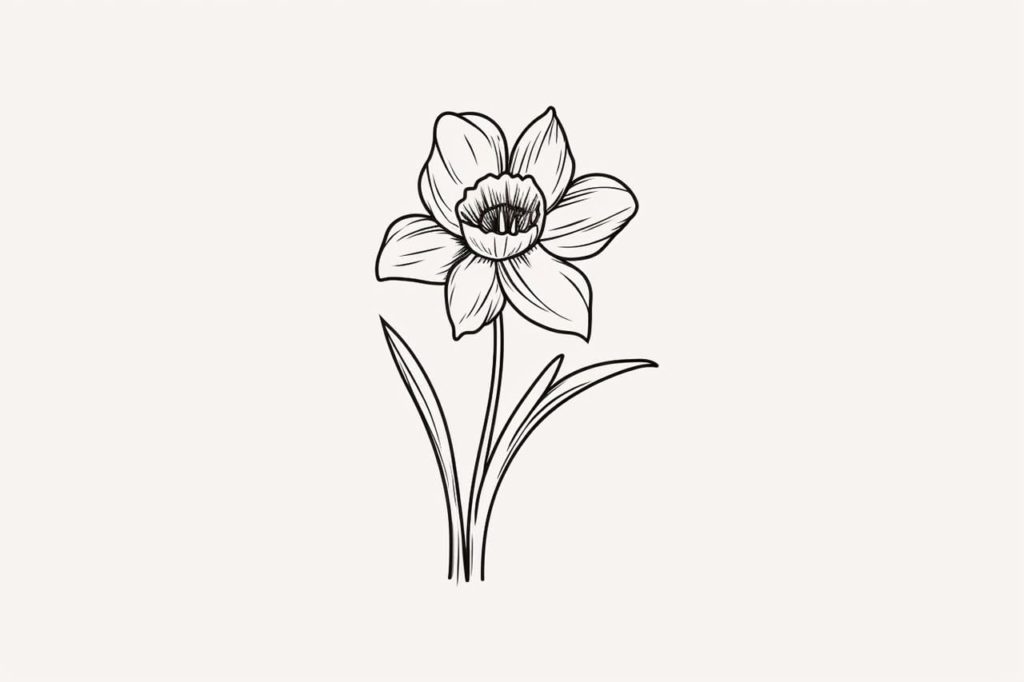
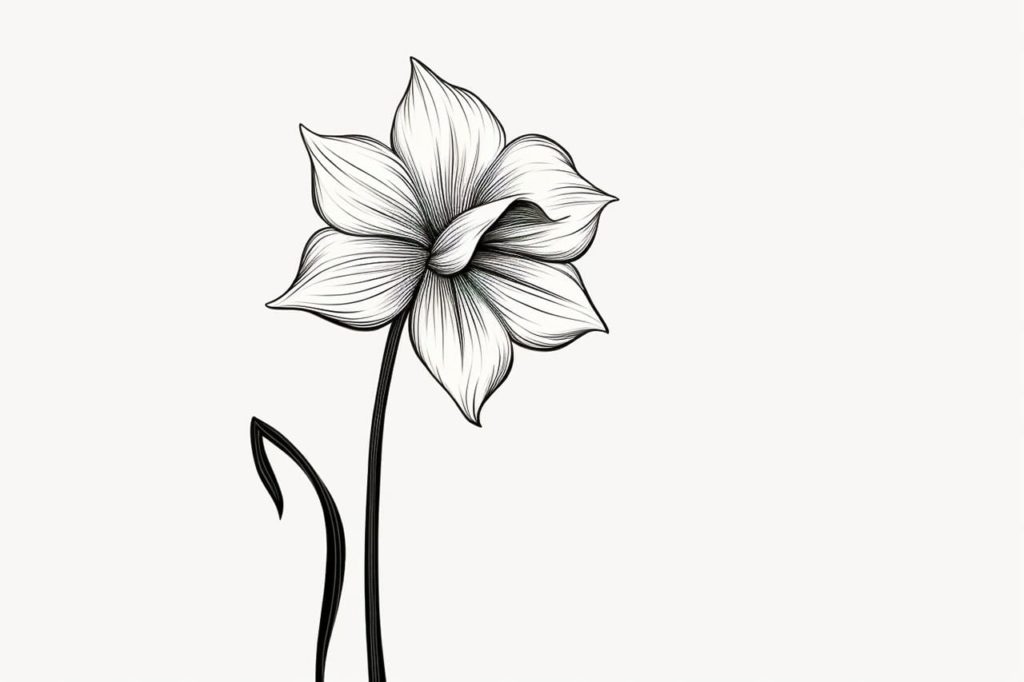
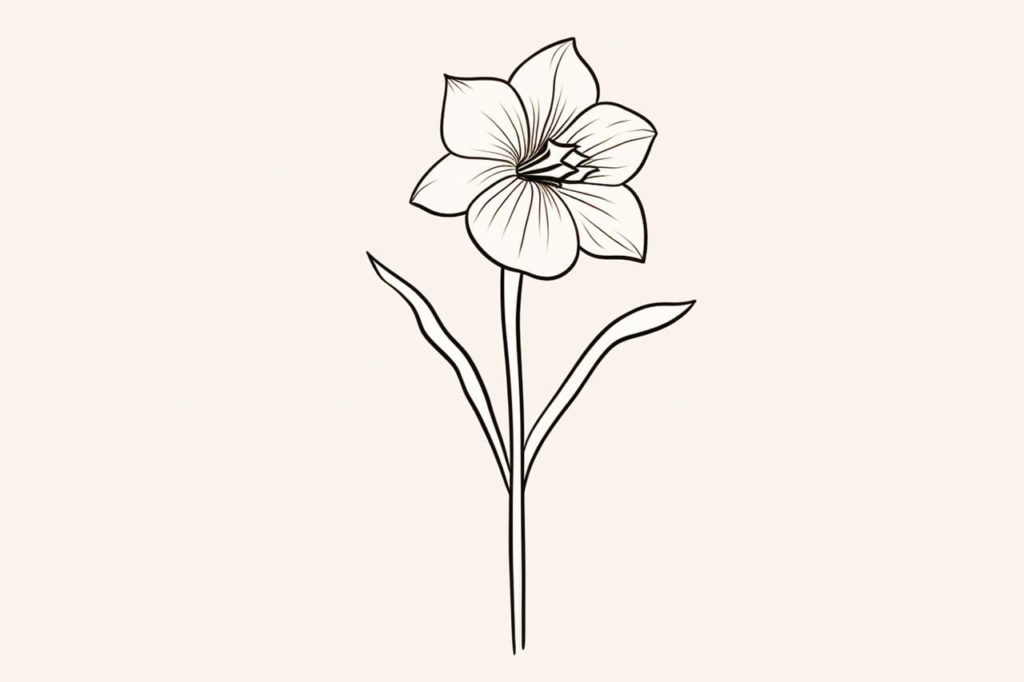
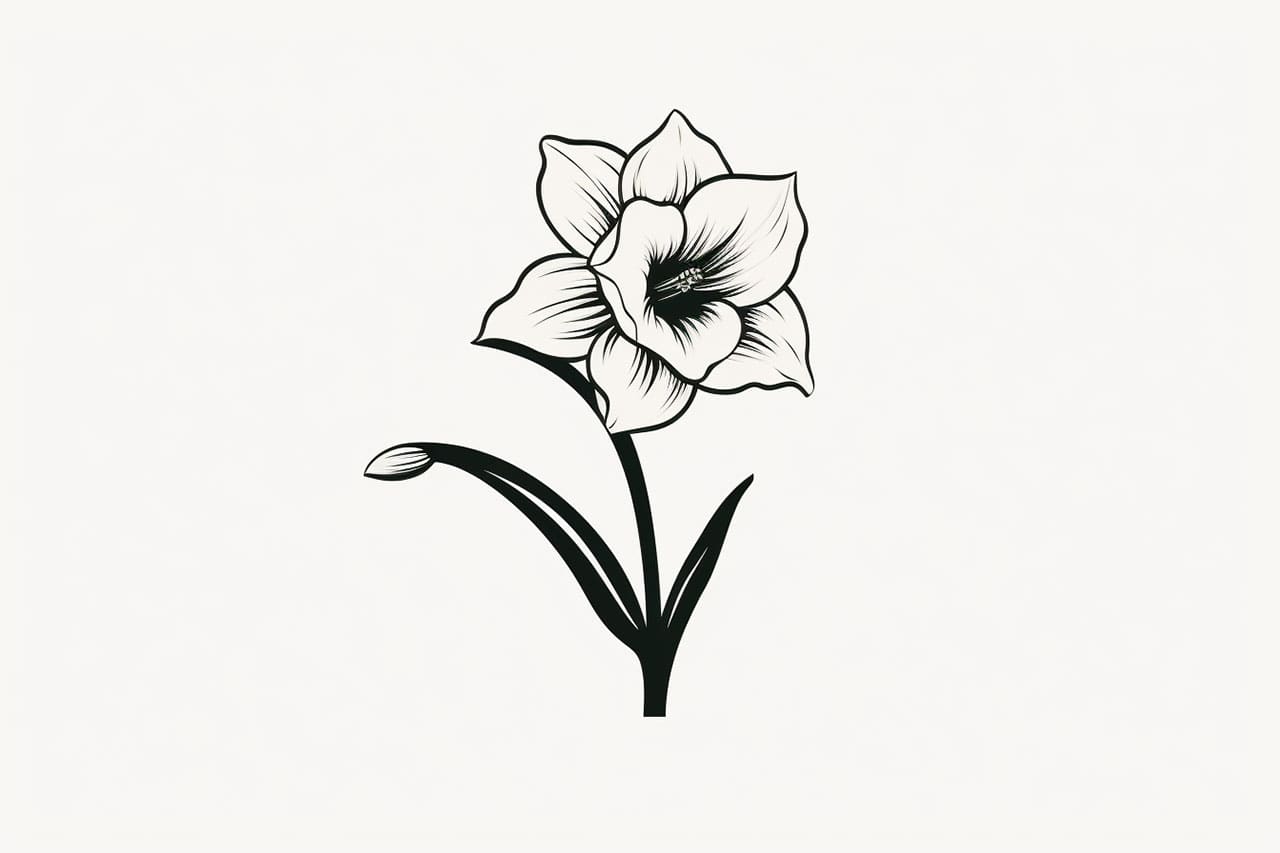
Gallery of Daffodil Drawings