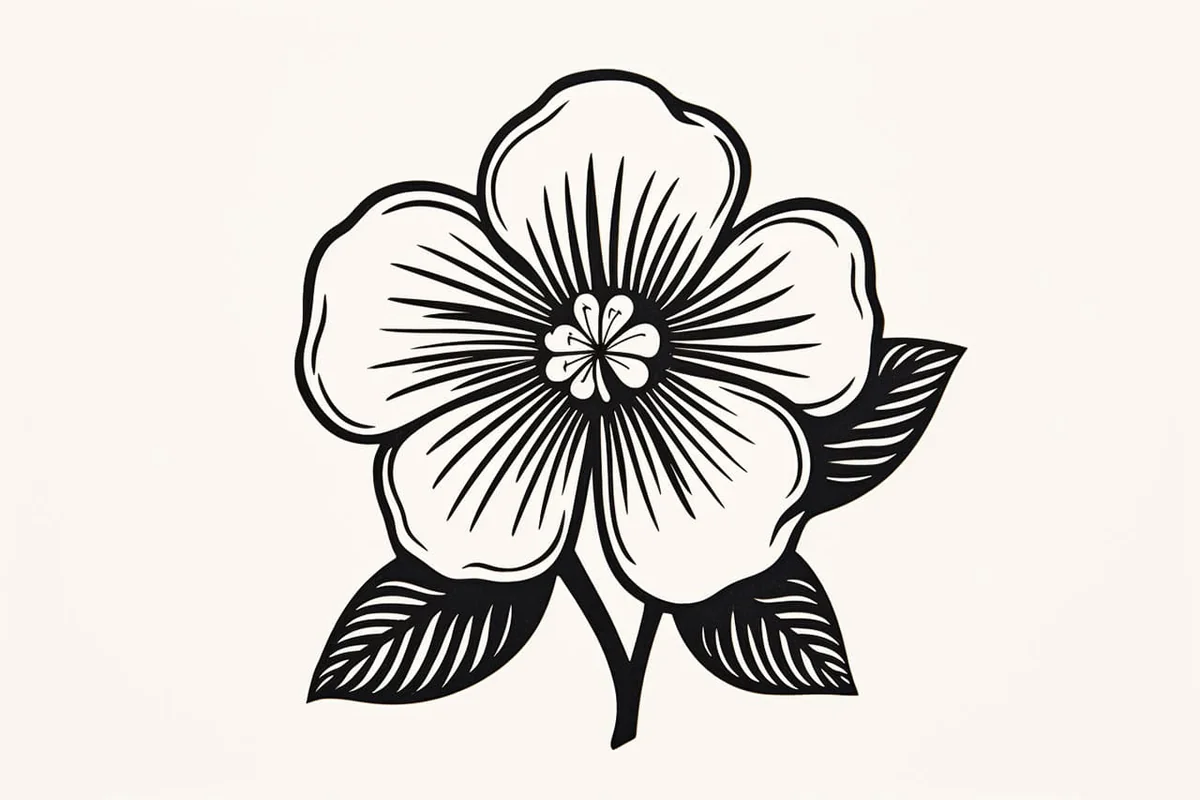
How to Draw a Hawaii Flower
Learn how to draw with this step-by-step tutorial.
Materials You'll Need
- Drawing paper
- Pencil (HB or 2B)
- Eraser
- Colored pencils
- Blending stump
- Watercolor paints
Aloha, fellow artists! Are you ready to infuse your artwork with the vibrant spirit of the Hawaiian Islands? Hawaii is famous for its stunning array of exotic flowers, each one brimming with color, life, and tropical allure. From the delicate petals of a hibiscus to the intricate designs of a bird of paradise, these natural beauties offer endless inspiration for artists looking to capture a piece of paradise on paper.
In this step-by-step guide, I'll lead you through the process of how to draw a Hawaii flower. Whether you're a beginner or an experienced artist, my aim is to help you not only replicate the details but also capture the essence and joy these flowers embody. So, gather your art supplies and let's embark on this creative adventure together!
With a bit of patience and practice, you'll be well on your way to creating a stunning piece of artwork that showcases the enchanting beauty of Hawaii. So, let's dive into the exciting world of flowers and see how we can bring their magic to life through our drawings!
Materials Required
Before we dive into the drawing process, let's make sure you have all the necessary materials. Here's what you'll need:
-
Drawing paper: Choose a smooth and sturdy paper that can handle pencil work.
-
Pencils: A set of graphite pencils ranging from H (light) to B (dark) will give you the necessary range of shades.
-
Eraser: A kneaded eraser is ideal for lifting any mistakes or lightening areas of your drawing.
-
Blending stump or cotton swabs: These will help you achieve smooth shading and blending effects.
-
Reference photo: Find an image or a real Hawaii flower to reference. It will help you capture the details accurately.
Now that you have all the materials ready, let's begin the drawing process.
Step 1: Sketch the Basic Shape
Start by lightly sketching a simple oval shape for the flower's center. This will serve as a guide for the proportions and placement of the petals.
Step 2: Add the Petals
Using the center oval as a reference, start adding the petals around it. Hawaii flowers often have large, vibrant petals with pointed tips. Draw each petal using light and curved lines, radiating outwards from the center.
Step 3: Refine the Shape
Once you have the basic petal shapes in place, take a closer look at your reference photo and refine the shape of each petal. Pay attention to any unique characteristics or patterns that make the Hawaii flower distinctive.
Step 4: Add Details
Now it's time to add some details to your flower. Hawaii flowers often have intricate designs or markings on their petals. Use your reference photo to guide you in replicating these details accurately. Take your time and use light, short strokes to capture the texture and patterns.
Step 5: Shade and Blend
To give your Hawaii flower depth and dimension, it's important to add shading. Identify the areas of your drawing that would be in shadow and use a darker pencil to fill in those areas. Gradually build up the shading, using a lighter touch for the areas that are less shadowed.
To achieve a smooth transition between the light and dark areas, use a blending stump or a cotton swab to blend the shades together. This will create a realistic and soft effect.
Step 6: Final Touches
Take a step back and evaluate your drawing. Are there any areas that need refining or adjusting? Make any necessary changes to ensure that your Hawaii flower looks balanced and visually appealing.
Once you're satisfied with the overall look, you can darken some of the lines to enhance the definition and contrast in your drawing.
Tip: To effectively capture the unique beauty of Hawaiian flowers, start by using a variety of pencils, such as a softer graphite (like 4B or 6B) for shading and a harder pencil (like H or 2H) for fine details. Begin with light, loose sketches to outline the basic shapes of the petals and leaves, focusing on the flow and curvature that give these flowers their tropical character. Once you have the structure, gradually build up layers of color using colored pencils or watercolors, paying close attention to the vibrant hues and gradients that define each species. For added realism, incorporate fine details like veins and texture using a white gel pen or fine-tipped brush for highlights. Remember to step back frequently to assess your work as a whole, ensuring that the colors and shapes harmonize beautifully, just like in nature!
Conclusion
Drawing a Hawaii flower allows you to bring the beauty and vibrancy of the islands into your artwork. By following these step-by-step instructions, you'll be able to capture the essence of a Hawaii flower and create a stunning piece of art. So put your artistic skills to work, and let the aloha spirit guide your creativity!
Remember, practice makes perfect, so don't worry if your first attempt isn't exactly as you envisioned. Keep trying, and with each drawing, you'll improve your techniques and achieve even better results.
Now go grab your pencils, and let's bring the tropical paradise of Hawaii to life on paper!
Gallery of Hawaii Flower Drawings


Fun Facts About Hawaii Flowers
-
The state flower of Hawaii is the yellow hibiscus, also known as the pua aloalo.
-
Hawaii is home to a diverse range of flowers, many of which are not found anywhere else in the world, thanks to its unique climatic conditions.
-
The Hawaiian word for flower is "pua," and these beautiful blooms hold significant cultural importance in Hawaiian traditions and ceremonies.
-
Plumeria flowers, commonly used in leis, are not native to Hawaii but have become iconic symbols of the islands.
-
Hawaii's flowers are often associated with specific meanings and symbolisms, such as love, friendship, and prosperity.
-
The Big Island is home to the rare silversword plant, which blooms spectacularly, but only once in its lifetime.
-
Orchid festivals are popular in Hawaii, celebrating one of the largest family of flowering plants found on the islands.
-
Tropical rainforests in Hawaii are rich habitats for native flowers like the ʻōhiʻa lehua, known for its vibrant red blossoms.
-
The rare Maui's ʻāhinahina, or silversword, grows in the harsh volcanic soil of Haleakalā and lives up to 90 years.
-
Lei Day is celebrated on May 1st in Hawaii, honoring the tradition of making and wearing flower leis.
Suggestions for Scenes and Settings for Hawaii Flower Drawings
-
Tropical Garden: Illustrate a lush setting filled with a variety of Hawaii flowers, including hibiscus and plumeria, against a backdrop of palms.
-
Lei Making Ceremony: Create a scene depicting a group of people traditionally weaving flower leis with colorful blooms and fragrant blossoms.
-
Beachside Blooms: Draw a serene beach setting where Hawaii flowers fringe the shoreline, complementing the ocean's blue hues.
-
Volcanic Beauty: Depict a scene where vibrant Hawaii flowers emerge from the harsh, black lava flows, showcasing resilience and life.
-
Rainforest Canopy: Illustrate an immersive view of a rainforest canopy, with native flowers and foliage basking in dappled sunlight.
-
Traditional Luau: Design a festive luau gathering with tables decorated with flower arrangements and leis being shared among guests.
-
Mountainous Retreat: Capture the serene beauty of high-altitude blooms, with silversword plants dotting the landscape under a vast sky.
-
Native Bird Haven: Show native Hawaiian birds like the ʻiʻiwi or nēnē among blossoms, emphasizing the connection between fauna and flora.
-
Sunset Petal Dance: Picture a romantic scene where petals from Hawaii flowers catch the breeze and drift gently against a pink and orange sunset.
-
Hawaiian Flora Mandala: Create a circular design filled with an array of Hawaii flowers, each petal illustrating the symmetry and beauty of nature.