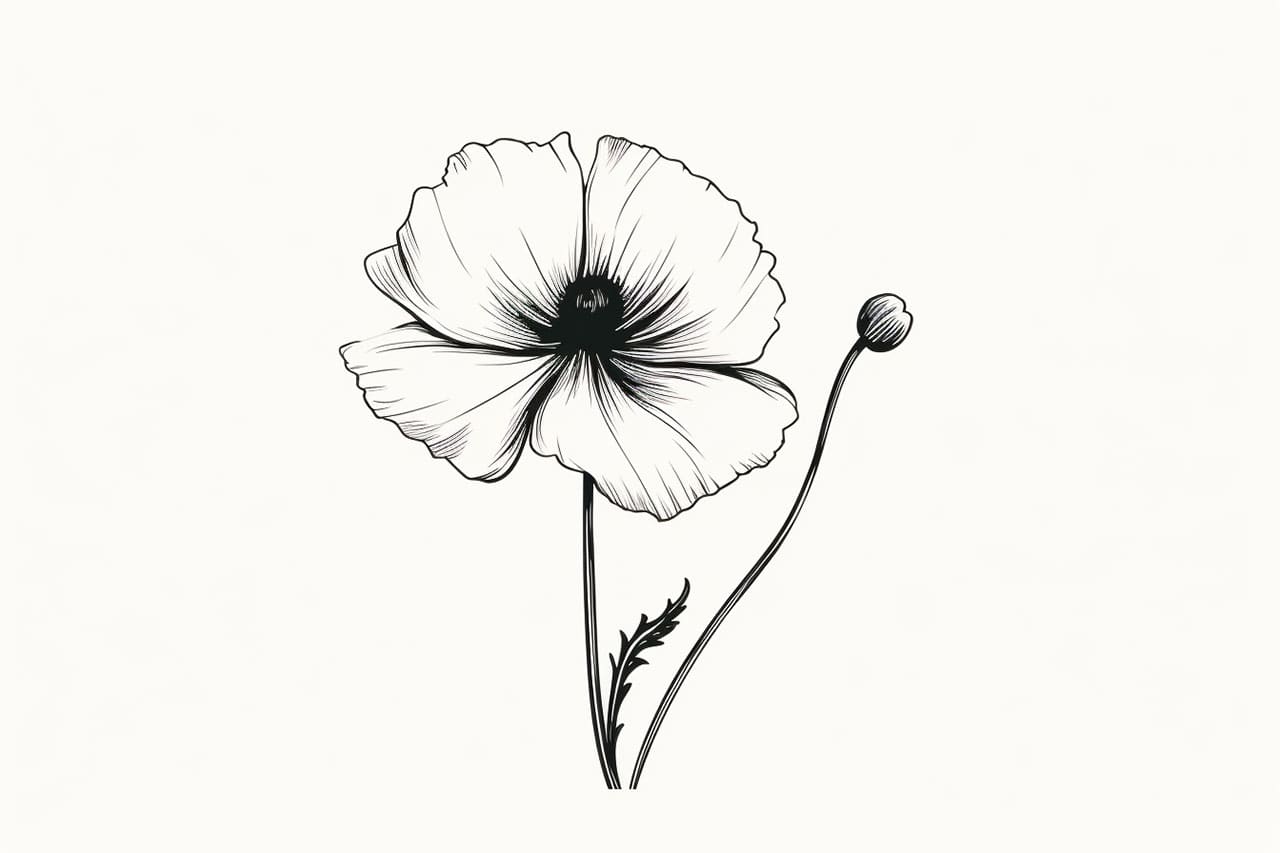
Are you ready to unleash your artistic skills and learn how to draw a stunning poppy flower? In this step-by-step guide, I will walk you through the process of creating a beautiful poppy flower illustration. You don’t need to be an expert artist to follow along; with a little patience and practice, you will be able to capture the elegance and allure of this enchanting flower. So, let’s get started!
Materials Required:
Before we begin, let’s gather the materials you will need for this drawing tutorial. Don’t worry, you won’t need a whole lot of fancy equipment. Here’s what you’ll need:
- Pencil: A regular HB pencil will work just fine for this tutorial. Make sure it’s sharpened.
- Paper: Select a smooth, high-quality drawing paper that is suitable for your preferred medium. A standard sketchbook will work perfectly fine.
- Eraser: Have a good quality eraser handy to correct any mistakes or guidelines as you draw.
Now that you have all your materials ready, we can dive into the step-by-step process of drawing a poppy flower.
Step 1: Basic Outline
To begin, lightly sketch a circle for the center of the flower. This will serve as a guide for placing the petals later on. Next, draw a slightly curved line below the circle to form the bottom of the poppy flower. This line will act as a base for the petals.
Step 2: Petal Placement
Now, let’s add the petals to our poppy flower. Start by drawing two large curved lines extending from the top of the circle, meeting at a point at the bottom. These will be the first two petals. Then, draw two smaller curved lines, starting from the center of the circle and curving slightly downwards. Finally, add one more large petal on the opposite side of the first two petals. Remember, poppy flower petals are delicate and smooth, so make sure to keep the lines soft and graceful.
Step 3: Refining the Petals
In this step, we will refine the shape of the petals. Erase any unnecessary lines and smooth out the curves of each petal. Poppy flower petals often have a slightly crinkled appearance, so you can add small irregularities to the edges of the petals to create a more realistic effect.
Step 4: Center Details
Now, let’s focus on the center of the poppy flower. Draw a smaller oval within the initial circle we sketched at the beginning. This will represent the stamen. Then, add some details to the stamen by drawing small curved lines inside the oval to create a textured appearance. You can also draw a few longer lines extending outward from the stamen to add more depth.
Step 5: Stem and Leaves
Extend a vertical line from the bottom of the poppy flower’s base to create the stem. Add a few diagonal lines across the stem to indicate texture. Next, draw two elongated, curving lines on either side of the stem to create the poppy flower’s leaves. To make the leaves more realistic, draw small veins running through them.
Step 6: Final Touches
Now that you are almost done, take a moment to review your drawing. Make any necessary adjustments or corrections to ensure that all the elements are proportional and well-balanced. Erase any remaining guidelines or unwanted marks.
Conclusion
Congratulations! You have successfully learned how to draw a poppy flower. With practice, you will be able to create exquisite illustrations of this captivating flower. Remember to be patient and enjoy the process. Keep experimenting with different techniques and styles to add your personal touch to your artwork. Happy drawing!
Love flowers? Try our guide on how to draw a rose.


