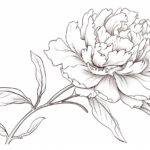
Welcome to this step-by-step guide on how to draw a dogwood flower. Dogwood flowers are known for their delicate beauty and vibrant colors, making them a popular subject for artists of all skill levels. In this tutorial, I will walk you through the process of drawing a dogwood flower with easy-to-follow instructions. So let’s get started!
Materials Required
Before we begin, gather the following materials:
- Pencil
- Eraser
- Paper
- Fine-tipped black pen
- Colored pencils or markers (optional)
Now that we have our materials ready, let’s dive into the process of drawing a dogwood flower.
Step 1: Sketch the Basic Outline
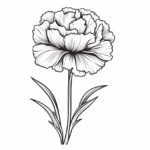
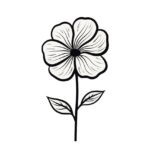
Start by lightly sketching the basic outline of the dogwood flower. Begin with a small circle at the center, which will represent the flower’s center. From the circle, draw four slightly curved lines that extend outwards, creating the shape of the petals. Remember, dogwood flowers have four petals, so make sure they are evenly spaced.
Step 2: Define the Petals
Using your pencil, now define the shape of each petal. Dogwood petals have a distinct shape, with slightly pointed ends and curved sides. Take your time to get the shape just right. It’s okay if the lines are a bit rough at this stage; we will clean them up later.
Step 3: Add Texture to the Petals
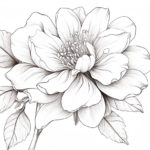
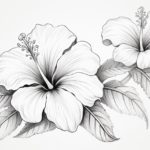
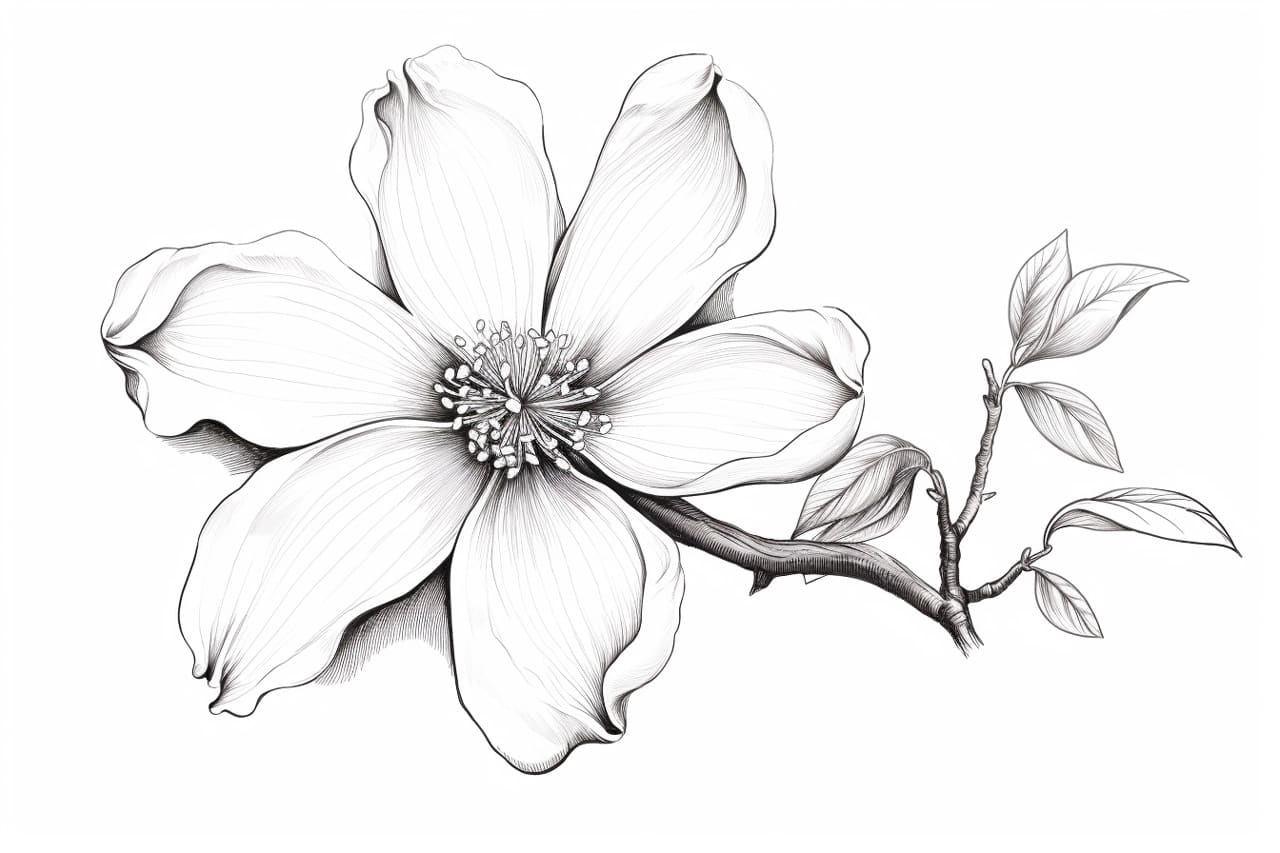
To add depth and texture to the petals, draw small lines that radiate from the center of the flower towards the edges of each petal. These lines will create a delicate and realistic appearance.
Step 4: Draw the Flower’s Center
Next, draw the flower’s center using short, vertical lines. These lines should be closer together towards the center and gradually become more spaced out towards the outer edges. This detail will give the flower a realistic look.
Step 5: Refine the Outline
Once you are satisfied with the shape of the flower and its center, trace over the pencil lines with a fine-tipped black pen. This will give your drawing a clean and polished appearance. Erase any remaining pencil marks that are visible.
Step 6: Add Details
Now it’s time to add some more details to your dogwood flower. Draw a few small circles inside the center of the flower to represent the pollen. You can also add tiny dots or lines on the petals to mimic the natural imperfections found in real flowers.
Step 7: Color your Drawing (optional)
If you want to add color to your dogwood flower, now is the time to do so. Dogwood flowers are often white or pink, but feel free to use any colors you prefer. Colored pencils or markers can be used to carefully fill in the petals and add shading and highlights for a more vibrant and realistic effect.
Conclusion
Congratulations! You have successfully learned how to draw a dogwood flower. By following these step-by-step instructions, you can create a beautiful and lifelike dogwood flower drawing. Remember to practice regularly to improve your skills and experiment with different techniques. Happy drawing!